Advertisement
Quick Links
Introduction
The Toro RainSensor connects to your irrigation
system controller/timer to suspend automatic
watering operation in the event of rain. Designed
for ease of installation, your sensor-controlled
irrigation system will be up and running in minutes.
Before attempting to install the RainSensor, please
read through these instructions in their entirety.
Since the RainSensor is designed to work with
most makes and models of controllers, you should
also refer to the instructions provided with your
irrigation system controller for specific information
regarding the connection and use of a rain sensor
or rain switch.
Important: Please note the following information regarding
installation and use of the RainSensor.
• The RainSensor is designed to operate with 24 V ac power
only. Connecting the RainSensor control wiring to 120/240 V ac
power may result in severe equipment damage.
• Installation methods must comply with all applicable national
and local building codes. If you are unsure about proper wiring
practices, have a qualified contractor perform the installation
for you.
• The RainSensor unit should never be submerged in water or
installed inside a rain gutter.
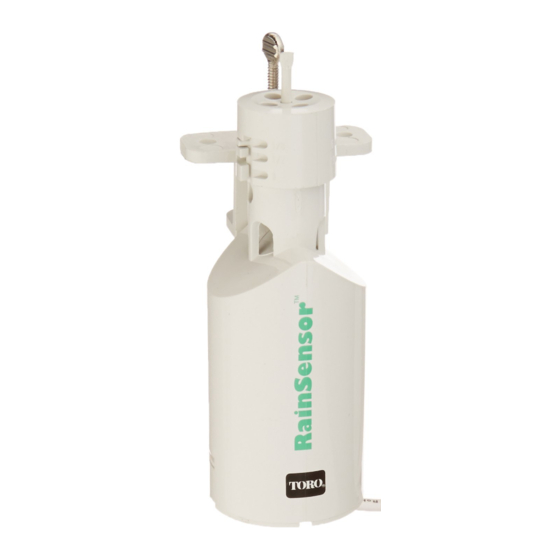
RainSensor Components (Figure 1)
1 - Test Spindle - Press down to man-
ually test RainSensor operation.
2 - Rainfall Adjustment Cap - Enables
the RainSensor to be adjusted for
detection of rainfall from 1/8" to 1".
3 - Universal Mounting Bracket with
Quick-Clip
TM
on rain gutter, side of roof, etc.
Enables the RainSensor to be
mounted on an angled surface
then easily adjusted to the vertical
position.
4 - 25' of outdoor-rated RainSensor
control wire provided.
RainSensor
User's Guide
- Simplifies installation
™
Model 53769
Figure 1
3
4
1
2
Advertisement

Related Manuals for Toro RainSensor 53769


Summary of Contents for Toro RainSensor 53769
- Page 1 RainSensor Model 53769 User’s Guide Introduction The Toro RainSensor connects to your irrigation system controller/timer to suspend automatic watering operation in the event of rain. Designed for ease of installation, your sensor-controlled irrigation system will be up and running in minutes.
- Page 2 The RainSensor is set for Normally Closed sensor operation. If Normally Open operation is required; i.e., for Normally Open the Toro ECx and GreenKeeper ® controllers, configure the RainSensor as follows: 1. Refer to Figure 3. Remove the...
- Page 3 A rain gutter is an ideal location for the RainSensor. Simply position the bracket with the thumbscrew under the gutter lip and tighten to secure (do not over-tighten). See Figure 4 below. Figure 4 Thumbscrew To Controller Rain gutter (cross section view) The RainSensor can also be mounted on any suitable solid struc- ture such as the side of the roof, a shed or fence using the two sup- plied stainless steel screws.
- Page 4 Connecting the RainSensor Control Wire Caution: Do not attach the RainSensor control wire direct- ly to 120/240 V ac power as this may result in irreversible damage. If you are in doubt, contact a qualified installer or electrician. 1. Disconnect power to the controller. 2.
- Page 5 Controllers with pump start/master valve and no sensor terminal: Irrigation System Controller PUMP/ 24 VAC To Valves Pump Start Relay/Master Valve Common Wire From Valves Wire Connector Disconnect all common wires from the common terminal(s) and join them to either RainSensor control wire using the supplied wire connector.
-
Page 6: Specifications
Neither The Toro Company nor Toro Warranty Company is liable for failure of products not manufactured by them even though such products may be sold or used in conjunction with Toro products.