Advertisement
Quick Links
Advertisement

Related Manuals for Marzocchi Marathon XC 2005


Summary of Contents for Marzocchi Marathon XC 2005
- Page 1 © Marzocchi Suspension 2005 - Marathon XC 2005 - Marathon XC Technical instructions...
- Page 2 © Marzocchi Suspension 2005 - Marathon XC Exploded view - Marathon XC 100-120 Rif. Code Quantity 1 818259/E 1 818259/R 2 549077AD 3 701282/C 4 528226 5 528247 6 520363 7 549083AD 8 531075 9 5321084 10 547639 11 701246/C...
- Page 3 © Marzocchi Suspension 2005 - Marathon XC Spare part list - Marathon XC 100-120 Q.ty in the Rif. Code Description model 818259/E CROWN+STANCH+ALLOY STEM MAR.05 818259/R CROWN+STANCHIONS MARATH.05 549077AD ETA/ECC BLACK ALUMINUM KNOB 04 701282/C PLUG UNIT TAS 05 528226...
- Page 4 © Marzocchi Suspension 2005 - Marathon XC 538112 LOWER BUSHING DIA 30 850779/C BUSHINGS DIA 30 KIT 5321182RS/R>A ECO BLACK-MONOLITE UNIT 5321182RR/R>A FLAT BLACK MONOLITE UNIT 04 5321182SS/R>A MAGNUM GREY GLOSS-MONOL.UNIT 5321182SR/R>A SILVER DUST-MONOLITE UNIT 5321115QF CANTILEVER PIN 5321114 PIN ADAPTOR...
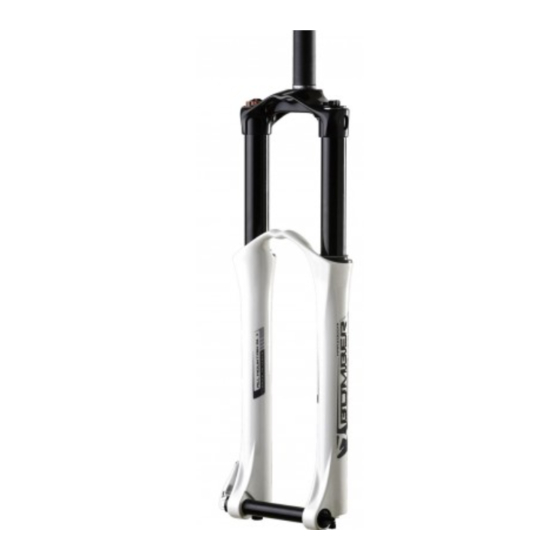
- Page 5 © Marzocchi Suspension 2005 - Marathon XC Technical characteristics: Technical characteristics Single-crown fork with ø 30mm legs. Available travels: 100/120 mm (TAS adjustment). Right fork leg damping element: air. Left fork leg damping element: spring. Right fork leg damping system: TST cartridge.
- Page 6 Always grease the seal lips before reassembling. All of the components of Marzocchi forks require the use of metric tools. Use only metric tools. Imperial (US) tools may have similar sizes, but can damage the bolts, making them impossible to loosen or tighten.
- Page 7 Installing the brake system is a very delicate operation that must be carried out at our specialised service centres only. Marzocchi does not guarantee the installation and accepts no liability for damage and/or accidents arising from a wrong installation. Improper installation of the disk brake system can overstress the caliper mountings, which may break. The installation of the brake system must be carried out following the instructions of the brake system manufacturer.
- Page 8 © Marzocchi Suspension 2005 - Marathon XC Dismantling: Removing the top caps Put the fork in the vice in vertical position, fixing it by the dropouts. Dismantling: Removing the top right cap With a 2mm Allen wrench, loosen the screw (2) of the TST control knob.
- Page 9 © Marzocchi Suspension 2005 - Marathon XC Fully unscrew lock cap (2) using a 21mm socket spanner. Lift out lock cap (2). Push washer (7) and spring (8) downwards so you can reach locknut (6) with the 10mm spanner. Holding locknut (6) with the 10mm spanner, use the 21mm spanner to fully unscrew lock cap (2).
- Page 10 © Marzocchi Suspension 2005 - Marathon XC Free the fork from the vice and tip it into a container of a suitable size to drain the oil; compress the fork a few times to help the oil flow out. Do not pour used oils on the ground.
- Page 11 © Marzocchi Suspension 2005 - Marathon XC Pull the complete TST cartridge (10) off the right leg. Using the special 12mm spanner (A), loosen the left bottom nut (7). Pull out the left bottom nut (7) complete with O-ring (8).
- Page 12 © Marzocchi Suspension 2005 - Marathon XC...
- Page 13 © Marzocchi Suspension 2005 - Marathon XC Assembling: During the assembly of the pumping unit, strictly obey the instructions below. Do not, at any times, reverse the position of the pumping elements in the fork legs (if you are unsure about anything, please refer to the relevant exploded view).
- Page 14 © Marzocchi Suspension 2005 - Marathon XC Fit the rebound adjusting knob (6) to the right leg. Take great care not to damage the O-ring fitted to the end of the pumping element rod. Tighten the fixing screw (5) of the adjusting knob to the recommended tightening torque (2 Nm ± 0.5).
- Page 15 © Marzocchi Suspension 2005 - Marathon XC Assembling: Filling with oil Block the fork in the vice, in perfectly vertical position. Lower the crown-stanchion unit on the arch-slider assembly. In a graduated recipient, prepare the quantity of oil to pour into the fork leg (see table).
- Page 16 © Marzocchi Suspension 2005 - Marathon XC Assembling: Mounting the top caps Put the fork in the vice in vertical position, fixing it by the dropouts. Assembling: Assembling the top right cap Check that O-ring is not damaged. Using the 21mm socket spanner, tighten cap (2) to the recommended tightening torque (10 Nm ± 1).
- Page 17 © Marzocchi Suspension 2005 - Marathon XC Screw the lock cap (2) down on the rod of the ETA cartridge without tightening being very careful not to damage the O-ring. Check that O-ring is not damaged. Using the 21mm socket spanner, tighten cap (2) to the recommended tightening torque (10 Nm ± 1).
- Page 18 © Marzocchi Suspension 2005 - Marathon XC Fit the ETA control knob (5), washer (3) and screw (4). Using a 2mm Allen key, tighten the knob fixing screw (4) to the recommended tightening torque (2 Nm ± 0.5).
- Page 19 During setting don't force the adjusters beyond their limit of travel and don't exceed the max recommended air pressure. To keep the pressure inside the fork’s legs, only use the special MARZOCCHI pump with pressure gauge. The use of any other pump can compromise the inflating operation and cause malfunction or damage to the fork, resulting in an accident, personal injury or death.
- Page 20 © Marzocchi Suspension 2005 - Marathon XC The pressure values in the table are given as a mere example and can be changed to meet the biker’s riding style and the track condition. Setting: Rebound adjustment Right fork leg: With the rebound adjuster you can control the return speed of the fork after compression.
- Page 21 © Marzocchi Suspension 2005 - Marathon XC Left fork leg: The ETA cartridge lets you adjust the rebound damping “on the fly” reducing the fork length down to a 30mm travel. The control has two positions: Pos: LOCK Turning knob (A) clockwise activates the ETA cartridge function.
-
Page 22: Tightening Torques
© Marzocchi Suspension 2005 - Marathon XC Tightening torques Components Tightening torque (Nm) Cap locknut 6±1 ETA knob fixing screws 2±0,5 Fork leg top caps 10±1 Pumping element/cartridge bottom nuts 10±1 Rebound adjustment knob fixing screws 2±0,5 TAS knob fixing screws 2±0,5... - Page 23 © Marzocchi Suspension 2005 - Marathon XC Diagnostics Finding the problem Finding the possible cause Possible solutions proposed Fork doesn't get full travel Oil level too high Check oil levels Fork extends too quickly; harsh top-out after Rebound damping is not enough...
Need help?
Do you have a question about the Marathon XC 2005 and is the answer not in the manual?
Questions and answers