
Related Manuals for Sanyo EM-S8586V


Summary of Contents for Sanyo EM-S8586V
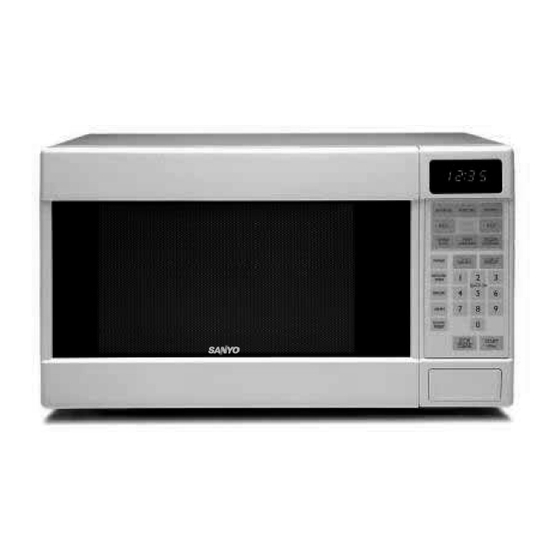
- Page 1 INSTRUCTION MANUAL EM-S8586W/V Microwave Oven Read these instructions carefully before use. If you follow these instructions, your Microwave Oven will serve you long and well.
-
Page 2: Table Of Contents
To reduce the risk of injury to persons Grounding installation Danger Warning Caution Utensils Materials you can use in microwave oven Materials to be avoided in microwave oven SETTING UP YOUR OVEN Names of Oven Parts and Accessories Turntable installation Countertop installation... -
Page 3: Precautions To Avoid Possible Exposure To Excessive Microwave Energy
PRECAUTIONS TO AVOID POSSIBLE EXPOSURE TO EXCESSIVE MICROWAVE ENERGY (a) Do not attempt to operate this oven with the door open since this can result in harmful exposure to microwave energy. It is important not to break or tamper with the safety interlocks. (b) Do not place any object between the oven front face and the door or allow soil or cleaner residue to accumulate on sealing surfaces. -
Page 4: Safety
9. Do not heat narrow-necked containers, such as syrup bottles. 10. Do not attempt to deep-fry in your microwave oven. 1 1. Do not attempt home canning in this microwave oven, as it is impossible to be sure all contents of the jar have reached boiling temperature. -
Page 5: Warning
IMPORTANT SAFETY INSTRUCTIONS WARNING To reduce the risk of fire, electric shock, injury to persons or exposure to excessive microwave oven oven energy when using your appliance, follow basic precautions, including the following: 1. Read all instructions before using the appliance. -
Page 6: To Reduce The Risk Of Injury To Persons
Stir the liquid both before and halfway through heating it. iii) Do not use straight-sided containers with narrow necks. iv) After heating, allow the container to stand in the microwave oven for a short time before removing the container. -
Page 7: Caution
UTENSILS See the instructions on "Materials you can use in microwave oven or to be avoided in microwave oven." There may be certain non-metallic utensils that are not safe to use for microwaving. If in doubt, you can test the utensil in question following the procedure below. -
Page 8: Materials To Be Avoided In Microwave Oven
Plastic foam may melt or contaminate the liquid inside when exposed to high temperature. Wood Wood will dry out when used in the microwave oven and may split or crack. SETTING UP YOUR OVEN Names of Oven Parts and Accessories Remove the oven and all materials from the carton and oven cavity. -
Page 9: Turntable Installation
If glass tray or turntable ring assembly cracks or breaks, contact your nearest authorized service center. Cabinet: Remove any protective film found on the microwave oven cabinet surface. Do not remove the light brown Mica cover that is attached to the oven cavity to protect the magnetron. -
Page 10: Operation
OPERATION Control Panel and Features Display Window (1) Weight Defrost (2) Time Defrost (3) Power (4) Kitchen Timer (5) Memory (6) AM/PM (7) Clock/Preset (8) Number keys (9) Auto Menus (10) Stop/Clear: clears all previous settings pressed before cooking starts. During cooking: press once to stop oven;... -
Page 11: Operation
When a power between level 7-1 is chosen, the low level indicator is lit and it will flash 2. Clock Setting When the microwave oven is plugged into a outlet, the oven will display " 0:00 " (1) Press " CLOCK/PRESET ", LED will display 00:00, clock indicator will be lit. -
Page 12: Time Defrost Function
(3) Press " START/+30SEC. " to start cooking, and the remaining cooking time will be displayed. ":", " ", " Note: In the process of cooking, if the " STOP/CLEAR " button is pressed or if there is no operation within 1 minute, the oven will go back to the former state automatically. 5. - Page 13 2) Press " START/+30SEC." to start cooking, the buzzer will ring once, "g" will go out, " "," " will flash. 3) When the cooking is over the buzzer will ring 5 times, LED will display "0:00". If the clock be set (12-hour system), LED will display the current time. b) Time Adjustable mode (the max.
- Page 14 Times( Press "Potato") O n c e Twice Thrice . PIZZA a) Press " PIZZA " repeatedly until the number you wish appears in the LED, " " " will light. You can reheat 1~3 slices of Pizza each time . Times( Press "Pizza") O n c e Twice...
- Page 15 13 . DINNER PLATE a) Press " DINNER PLATE " repeatedly until the number you need appears in the LED, " "," For example, press" DINNER PLATE " twice, "350" appears in the LED. b) Press " START/+30SEC. " to cook, " Times( Press "DINNER PLATE") O n c e Twice...
- Page 16 (4) Press number keys to input the cooking time.For example: to set the time is 12:12, you can press the number keys "1","2","1","2" in order. (5) Press " AM/PM " to choose AM or PM. AM or PM will be selected in turn by pressing the button of "...
-
Page 17: Other Specifications
(3) In the microwave cooking state, press " POWER " to inquire microwave power level, and the current microwave power will be displayed. After three seconds, the oven will turn back to the previous state. In the 2 stage cooking state, the inquiring way can be done by the same way as above. -
Page 18: Maintenance Troubleshooting
Maintenance Troubleshooting Check your problem by using the chart below and try the solutions for each problem. If the microwave oven still does not work properly, contact the nearest authorized service center. TROUBLE a. Electrical cord for oven is Oven will not start b.