Table of Contents
Advertisement
Quick Links
Advertisement
Table of Contents

Related Manuals for Sanyo EM-S7595S


Summary of Contents for Sanyo EM-S7595S
-
Page 1: Microwave Oven
INSTRUCTION MANUAL Microwave Oven Please read these instructions carefully before installing and operating the oven. Record in the space below the SERIAL NO. found on the nameplate on your oven and retain this information for future reference. SERIAL NO. EM-S7595S www.sanyo.ca... -
Page 2: Table Of Contents
Do not attempt to operate this oven with the door open since opendoor operation can result in harmful exposure to microwave energy. It is important not to defeat or tamper with the safety interlocks. Do not place any object between the oven front face and the door or allow soil or cleaner residue to accumulate on sealing surfaces. -
Page 3: Important Safety Instructions
Do not use straight-sided containers with narrow necks. After heating, allow the container to stand in the microwave oven for a short time before removing the container. Use extreme care when inserting a spoon or other utensil into the container. -
Page 4: Installation Guide
This microwave oven must be placed on a flat, stable surface to hold its weight and the heaviest food likely to be cooked in the oven. -
Page 5: Utensils Guide
If you have any questions about the grounding or electrical instructions, consult a qualified electrician or service person. Neither Sanyo nor the dealer can accept any liability for damage to the oven or personal injury resulting from failure to observe the electrical connection procedures. -
Page 6: Cooking Techniques
Styrofoam plates and cups — These can melt and leave an unhealthy residue on food. Plastic storage and food containers — Containers such as margarine tubs can melt in the microwave. Metal utensils — These can damage your oven. Remove all metal before cooking. Note: Your microwave makes cooking easier than conventional cooking, provided you keep these... -
Page 7: Specifications
10 seconds, and plug it in again securely. Check for a blown circuit fuse or a tripped main circuit breaker. If these seem to be operating properly, test the outlet with another appliance. Check to ensure that the control panel is programmed correctly and the timer is set. Check to ensure that the door is securely closed engaging the door safety lock system. -
Page 8: Control Panel
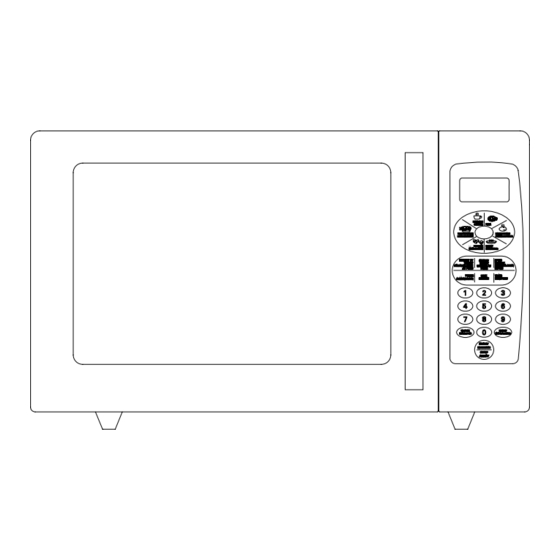
MENU ACTION SCREEN Cooking time, power, indicators and present time are displayed. QUICK COOK BUTTONS Instant settings to cook popular foods. POWER Use to set power level. TIMER Timer functions independently, even while a cooking program is in process. COOK Use for multi-stage cooking. -
Page 9: Operation Instructions
SIGNAL INDICATORS (beeps) DURING OPERATION OF OVEN ONE SIGNAL (beep): Oven accepts the entry. TWO SIGNALS (beeps): Oven does not accept the entry, check and try again. ETTING THE CLOCK Touch CLOCK pad. Use the number pads to enter the correct time. -
Page 10: Speed Defrost
SET STAGE 2: Touch COOK then enter proper cooking time and (lower) power level. (Most 2-stage recipes use lower power for second stage.) Touch START/STOP. NOTE: ·After total time has elapsed, 4 signals sound and END appears in display. Touch RESET or open oven door to clear END before starting another cooking function. -
Page 11: Defrost By Weight
EFROST BY WEIGHT Touch DEFROST BY WEIGHT pad. Enter weight. Touch START/STOP pad. NOTE: ·Weight must be in pounds and ounces. Ounce weighs less than 10 must be preceded by a 0. If the label gives weight in pounds only, change the fraction of a pound to ounces using the chart on page 9. -
Page 12: Pizza
Touch START/STOP. For the large 6 to 8 oz. potatoes: Touch POTATO twice. Enter number of potatoes by touching number pads from 1 to 4. Touch START/STOP. PIZZA Reheating a slice of pizza: Touch PIZZA once. CODE and cooking time appears. - Page 13 Do not allow the control panel to become wet. Clean with a soft, damp cloth. When cleaning the control panel, leave oven door open to prevent oven from accidentally turning on. If steam accumulates inside or around the outside of the oven door, wipe with a soft cloth.
-
Page 14: Warranty Application
(b) In no event shall SANYO Canada Inc. or any of its Authorized Dealers be liable for special or consequential damage arising from the use of this product. - Page 15 PRINTED IN CHINA CODE NO.