Advertisement
Quick Links
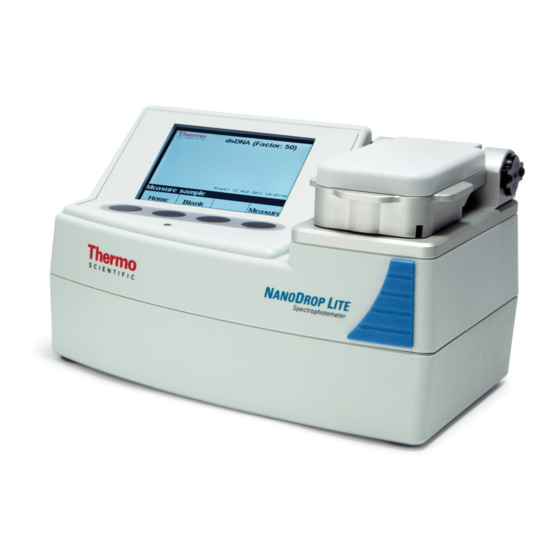
NanoDrop Lite Quick Reference Guide
The NanoDrop™ Lite comes with preloaded software and can be used
as a standalone instrument or with the optional printer. This
document is intended to provide basic instructions for using the
NanoDrop Lite without the optional printer.
Installation
Figure 1. Back view
Figure 2. Left side view
For factory use only
Revision A 269-275100
© 2011 Thermo Fisher Scientific Inc.
All rights reserved.
6VDC 18W
External power
supply
Port for
customer USB
memory device
Memory device for
customer data
Figure 3. Bottom view
CE label with serial number
Keypad Operation
Figure 4. Basic screen features
Key or button
Function
• When pressed, initiates a specific function as
displayed above each button
• Functions will change depending on the
screen
• Arrow keys that control the direction of the
cursor
Select
• Accepts entered or selected values
• Advances to the next parameter or screen
Home
• Returns to the main menu
Blank
• Initiates blank measurement
Measure
• Initiates sample measurement
Change
• Allows you to change settings
Back
• Returns to previous screen
Connector used
with optional
printer
Autoprint On icon
Baseline correct Off icon
Message bar
Button functions
Buttons
Advertisement

Related Manuals for Thermo Scientific Nanodrop Lite


Summary of Contents for Thermo Scientific Nanodrop Lite
- Page 1 The NanoDrop™ Lite comes with preloaded software and can be used Figure 3. Bottom view as a standalone instrument or with the optional printer. This document is intended to provide basic instructions for using the NanoDrop Lite without the optional printer. Installation Connector used Figure 1. Back view...
- Page 2 • Off is the default state. checks the LED output and • When Autoprint On is selected, ensures that arm sensor and and the NanoDrop Lite is docked pedestals are operating correctly. onto the printer, a label will print automatically every time a •...
- Page 3 The formation of the liquid column during measurement may be viewed through the aperture on the side of the NanoDrop Lite arm. 3. When the measurement is complete, raise the arm and wipe the sample from both the upper and lower pedestals using a dry, lint-free laboratory wipe.
- Page 4 USB memory device at any time. Sample #501 will replace sample #1. Cleaning the Pedestals The primary maintenance for the NanoDrop Lite is to keep the pedestal surfaces clean. 1. Pipette 3 μl of deionized water (dH O) onto the bottom pedestal.
Need help?
Do you have a question about the Nanodrop Lite and is the answer not in the manual?
Questions and answers