Advertisement
PARTS LIST
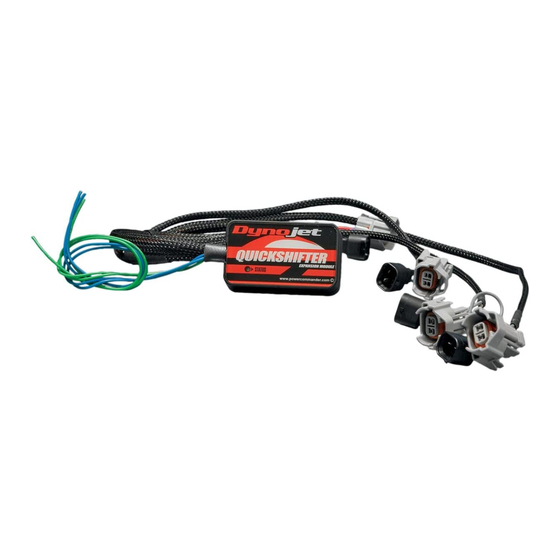
1
Quick Shifter Module
1
Installation Guide
2
Power Commander Decals
2
Dynojet Decals
1
Velcro
1
Alcohol swab
PLEASE READ ALL DIRECTIONS BEFORE STARTING INSTALLATION
QEM13
www.powercommander.com
2007-2013 Suzuki GSXR1000
2191 Mendenhall Drive North Las Vegas, NV 89081 (800) 992-4993 www.powercommander.com
I n s t a l l a t i o n I n s t r u c t i o n s
2007-2013 Suzuki GSXR1000 QEM - 1
Advertisement
Table of Contents

Related Manuals for Dynojet Quickshifter


Summary of Contents for Dynojet Quickshifter
- Page 1 PARTS LIST Quick Shifter Module Installation Guide Power Commander Decals Dynojet Decals 2007-2013 Suzuki GSXR1000 Velcro Alcohol swab I n s t a l l a t i o n I n s t r u c t i o n s PLEASE READ ALL DIRECTIONS BEFORE STARTING INSTALLATION 2191 Mendenhall Drive North Las Vegas, NV 89081 (800) 992-4993 www.powercommander.com...
- Page 2 FIG.A Remove the main seat and the passenger seat. Lift the fuel tank up or remove. Mount the QEM in the tail section using the supplied velcro. Make sure to clean both surfaces with the alcohol swab before attaching. Route the QEM harness down the left side of the bike. FIG.B Unplug the stock wiring harness from the UPPER set of injectors (Fig.
- Page 3 Quickshifter feature. Make sure the Switch Input setting is set to Switch Input #2. Click the Configuration button for the Quickshifter feature. You can adjust kill times per gear by going to Mode - Gear Dependent. For this to function you must have the speed input connected to the PCV and gear position calibrated correctly (see PCV install guide).
Need help?
Do you have a question about the Quickshifter and is the answer not in the manual?
Questions and answers