Orbit B-Hyve User Manual
Wifi sprinkler timer
Hide thumbs
Also See for B-Hyve:
- Quick start manual (64 pages) ,
- User manual (15 pages) ,
- Owner's manual (2 pages)
Advertisement
Table of Contents
- 1 Table of Contents
- 2 Contents in the Box
- 3 Getting Started
- 4 Timer Installation
- 5 Uninstalling/Reinstalling
- 6 The B-Hyve App
- 7 Timer Controls/Features
- 8 Simple Controls
- 9 Using the Dial
- 10 Using the Back and Clear Buttons
- 11 Using the Program (PROG ABC) Button
- 12 Using the Rain Delay Button
- 13 Timer LCD
- 14 Programming the Timer
- 15 Manual Operation
- Download this manual
Advertisement
Table of Contents

Related Manuals for Orbit B-Hyve


Summary of Contents for Orbit B-Hyve
- Page 1 Users Manual 57946-50 rB...
- Page 2 Connecting with B-hyve™ Thank you for purchasing the Orbit® Nature is a wonderful gardener and is always B-hyve™ wifi sprinkler timer . At Orbit, we subtly working with you to take care of your share your passion for a beautiful landscape landscape .
-
Page 3: Table Of Contents
The B-hyve App . . . . . . . . . . . . . . . . . . . -
Page 4: Contents In The Box
Contents in the Box Wifi Sprinkler Timer Keys Screwdriver Quick Start Guide Installation Hardware... -
Page 5: Getting Started
Getting Started Your B-hyve™ sprinkler timer is great for new installations or for replacing an old sprinkler timer . Here are some basic steps to get your timer set up and get you closer to saving water and money . -
Page 6: Timer Installation
Timer Installation Select a location Keyhole 1/8" Choose a location near power and away from direct sunlight, if possible . Make sure to leave room for the timer door to open No. 8 Screw completely . Mount the timer Install a screw (included) into the wall . Wall Pre-formed Use the expanding anchors (included) for... - Page 7 Timer Installation–Connecting to WIFI Plug in your Orbit® B-hyve™ timer Once your Orbit® timer is plugged into the power source, it will automatically look to pair with your smart device . In the top left corner of the timer screen the “wifi” icon will begin a graduated blinking sequence .
-
Page 8: Uninstalling/Reinstalling
Uninstalling/Reinstalling How to re-pair with wifi You can re-pair your smart device with your B-hyve™ timer by turning the dial to “Off” and pressing the reset button on the back of the swing panel . The timer display will show “Pair .”... -
Page 9: The B-Hyve App
The B-hyve™ App Timer Connected Symbol Weather/Temp . Running Status/Messaging Stop Watering Rain Delay Next Zone Calendar Settings Programs Zone List Remote Control or Home Button Note: There is a wizard in the app to guide you through initial set up of your sprinkler timer . In addition, there are help icons... -
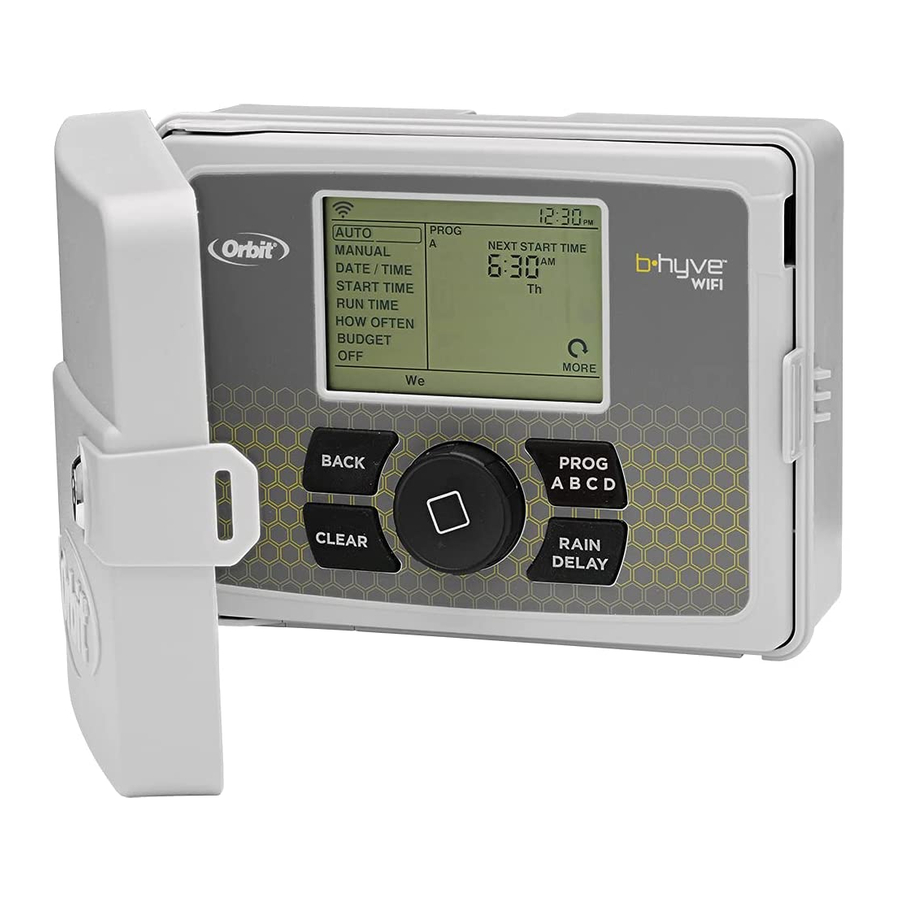
Page 10: Timer Controls/Features
Your timer was built to make installation easy and fast, while providing convenient controls to make adjustments directly when you’re standing in front of the timer, or from anywhere in the world with the B-hyve™ app . Lock and Latch Weather Resistant Cover Dial... -
Page 11: Simple Controls
Simple Controls Programming at the timer can be done whether you are connected to wifi or not . It allows the gardener who left their phone inside to run a manual cycle, or adjust programming as needed and keep dirty hands away from the phone . -
Page 12: Using The Dial
Using the DIAL The DIAL can be used to scroll up or down, left or right on menus, dates and times . Press the DIAL to confirm a selection, to deselect or to skip a running station . -
Page 13: Using The Back And Clear Buttons
Using the BACK and CLEAR Buttons The BACK button can be used return to the main menu, or can be pushed twice to return to auto . The CLEAR button can be used to clear entries in a selected screen . The CLEAR button may also be used to cancel Rain Delay, cancel a running program or cancel a manual watering cycle . -
Page 14: Using The Program (Prog Abc) Button
Using the PROGRAM (PROG ABC) Button The A, B, C and Smart programs provide Press PROG ABC to turn on or off the flexibility to set up and run different programs that have been set-up . A, B, C or programs for plants with different watering Smart will illuminate to show programs that needs . -
Page 15: Using The Rain Delay Button
Using the RAIN DELAY Button The RAIN DELAY button can be used to turn off all watering for a duration of 1 to 32 days . Press RAIN DELAY repeatedly, or turn the dial after pressing rain delay once, until the desired number of days is showing in the LCD . -
Page 16: Timer Lcd
. WIFI Blinking–it is not connected to wifi . Solid, with an exclamation point– communicating with wifi, but not communicating with Orbit’s servers . FAULT Indicates a short in a zone Indicates that water budgeting has been adjusted... -
Page 17: Programming The Timer
Programming the Timer–AUTO and OFF The timer should be in AUTO during the irrigation season and OFF in the winter months or the non-irrigation months . Turn the dial to the AUTO position and press the dial or just leave it there to keep it in AUTO . - Page 18 Programming the Timer–DATE/TIME If you are connected to wifi, the time and date will automatically be sent to the sprinkler timer . To set the date and time manually, turn the dial until the selection box is on DATE/ TIME and press the dial . Set the date by turning the dial until the correct year, month and day are shown and press the dial to confirm each selection .
- Page 19 Programming the Timer–START TIME This is the time that the first zone will begin watering . Only one start time is needed to run each station in the program . Turn the dial until the selection box is on START TIME and press the dial . Turn the dial to the desired start hour and press the dial to confirm the selection .
- Page 20 Programming the Timer–RUN TIME This is where you will set up how long each zone will run Turn the dial until the selection box is on RUN TIME and press the dial . The station number will flash–turn the dial until the desired zone is flashing and press the dial .
- Page 21 Programming the Timer–HOW OFTEN This will determine HOW OFTEN (what days or interval) the timer will water . Turn the dial until the selection box is on HOW OFTEN and press the dial . Rotate the dial until the desired day of the week or INT, ODD or EVEN is flashing and press the dial .
- Page 22 Programming the Timer–BUDGET The water budgeting feature makes it easy to change all of your run times without having to change them one by one . Turn the dial until the selection box is on BUDGET and press the dial . Adjusting budget will adjust all of the run times in a program by the percentage chosen .
-
Page 23: Manual Operation
Manual Operation Manual is used to test zones or run an Note: you can program more than one extra cycle for a zone, a program or for all specific zone using this process . Repeat zones . the steps for zone selection and duration to water additional zones . - Page 24 Product, that the Product is an Ineligible Product WITH YOUR PRODUCTS . YOUR USE OF THOSE SERVICES ARE SUBJECT (defined below) . Orbit will bear all costs of return shipping to owner and will TO SEPARATE TERMS OF SERVICE .
Need help?
Do you have a question about the B-Hyve and is the answer not in the manual?
Questions and answers
How to open battery compartment for Orbit 57946
The document does not provide specific instructions on opening the battery compartment for the Orbit B-Hyve 57946. However, it mentions that to replace the battery, you need to lift the edge of the CR2032 coin cell battery to remove it. Do not use a screwdriver or metal object. Insert a new CR2032 battery at an angle and press to click it into place. Ensure the battery compartment is completely secured.
This answer is automatically generated