Table of Contents
Advertisement
Advertisement
Table of Contents

Related Manuals for Timeguard SLFM360L


Summary of Contents for Timeguard SLFM360L
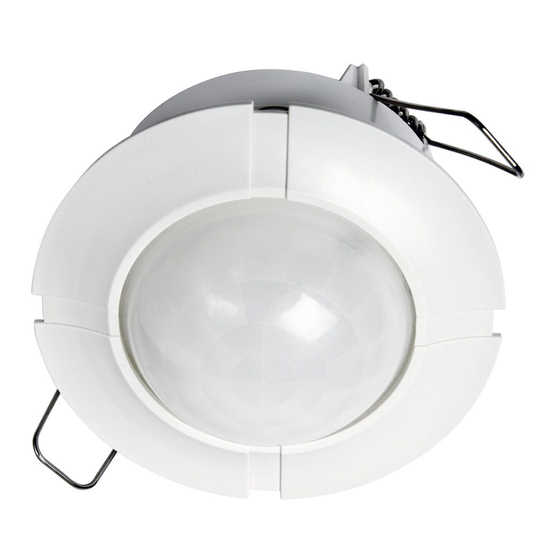
- Page 1 360° Ceiling PIR Light Controller Model: SLFM360L...
-
Page 2: General Information
• IP44 Rated suitable for restricted internal applications • CE Approved • Manual Override • Multiple PIR Sensor Switching: A maximum of 8 SLFM360L PIR sensors can be wired in parallel, to enable any detector to turn ON all the lights connected. -
Page 3: Selecting A Location
4. Selecting a Location • The motion detector has number of detection zones, at various vertical and horizontal angles as shown (See diagram “A”). • The best all-round coverage is achieved with the unit mounted at the optimum height of 2.5 metres. •... -
Page 4: Installation And Connection
5. Installation & Connection • Ensure the mains supply is switched off and the circuit supply fuses are removed or the circuit breaker turned off. • An isolating switch should be installed to enable the power to be switched ON & OFF for maintenance purposes and to activate the manual/auto override function. - Page 5 • Push back the locating springs (See diagram “G”) and feed the unit into the ceiling void via the 75mm hole. The locating springs will now fold Time On setting back and hold the SLFM360L in place. Less sensitive Diagram C Lens Mask Diagram D...
- Page 6 Time On Lux- Factory tted setting Dusk/Dawn bridge wire REMOVED setting Diagram E Diagram F Factory tted Factory tted Levering area bridge wire bridge wire REMOVED Switched Mains Time On Lux- Load Supply setting Dusk/Dawn setting Time On Lux- setting Dusk/Dawn setting Factory tted...
- Page 7 6. Setting Up • Turn the power to the unit ON. The lamp will immediately illuminate as the unit goes through its “warm-up” period. After approximately 1 minute the lamp will extinguish. This indicates the unit is wired correctly and the unit is in Test Mode. •...
-
Page 8: Manual Override Mode
3. Leave the control set at this point. • At this position the unit should become operative at approximately the same level of darkness • Observe the operation of the unit. If the unit is starting to operate too early (i.e. when it is quite light) adjust the control slightly anti-clockwise. If the unit starts to operate too late (i.e. -
Page 9: Troubleshooting
10. Troubleshooting Problem Solution Cover the PIR lens with a thick cloth. If the light • Lamp stays ON all the time turns OFF, check the detection area for heat or a night and day. reflective source. If the light stays ON, check the wiring (See section 5. - Page 10 • PIR activates during Adjust the DUSK control setting anti-clockwise the daytime. to lower the level of ambient light required for activation. The PIR may be poorly located • PIR coverage is poor/sporadic (See section 4. Selecting a location) and re-locate the unit. •...
-
Page 11: Year Guarantee
020 8450 0515. Note: A proof of purchase is required in all cases. For all eligible replacements (where agreed by Timeguard) the customer is responsible for all shipping/ postage charges outside of the UK. All shipping costs are to be paid in... - Page 12 If you experience problems, do not immediately return the unit to the store. Telephone the Timeguard Customer Helpline; HELPLINE 020 8450 0515 or email helpline @ timeguard.com Qualified Customer Support Co-ordinators will be on-line to assist in resolving your query.
Need help?
Do you have a question about the SLFM360L and is the answer not in the manual?
Questions and answers