Table of Contents
Advertisement
Quick Links
Advertisement
Table of Contents

Related Manuals for Makita 6906


Summary of Contents for Makita 6906
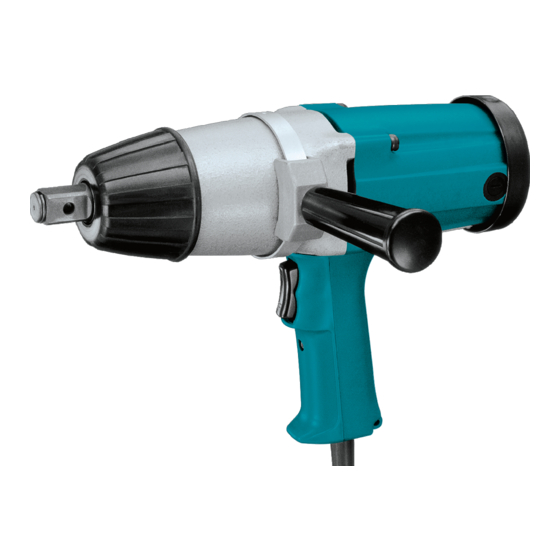
- Page 1 Impact Wrench 19 mm (3/4”) MODEL 6906 I N S T R U C T I O N WARNING: For your personal safety, READ and UNDERSTAND before using. SAVE THESE INSTRUCTIONS FOR FUTURE REFERENCE. w w w . m a k i t a t o o l s . c o m...
-
Page 2: Specifications
Distrac- tions can cause you to lose control. Bolt size Electrical Safety 4. Double insulated tools are equipped with 6906 M16 - M22 (5/8” - 7/8”) 19 mm (3/4”) 1,700/min. 1,600 588 N.m (433 ft.lbs) 327 mm (12-7/8”) -
Page 3: Personal Safety
5. Avoid body contact with grounded sur- faces such as pipes, radiators, ranges and refrigerators. There is an increased risk of electric shock if your body is grounded. 6. Do not expose power tools to rain or wet conditions. Water entering a power tool will increase the risk of electric shock. -
Page 4: Specific Safety Rules
USE PROPER EXTENSION CORD: Make sure your extension cord is in good condition. When using an extension cord, be sure to use one heavy enough to carry the current your product will draw. An undersized cord will cause a drop in line voltage resulting in loss of power and overheating. -
Page 5: Functional Description
FUNCTIONAL DESCRIPTION 002312 1. Switch trigger ASSEMBLY 002332 1. Side grip CAUTION: • Always be sure that the tool is switched off and unplugged before adjusting or checking function on the tool. Switch action CAUTION: • Before plugging in the tool, always check to see that the switch trigger actuates properly and returns to the “OFF”... -
Page 6: Operation
002338 1. Socket 2. Anvil OPERATION (ft.lbs) (505) (433) (361) (288) (216) (144) (72) Installing or removing socket To install the socket, push it onto the anvil of the tool until it locks into place. To remove the socket, simply pull it off. The proper fastening torque may differ depending upon the kind or size of the bolt, the material of the workpiece to be fastened, etc. -
Page 7: Maintenance
MAINTENANCE 001145 1. Limit mark The fastening torque is affected by a wide variety of factors including the following. After fastening, always check the torque with a torque wrench. 1. Voltage Voltage drop will cause a reduction in the fastening torque. - Page 8 CAUTION: • These accessories or attachments are recommended for use with your Makita tool specified in this manual. The use of any other accessories or attachments might present a risk of injury to persons. Only use accessory or attachment for its stated purpose.
- Page 9 First-Class Postage Required Post Office will not deliver without proper postage. Makita U.S.A., Inc. 14930 Northam Street La Mirada, CA 90638-5753 Fold...
- Page 10 Paste 3. How did you learn about this product: Magazine From Dealer Newspaper Store Display Catalog 4. Most favored points are: Design Features Size Price Makita Brand MODEL NO. YEAR SERIAL NO. PHONE 20-29 30-39 40-49 Paste Paste Radio Exhibition...
-
Page 11: Factory Service Centers
Date Purchased When you need service: Send complete tool (prepaid) to one Dealer’s Name & Address of the Makita Factory Service Centers listed, or to an Authorized Makita Service Center. Be sure to attach a letter to the outside of Model No. -
Page 12: Warranty Policy
MAKITA LIMITED ONE YEAR WARRANTY Warranty Policy Every Makita tool is thoroughly inspected and tested before leaving the factory. It is warranted to be free of defects from workmanship and materials for the period of ONE YEAR from the date of original purchase.