Table of Contents
Advertisement
FOR PERFECT RESULTS
Thank you for choosing this AEG product. We have
created it to give you impeccable performance for many
years, with innovative technologies that help make
life simpler – features you might not find on ordinary
appliances. Please spend a few minutes reading to get
the very best from it.
ACCESSORIES AND CONSUMABLES
In the AEG webshop, you'll find everything you
need to keep all your AEG appliances looking spotless
and working perfectly. Along with a wide range
of accessories designed and built to the high quality
standards you would expect, from specialist cookware
to cutlery baskets, from bottle holders to delicate
laundry bags...
Visit the webshop at:
www.aeg electrlux.com/shop
all measurements in mm
Intr
Rot
14p
10m
8m
Intr
Rot
14p
16m
We
7x7
1,5
We
Rot
10p
Advertisement
Table of Contents
Troubleshooting

Related Manuals for AEG PE4542-M


Summary of Contents for AEG PE4542-M
- Page 1 FOR PERFECT RESULTS Intr Thank you for choosing this AEG product. We have created it to give you impeccable performance for many years, with innovative technologies that help make life simpler – features you might not find on ordinary Intr appliances.
-
Page 2: Table Of Contents
CONTENTS Cleaning the inside of the coffee maker ......15 Cleaning the brewing unit ..........15 INTRODUCTION ......... 7 Cleaning the coffee jug ..........16 Symbols used in these instructions .........7 CHANGING AND SETTING MENU PARAMETERS Letters in brackets ............7 ............... 16 Troubleshooting and repairs ..........7 Setting the language ............16 SAFETY ............. -
Page 3: Introduction
INTRODUCTION N.B.: Symbols used in these instructions This symbol identifies important advice or information for the Important warnings are identified by these symbols. user. It is vital to respect these warnings. Failure to observe the instructions could result in electric shock, Letters in brackets serious injury, burns, fire or damage to the appliance. -
Page 4: Designated Use
The manufacturer is not liable for damage deriving from impro- per use of the appliance. Danger! This is an electrical appliance, it is therefore This appliance can be installed over a built-in oven if the latter important to respect the following safety warnings: is fitted with a cooling fan at the rear (maximum microwave •... -
Page 5: Description Of The Control Panel
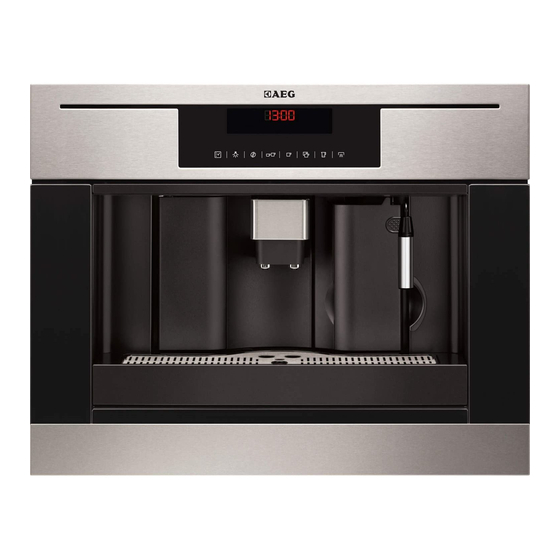
Description of the control panel Connecting the appliance (page 3 - B) Danger! Check that the mains power supply voltage N.B.: Only icons B6, B7, B8, B9 and B14 concerning the corresponds to the value indicated on the rating plate on the enabled commands will light up on the control panel. -
Page 6: Using The Appliance For The First Time
USING THE APPLIANCE FOR THE TURNING ON AND HEATING UP Each time the appliance is turned on, it performs an automatic FIRST TIME preheat and rinse cycle which cannot be interrupted. • Coffee has been used to factory test the appliance and it is The appliance is ready for use only after completion of this therefore completely normal for there to be traces of coffee cycle. -
Page 7: Changing The Quantity Of Coffee In The
se cycle. Take care to avoid scalds). NOTE 8: Never extract the water tank while the machine is de- NOTE 1: If the coffee is delivered a drop at a time or not at all, see livering coffee. the “Adjusting the coffee mill” section. If it is removed, it will not be possible to make the coffee and NOTE 2: If the coffee is delivered too fast and the cream is not the appliance will display “GROUND TOO FINE ADJUST MILL AND satisfactory, see the “Adjusting the coffee mill” section. PRESS OK” and then “FILL TANK”. Check the level of water in the NOTE 3: Tips for a hotter coffee: tank and replace in the appliance. -
Page 8: Adjusting The Coffee Mill
ADJUSTING THE COFFEE MILL and the funnel clogs, push the coffee down with a knife (fig. 21) then remove and clean the brewing unit and machine as descri- The coffee mill is preset in the factory and should not require bed in the “Cleaning the brewing unit”... -
Page 9: Making A Number Of Cups Of Coffee With The Jug Function
refrigerator temperature. coffee hot. • Immerse the cappuccino maker in the milk container (fig. • Turn the jug lid until the arrow lines up with the word OPEN 23), taking care not to immerse it for more than half its and remove the lid. length. Rinse the jug and lid. • Close the jug by turning the lid towards CLOSE until it is •... -
Page 10: Changing Jug Function Parameters
kes 2 cups then stops making coffee. Fill the bean container and • Press the icon (B6) to exit the programming menu. press the icon (B14). Once the container has been filled, the appliance makes the 2 remaining cups only to reach the required CLEANING number of 4 cups. -
Page 11: Cleaning The Water Tank
5. Close the service door. 5. Soak the brewing unit in water for about 5 minutes, then rinse. 6. After cleaning, replace the brewing unit (A5) by sliding it Cleaning the water tank onto the internal support and pin at the bottom, then push 1. -
Page 12: Changing And Setting Menu Parameters
CHANGING AND SETTING MENU coffee, you must preheat the brewing unit by first pressing icon (B2) to enter the menu then the PARAMETERS icons (B7) and (B8) to select the “ RINSING” function. When the appliance is ready, you can use the internal menu to Press the OK icon (B9). modify the following parameters and functions: “RINSING... PLEASE CONFIRM” is displayed. -
Page 13: Changing Coffee Temperature
le warning when actually necessary. • Press the e icons (B7) and (B8) to activate the auto- start function until “ AUTO START” is displayed. Programming coffee • Press the OK icon (B9) to confirm. “AUTO START PLEASE CONFIRM” is displayed. For instructions on programming coffee, see the “ CHANGING THE Press the OK icon (B9). QUANTITY OF COFFEE IN THE CUP” section. symbol appears on the display. Programming the jug •... -
Page 14: Resetting Default Values (Reset)
Buzzer deliveries and pauses. • After about 30 minutes “DESCALE COMPLETE PLEASE CON- This activates or deactivates the buzzer emitted by the machine FIRM” is displayed. each time an icon is pressed or an accessory is inserted/remo- • Press the OK icon (B9). “ RINSING FILL TANK” is displayed. ved. • Empty the water tank, rinse to eliminate descaler residues, then fill with clean water. N.B.: The buzzer is active by default. - Page 15 Size LxHxD: 594x 378/460x398 Weight: 23/24 kg The appliance complies with the following EC directi- ves: • Low Voltage Directive 2006/95/EC and subsequent amendments; • EMC Directive 2004/108/EC and subsequent amendments • EC Regulation 1275/2008 for standby Materials and accessories coming into contact with food conform to European regulation (EC) no. 1935/2004.
-
Page 16: Displayed Messages
DISPLAYED MESSAGES DISPLAYED MESSAGE POSSIBLE CAUSE REMEDY FILL TANK! The water tank is empty or positioned Fill the tank with water and/or insert it cor- incorrectly. rectly, pushing it as far as it will go. GROUND TOO FINE ADJUST MILL AND The grinding is too fine and the coffee Turn the grinding adjustment knob one click (alternating with) is delivered too slowly. -
Page 17: Troubleshooting
DISPLAYED MESSAGE POSSIBLE CAUSE REMEDY GENERAL ALARM The inside of the appliance is very Clean the inside of the appliance thoroughly, dirty. as described in the section “Cleaning and maintenance”. If the message is still displayed after clea- ning, contact a customer services. TROUBLESHOOTING Below is a list of some of the possible malfunctions.