Philips CE132 User Manual
Philips ce132 car audio system user manual
Hide thumbs
Also See for CE132:
- User manual (27 pages) ,
- Specifications (3 pages) ,
- User manual (26 pages)
Table of Contents
Advertisement
Quick Links
Download this manual
See also:
User Manual
Advertisement
Table of Contents

Related Manuals for Philips CE132


Summary of Contents for Philips CE132
- Page 1 Always there to help you Register your product and get support at www.philips.com/support CE132 Question? Contact Philips User manual...
-
Page 3: Table Of Contents
Contents 1 Safety 10 Product information 2 Your car audio system 11 Troubleshooting Introduction What's in the box 12 Notice Overview of the system Care of the environment Trademark notice 3 Install the car audio system Copyright Connect wires Mount into the dashboard Attach the front panel 4 Get started Set the time format... -
Page 4: Safety
1 Safety Read and understand all instructions before you use this device. If damage is caused by failure to follow instructions, the warranty does not apply. in hazardous radiation of EMC or other unsafe operation. The device is designed for negative ground (earth) 12 V DC operation only. -
Page 5: Your Car Audio System
2 Your car audio ID3 tag V2.0 or later system .m4p, .mp4, and .aac) Congratulations on your purchase, and support that Philips offers, register your product What's in the box at www.philips.com/welcome. Check and identify the contents of the package: Introduction... -
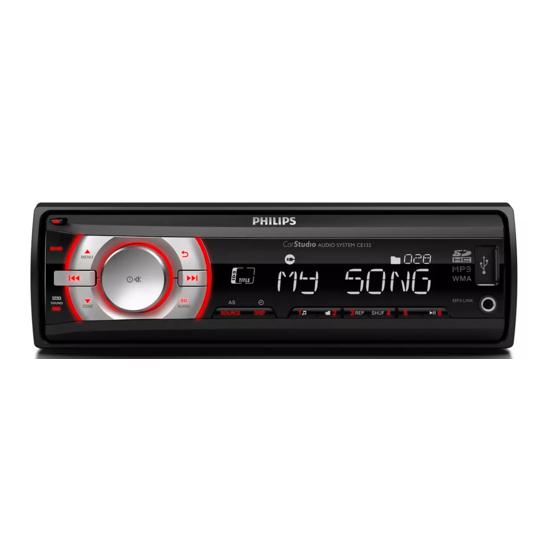
Page 6: Overview Of The System
Overview of the system t srq l k j i h f MP3-LINK Unlock the front panel. Connect to the audio output socket (usually the headphone socket) of an external device. For .wma and .mp3 tracks, press to select the previous folder. Press and hold to access the system Start, pause, or resume the play of menu. - Page 7 For .wma and .mp3 tracks, press to In radio mode, press to select the access the track list. preset radio station of No. 5. /DSP In radio mode, press and hold to store Press repeatedly to display available the current radio station at channel information about the current track.
- Page 8 t BAND Press repeatedly to select a tuner band. Insert an SD/SDHC card. v RESET Press to reset the system to factory default settings.
-
Page 9: Install The Car Audio System
3 Install the car Connect wires audio system Note Make sure that all loose leads are insulated with electrical tape. Caution Consult a professional to connect wires as instructed below. Use the controls only as stated in this user manual. Check the car's wiring carefully and Always follow the instructions in this chapter in connect them to the the ISO male... -
Page 10: Mount Into The Dashboard
Make sure that the car dashboard opening illustrated, if applicable. is within these measurements: REAR Remove the mounting sleeve with the supplied disassembly tools. Sockets on rear External sockets or panel connectors For ISO male As indicated above connectors REAR L Rear left speaker REAR R Rear right speaker... -
Page 11: Attach The Front Panel
Slide the unit into the sleeve until you hear a "click". Press the left end of the front panel inwards until it is securely locked with a "click". Attach the trim plate. Detach the front panel Note Before you insert an SD/SDHC card or reset the system, detach the front panel. -
Page 12: Get Started
[CLK] is Press displayed with time digits blinking. Press to turn on the system. » [PHILIPS] is displayed and then Rotate anti-clockwise to set the hour. [SELECT OPERATING REGION] Rotate clockwise to set the minute. (select a radio region) scrolls. -
Page 13: Mute The Button Beep
5 Listen to radio Mute the button beep The beep sound of buttons is enabled by Switch to radio mode default. Press and hold to access the system menu. Press AS/SOURCE repeatedly to switch the source to [RADIO]. repeatedly until [BEEP ON] Press or [BEEP OFF] is displayed. -
Page 14: Search For A Radio Station
6 Play from a Search for a radio station storage device Search for a radio station automatically Press to search for the previous or next radio station with strong signals. Search for a radio station manually until [M] blinks. Press and hold Press repeatedly until the target frequency is displayed. -
Page 15: Control Play
Switch folders for a track Control play Press to access the folder list. » The name of current folder scrolls. Button Function Rotate to toggle through folders. Press repeatedly to select a folder. Pause or resume play. Press to select the folder. Press to play the previous or next »... -
Page 16: Listen To An External Player
7 Listen to an 8 Adjust sound external player The following operations are applicable to all supported media. You can use the system to amplify the audio Button Function input from an external player, for example, MP3 Rotate to increase or decrease the player. -
Page 17: Additional Information
9 Additional Note information If the fuse gets damaged immediately after it is replaced, an internal malfunction may occur. In such case, consult your local retailer. Reset the system If the system works abnormally, reset the system to factory default settings. Detach the front panel. -
Page 18: Product Information
If the problem remains Power supply 12 V DC (11 V - 16 V), unsolved, go to the Philips Web page (www. negative ground philips.com/support). When you contact the Fuse 15 A... -
Page 19: Notice
Philips and the Philips’ Shield Emblem are Do not throw away the product with the registered trademarks of Koninklijke Philips N.V. normal household waste at the end of its life, and are used by WOOX Innovations Limited under license from Koninklijke Philips N.V. - Page 20 Specifications are subject to change without notice. 2014 © WOOX Innovations Limited. All rights reserved. Philips and the Philips’ Shield Emblem are registered trademarks of Koninklijke Philips N.V. and are used by WOOX Innovations Limited under license from Koninklijke Philips N.V. CE132_55_UM_V3.0...