Advertisement
Advertisement
Table of Contents

Related Manuals for Honeywell HLSPS25-XPH


Summary of Contents for Honeywell HLSPS25-XPH
-
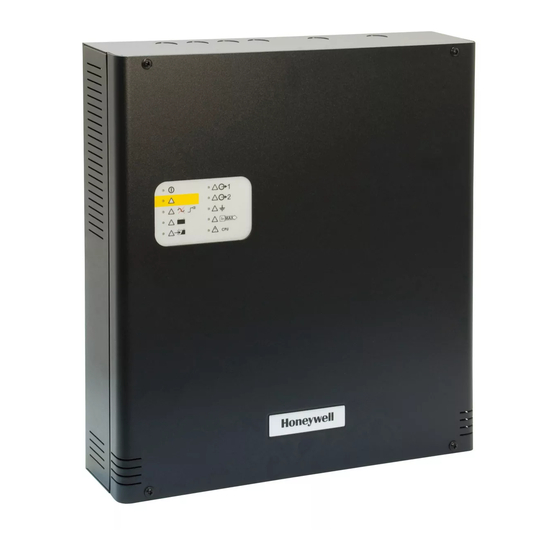
Page 1: Power Supply Unit
Power Supply Unit HLS PS Series HLSPS25-XPH and HLSPS50-XPH User manual 8 APRIL 2010 HW_MN-DT-1305I_B Information in this document is subject to change without notice... - Page 2 HLS PS25 & HLS PS50 User Manual MN-DT-1305I_B...
-
Page 3: Table Of Contents
HLS PS25 & HLS PS50 User Manual Contents HLS PS Series Installation Checking the HLS PS for damage Pre-installation check list Transient protection Cleaning Back Box HLS PS fixing Functions and indicators HLS PS25 and HLS PS50 characteristics Battery Fault relay Control Unit connections Indicator leds Specification... -
Page 4: Hls Ps Series Installation
HLS PS25 & HLS PS50 User Manual 1. POWER SUPPLIES HLS PS SERIES INSTALLATION The HLS PS Serie s i s ea sy to i nstall p roviding th e recommended procedu res de scribed in this m anual are followed. -
Page 5: Pre-Installation Check List
HLS PS25 & HLS PS50 User Manual 1.2 Pre-installation check list Before selecting the location for the HLS PS Series, DO make sure that: a) The ambient temperature is in the range: -5 ºC to 40 ºC b) The relative humidity is bellow: (non-condensing) c) DO NOT loca te th e e quipment w here i t is ex posed to high levels of moisture. -
Page 6: Back Box Hls Ps Fixing
HLS PS25 & HLS PS50 User Manual 1.5 Back Box HLS PS Series fixing When a suitable location has been found for installing the HLS PS Series, proceed as follows: 1. Hold th e b ack box a ssembly in the required p osition ag ainst the wall and m ark the p osition of th e fixing holes, while ensuring the panel is level. -
Page 7: Functions And Indicators
HLS PS25 & HLS PS50 User Manual 2. HLS PS Functions and indicators FRONT PANEL: FUS BAT FAULT LOW BAT NO BAT BAT CH BAT DIS IN ALARM BAT TEST 321087 MAX. LEGEND: => OUTPUT 1 FAULT => ON => OUTPUT 2 FAULT =>... -
Page 8: Hls Ps25 And Hls Ps50 Characteristics
HLS PS25 & HLS PS50 User Manual 2.1 HLS PS25 / HLS PS50 characteristics These Po wer Supplies Units are des igned to comply with th e requirements of EN54-4 in order to provide fire control systems with backup supply. The HLS PS Series operates at 115/230 Vac and 50/60 Hz. -
Page 9: Battery
HLS PS25 & HLS PS50 User Manual 2.2 Battery DIP SW2 al lows se lecting the m aximum cu rrent o f battery load, depending on the batteries inside the power supply unit box. With DIP SW2 in ON position (up), 7Amp/h batteries can be charged at 3 00mA. -
Page 10: Control Unit Connections
HLS PS25 & HLS PS50 User Manual 2.4 Control Unit Connections: The following 4 connectors are placed at the top of the Control Unit: FAULT (C) Fault Relay Common FAULT (NC) Normally Closed Contact FAULT (NO) Normally Open Contact The faul t rel ay may be li nked to an analogue input modu le to report any fault t o a third equipment li ke a FACP ( Fire Alarm Control Panel). - Page 11 HLS PS25 & HLS PS50 User Manual The following is placed at the bottom of the Control Unit: IN BAT Batteries (+) IN BAT Batteries (-) TEST The test butto n allows performing a led te st and makes a real test of batteries forc ing them to supply current of 1 A approx.
-
Page 12: Indicator Leds
HLS PS25 & HLS PS50 User Manual 2.5 Indicator leds: ON Led This led is ON when the Control Unit is powered. Fault Led Yellow led that is O N in case of a Po wer Supply Fault. When this indication is a ctivated, the C an d NC contacts of the fault relay will be closed. - Page 13 HLS PS25 & HLS PS50 User Manual OUTPUT 1 FAULT Led Indicates that the output 1 is not powered. OUTPUT 2 FAULT Led Indicates that the output 2 is not powered. EARTH FAULT Led Indicates an Earth Fault if one of t he wirings (+) o r (-) is lin ked to earth.
-
Page 14: Specification
HLS PS25 & HLS PS50 User Manual Specification Dimensions: 377 mm (w) x 408 mm (h) x 92 mm (d). Power Supply Wattage: 130 W (HLSPS50) y 65 W (HLSPS25). The HLSPS50 power supply has a total of 5Amp and 300mA to 600mA of them are dedicated to charge batteries. - Page 15 HLS PS25 & HLS PS50 User Manual MN-DT-1305I_B...
- Page 16 Honeywell Life Safety Iberia C/Pau Vila 15-19 E-08911 Badalona (Barcelona) Spain Tel.: +34 93 4973960 Fax: +34 93 4658635 www.honeywelllifesafety.es Honeywell Life Safety: Charles Avenue, Burgess Hill, Berliner Straße 91 RH15 9UF West Sussex D-40880 Ratingen Tel.: +44 (0) 1444 230 300 Tel.: +49 2102-700 69-0...