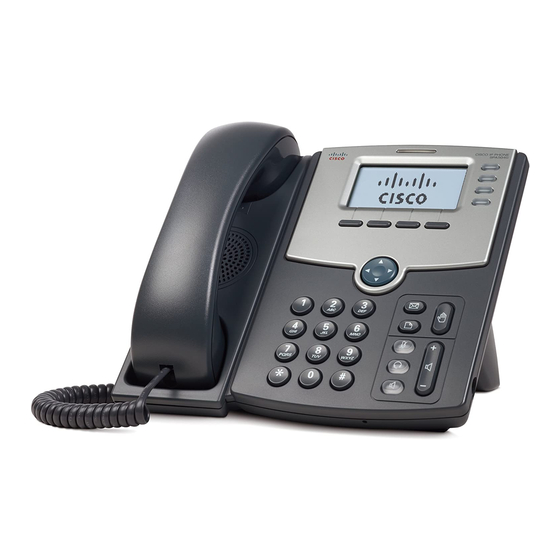
Cisco SPA504G Setup & User Manual
Hide thumbs
Also See for SPA504G:
- Quick start manual ,
- User manual (74 pages) ,
- Owner's manual (54 pages)
Advertisement
Table of Contents
- 1 Installing Your IP Phone
- 2 Using a Wireless Connection
- 3 Using the Call Features of the Cisco SPA504G
- 4 Placing a Call
- 5 Answering a Call
- 6 Ending a Call
- 7 Placing a Conference Call
- 8 Conference Call Tips
- 9 Blind Transferring
- 10 Warm Transferring
- 11 Call Forwarding
- 12 Do Not Disturb
- 13 Accessing Voice Mail
- 14 Recording Unavailable Voice Message
- 15 Paging
- Download this manual
Advertisement
Table of Contents

Summary of Contents for Cisco SPA504G
- Page 1 Cisco VoIP IP SPA504G Setup & User Guide About This Guide This guide is intended to show you how to install your phone and describes how to use some of the basic functions and features. The features available on your phone...
- Page 2 Installing Your IP Phone Use these procedures to install the phone and connect it to your network. STEP 1 Turn the phone body over to expose the ports on the back of the unit. CAUTION Do not insert a telephone line cord into the auxiliary port. STEP 2 Insert the long end of the phone cord into the handset port on the phone body that is marked with a phone symbol.
- Page 3 (on models with phone line keys). On the SPA504G, you should hear a dial tone when picking up the handset or pressing the speakerphone button, and the LCD screen displays a phone...
- Page 4 Using the Call Features of the Cisco SPA504G Placing a Call There are 2 options available to place a call: Lift the handset and dial the number. (This method will take 5 seconds before it makes the call) Dial the number and press the ―dial‖...
- Page 5 MUTE button to mute the speakerphone. The conference parties cannot hear you but you can hear them. The Cisco IP Phone 504G only allows three parties in a conference call. Call waiting calls cannot be conferenced in, the conferencing node must establish both legs of the 3-Way conference.
- Page 6 Then simply Dial the VoIP extension you require if transferring to someone in the office or enter the mobile or landline number to which you want to transfer the call. Press the ―dial‖ soft key to transfer the call. Warm Transferring This allows you to speak to the person you are transferring to prior to transferring the call.
- Page 7 And then enter the number you would like to forward to and then hit the dial button to confirm. If successful it will display as Calls Forwarded on your screen. And call *73 to disable call forwarding Do Not Disturb To enable Do Not Disturb hit the ―dnd soft key To disable Do Not Disturb hit the ―-dnd soft key Accessing Voice Mail...
- Page 8 Simply call *97 from your VoIP Phone and then enter your password. Then press option 0 for advanced options Then press option 1 to record your unavailable message. Paging Dial 222 to call all phones in the paging group. Press *80(EXT) to page a direct extension. Ex: *80103 will reach Ext: 103...


