Table of Contents
Advertisement
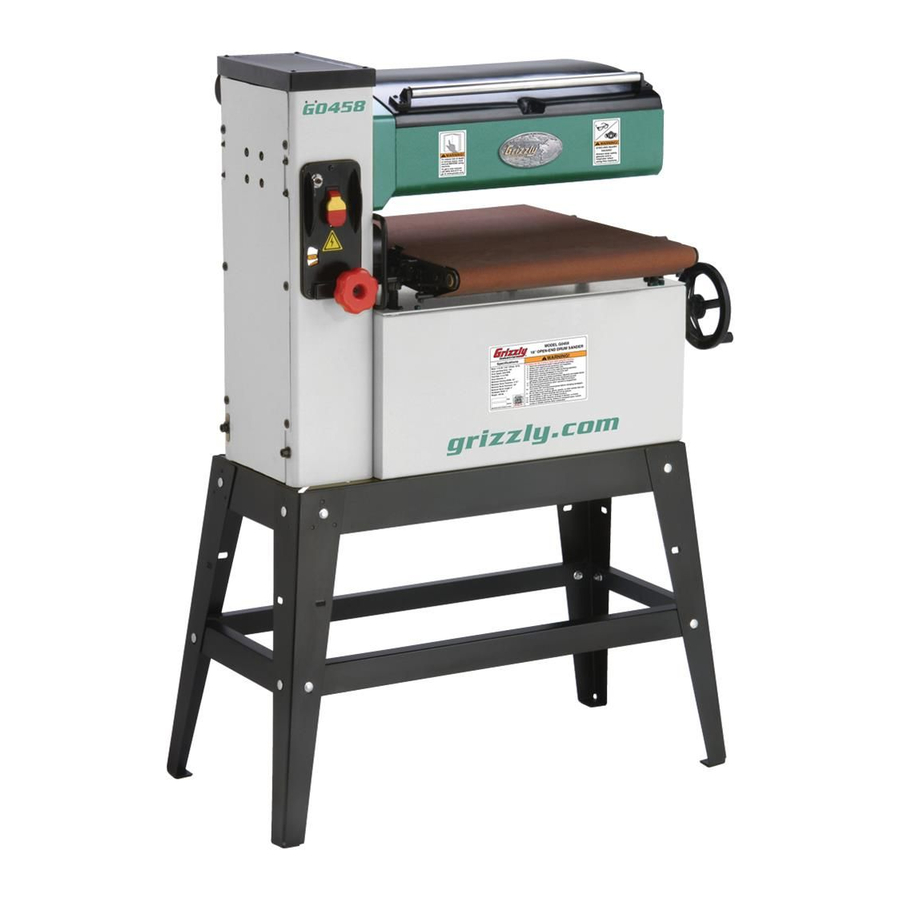
18" Open End Drum Sander
MODEL G0458
INSTRUCTION MANUAL
COPYRIGHT © AUGUST, 2005 BY GRIZZLY INDUSTRIAL, INC. REVISED DECEMBER, 2007 (BL)
WARNING: NO PORTION OF THIS MANUAL MAY BE REPRODUCED IN ANY SHAPE
OR FORM WITHOUT THE WRITTEN APPROVAL OF GRIZZLY INDUSTRIAL, INC.
#TRCREWPCBL7423 PRINTED IN CHINA
Advertisement
Table of Contents

Related Manuals for Grizzly G0458


Summary of Contents for Grizzly G0458
- Page 1 18" Open End Drum Sander MODEL G0458 INSTRUCTION MANUAL COPYRIGHT © AUGUST, 2005 BY GRIZZLY INDUSTRIAL, INC. REVISED DECEMBER, 2007 (BL) WARNING: NO PORTION OF THIS MANUAL MAY BE REPRODUCED IN ANY SHAPE OR FORM WITHOUT THE WRITTEN APPROVAL OF GRIZZLY INDUSTRIAL, INC.
- Page 2 MUST maintain the original location and readability of the labels on the machine. If any label is removed or becomes unreadable, REPLACE that label before using the machine again. Contact Grizzly at (800) 523-4777 or www.grizzly.com to order new labels.
-
Page 3: Table Of Contents
Feed Belt Tension ... 32 Feed Belt Replacement ... 33 Gauge Blocks ... 34 Table Adjustments ... 34 Pressure Plate Adjustments ... 35 Wiring Diagram ... 37 G0458 Parts Breakdown ... 38 G0458 Parts List ... 39 WARRANTY AND RETURNS ... 42... -
Page 4: Introduction
INTRODUCTION Foreword We are proud to offer the Model G0458. This machine is part of a growing Grizzly family of fine woodworking machinery. When used according to the guidelines set forth in this manual, you can expect years of trouble-free, enjoyable operation and proof of Grizzly’s commitment to customer... -
Page 5: Machine Data Sheet
Conveyor Belt ... 18'' x 44 ...2 ... Variable Speed Conveyor ...Included Dust Collection Bag ... Stand Alone Dust Collection Specifications, while deemed accurate, are not guaranteed. G0458 18" Open End Belt/Drum Sander MACHINE DATA SHEET MODEL G0458 ⁄ " W x 34" H ⁄... -
Page 6: Identification
G0458 18" Open End Belt/Drum Sander... -
Page 7: Section 1: Safety
3. ALWAYS WEAR AN ANSI APPROVED RESPIRATOR WHEN MACHINERY THAT PRODUCES DUST. Wood dust is a carcinogen and can cause cancer and severe respiratory illnesses. G0458 18" Open End Belt/Drum Sander 4. ALWAYS USE HEARING PROTECTION WHEN MACHINERY. Machinery noise can cause permanent hearing damage. - Page 8 Make sure you know what type of wood dust you will be exposed to and always wear an approved respirator. ADJUSTING KEYS DAMAGED PARTS LOCK MOBILE BASES USED) BEFORE OPERATING G0458 18" Open End Belt/Drum Sander...
-
Page 9: Additional Safety For Drum Sanders
If normal safety precautions are overlooked or ignored, serious personal injury may occur. G0458 18" Open End Belt/Drum Sander DUST COLLECTION SYSTEM. Never operate the sander without an adequate dust collection system in place and run- ning. -
Page 10: Section 2: Circuit Requirements
Amperage Draw The 1 ⁄ HP motor on the Model G0458 draws the following amps during normal operation: Motor Draw ... 15 Amps Circuit Requirements Only connect your machine to a circuit that meets the requirements below. -
Page 11: Section 3: Set Up
Wood Blocks ... (three 2x4s) • Wood Shims ... (as needed) The Model G0458 was carefully packed when it left our warehouse. If you discover the machine is damaged after you have signed for delivery, please immediately call Customer Service at moving (570) 546-9663 for advice. -
Page 12: Inventory
In the event that any nonproprietary parts are missing (e.g. a nut or a washer), we would be glad to replace them, or for the sake of expedi- ency, replacements can be obtained at your local hardware store. G0458 18" Open End Belt/Drum Sander... -
Page 13: Hardware Recognition Chart
Hardware Recognition Chart -11- G0458 18" Open End Belt/Drum Sander... -
Page 14: Site Considerations
See Figure 3 for the minimum working clearances. Figure 3. Model G0458 Working clearances. Unsupervised children and visitors inside your shop could cause serious per- sonal injury to themselves. - Page 15 Mount a top and bottom short bracket to the left and right sides of the stand leg assembly completed in Step 2 as shown in Figure 6. Secure with two M8-1.25 x 15 carriage bolts and serrated flange nuts. G0458 18" Open End Belt/Drum Sander -13-...
-
Page 16: Installing Sander On Stand
Place two stacks of blocks the same height as the pallet and about 15 inches apart on the floor near the sander base as shown in Figure 9. Figure 9. Blocks set near sander base. G0458 18" Open End Belt/Drum Sander... - Page 17 Figure 11. Mounting sander to stand. Lift up on the stand and remove the blocks. Tighten the mounting bolts. G0458 18" Open End Belt/Drum Sander Tilt the sander upright, as shown in Figure 12, so the rear legs touch the floor.
-
Page 18: Handwheel
Thread the handwheel handle into the handwheel and tighten it. Slide the handwheel over the shaft, making sure the shaft pin (Figure 13) inserts into the slots in the handwheel. Figure 13. Installing handwheel. -16- G0458 18" Open End Belt/Drum Sander... -
Page 19: Dust Collection
Failure to use dust collection can result in short and long-term respiratory ill- ness. You may attach the Model G0458 drum sander to a dust collection system if you do not use the included dust bag. If you are using your own dust... -
Page 20: Recommended Adjustments
Step-by-step instructions for these adjust- ments can be found in SECTION 7: SERVICE ADJUSTMENTS. V-Belt Tensioning (Page 27). Perform after the first 16 hours. Feed Belt Tensioning & Tracking (Pages 31 & 32). Table Adjustments (Page 34). -18- G0458 18" Open End Belt/Drum Sander... -
Page 21: Section 4: Operations
OMMEND that you read books, trade maga- zines, or get formal training before begin- ning any projects. Regardless of the con- tent in this section, Grizzly Industrial will not be held liable for accidents caused by lack of training. G0458 18" Open End Belt/Drum Sander... -
Page 22: Variable Speed
Over-bogging the motor or pushing the sander to failure weakens the electrical sys- tem. Repeatedly doing so is abuse to the machine that will cause motor, capacitor, or thermal breaker damage, which is not cov- ered by the warranty. G0458 18" Open End Belt/Drum Sander... -
Page 23: Sanding Tips
G0458 18" Open End Belt/Drum Sander Choosing Sandpaper There are many types of sanding belts to choose from. We recommend Aluminum Oxide for gen- eral workshop environments. -
Page 24: Paper Replacement
Hex Wrench 4mm ... 1 Hex Wrench 5mm ... 1 Carton Cutter or Utility Knife ... 1 The Model G0458 is designed for 3" wide sand- paper rolls. Turn to SECTION 5: ACCESSORIES on Page 24 for grit selection and model num- bers. - Page 25 Hole Figure 22. Hex wrench inserted into access hole on right tension wheel. G0458 18" Open End Belt/Drum Sander 12. Firmly hold down the sandpaper with both hands, rotate the drum toward you, then wrap the end of the sandpaper over the top of the drum (Figure 23).
-
Page 26: Section 5: Accessories
"A" sized V-belts. Requires one Power Twist V-belt to replace the stock V-belt on your ® Model G0458. Figure 26. Power twist V-belt. G0458 18" Open End Belt/Drum Sander Model " x 4' V-belts can be ® " x 4'; ⁄... -
Page 27: Section 6: Maintenance
G0458 18" Open End Belt/Drum Sander Cleaning Cleaning the Model G0458 is relatively easy. Vacuum excess sawdust, and wipe off the remain- ing dust with a dry cloth. Lubrication The feed belt bushings should be lubricated daily with a light machine oil. -
Page 28: Sanding Belts
Figure 30. Table lift screws (only two shown). -26- G0458 18" Open End Belt/Drum Sander... -
Page 29: V-Belt Tensioning
See Figure 32 for an example of how to perform a V-belt deflec- tion test with a straightedge and ruler. Figure 32. Checking V-belt tension with a straightedge and a ruler. -27- G0458 18" Open End Belt/Drum Sander... -
Page 30: Section 7: Service
SECTION 7: SERVICE This section is provided for your convenience—it is not a substitute for the Grizzly Service Department. If you need help troubleshooting, you need replacement parts, or you are unsure of how to perform the pro- cedures in this section, then feel free to call our Technical Support at (570) 546-9663. -
Page 31: Sanding Operations
2. Chain idler sprocket cap screws have been over tightened. 3. Elevation handle helical gear is dirty or loaded with sawdust. G0458 18" Open End Belt/Drum Sander Possible Solution 1. Inspect for stripped/damaged bolts/nuts, replace/re-tighten with thread locking fluid. 2. Inspect belts, replace and re-tension (see Pages 27 &... -
Page 32: Replacing V-Belts
Note: You may need to use a pry bar to lift the motor mount. To replace the variable speed belt, remove the cap screw securing the pulley shown in Figure 36, then remove the outer half of the pulley. Figure 36. Variable speed pulley. G0458 18" Open End Belt/Drum Sander... -
Page 33: Pulley Alignment
����� �������� ��������� Figure 37. The pulleys should be parallel and aligned. G0458 18" Open End Belt/Drum Sander Remove the V-belts. Loosen the set screws on the motor pulley and align the motor pulley with the feed belt pulley. Loosen the set screws on the sanding belt pulley and align the sanding belt pulley with the motor pulley. -
Page 34: Feed Belt Tension
—If the feed belt tracks too far to the other side, loosen the tracking adjustment screw as necessary to bring it back. Repeat Steps 2 & 3 until the tracking is correct. -32- G0458 18" Open End Belt/Drum Sander... -
Page 35: Feed Belt Replacement
Table Cap Screws Figure 40. Feed belt table outside cap screws. G0458 18" Open End Belt/Drum Sander Have an assistant lift the outside edge of the table, then slide the feed belt off. Clean any dirt or dust off of the table and roll- ers, have an assistant lift the table, then slide the new feed belt on. -
Page 36: Gauge Blocks
Disconnect power to the sander! Remove the sandpaper from the drum and place the gauge blocks as shown in Figure Previously Jointed Edge Held Against Fence Figure 44. Gauge blocks placed under drums. G0458 18" Open End Belt/Drum Sander ������������ �������������... -
Page 37: Pressure Plate Adjustments
Table Cap Screws Figure 45. Table height adjustment knob. Tighten the table cap screws and repeat Steps 5 & 6. G0458 18" Open End Belt/Drum Sander Pressure Plate Tools Needed: Wrench 8mm ... 1 Hex Wrench 4mm ... 1 Gauge Blocks (see Page 34) ... 2 Feeler Gauge Set ... - Page 38 Adjust the front pressure plate until it is equal to, or up to 0.004" (0.1mm) lower than the height of the drum. Lock Nut Figure 47. Front pressure plate adjustments. Cap Screw G0458 18" Open End Belt/Drum Sander Front Pressure Plate Front Pressure Plate Adjustment...
-
Page 39: Wiring Diagram
������� ����� ����� ������ �������� ��� ������� �� ��� ���� �� ��������� �������� ������ ��� ��� ������� �� ��� ������ �� ��� �������� ��� ����� ���� �������� ���� ������ G0458 18" Open End Belt/Drum Sander Wiring Diagram ��� ����� �����... -
Page 40: G0458 Parts Breakdown
G0458 Parts Breakdown -38- G0458 18" Open End Belt/Drum Sander... -
Page 41: G0458 Parts List
INSIDE COVER P0458046 SPROCKET P0458047 PSB64M CAP SCREW M10-1.5 X 25 PR05M EXT RETAINING RING 15MM PSS01M SET SCREW M6-1 X 10 G0458 18" Open End Belt/Drum Sander G0458 Parts List PART # PK07M P0458052 PSB18M PSS20M P0458056 PS05M PS47M... - Page 42 P0458192 P0458193 P0458194 P0458195 PS40M PSB01M P0458198 PS05M G0458 18" Open End Belt/Drum Sander DESCRIPTION SPECIAL NUT EXTENSION SPRING TENSION WHEEL ASSY CHAIN PROTECTOR PHLP HD SCR M5-.8 x 8 PHLP HD SCR M5-.8 x 6 EXT RETAINING RING 20MM...
- Page 43 MUST maintain the original location and readability of the labels on the machine. If any label is removed or becomes unreadable, REPLACE that label before using the machine again. Contact Grizzly at (800) 523-4777 or www.grizzly.com to order new labels. G0458 18" Open End Belt/Drum Sander...
-
Page 44: Warranty And Returns
WARRANTY AND RETURNS Grizzly Industrial, Inc. warrants every product it sells for a period of 1 year to the original purchaser from the date of purchase. This warranty does not apply to defects due directly or indirectly to misuse, abuse, negligence, accidents, repairs or alterations or lack of maintenance. - Page 45 Do you think your machine represents a good value? Would you recommend Grizzly Industrial to a friend? Would you allow us to use your name as a reference for Grizzly customers in your area? Note: We never use names more than 3 times.
- Page 46 FOLD ALONG DOTTED LINE FOLD ALONG DOTTED LINE Send a Grizzly Catalog to a friend: GRIZZLY INDUSTRIAL, INC. P.O. BOX 2069 BELLINGHAM, WA 98227-2069 Name_______________________________ Street_______________________________ City______________State______Zip______ TAPE ALONG EDGES--PLEASE DO NOT STAPLE Place Stamp Here...
- Page 48 Buy Direct and Save with Grizzly Visit Our Website Today And Discover Why • • • – Trusted, Proven and a Great Value! ® Grizzly Is The Industry Leader! ® SECURE ORDERING ORDERS SHIPPED WITHIN 24 HOURS E-MAIL RESPONSE WITHIN ONE HOUR...