Table of Contents
Advertisement
Advertisement
Table of Contents

Summary of Contents for Black & Decker GL650
- Page 1 GL650 GL660 GL660P GL670 GL670P GL650_UK.PM5 07-11-2000, 15:19...
- Page 2 Copyright Black & Decker GL650_UK.PM5 07-11-2000, 15:19...
- Page 3 GL650_UK.PM5 07-11-2000, 15:19...
- Page 4 GL650_UK.PM5 07-11-2000, 15:19...
- Page 5 GL650_UK.PM5 07-11-2000, 15:19...
- Page 6 GL650_UK.PM5 07-11-2000, 15:19...
-
Page 7: Winding New Line Onto An Empty Spool
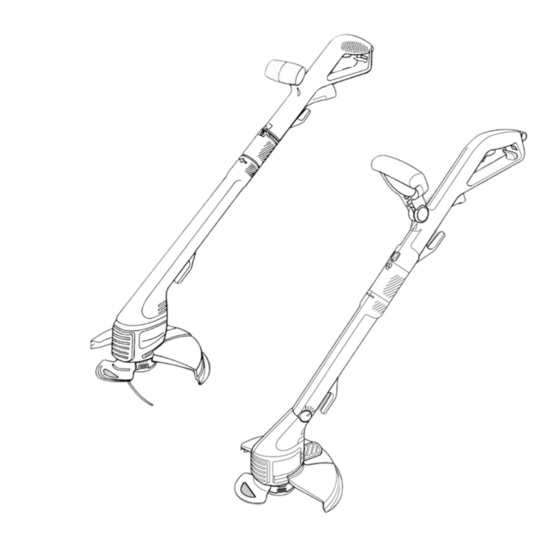
GL650_UK.PM5 07-11-2000, 15:19... - Page 8 CONGRATULATIONS! INTENDED USE You have chosen a Black & Decker tool. Our aim is Your Black & Decker grass trimmer GL650/GL660/ to provide quality tools at an affordable price. GL660P/GL670/GL670P has been designed for We hope that you will enjoy using this tool for trimming and finishing lawn edges and to cut many years.
- Page 9 E N G L I S H Retain this manual for future reference. After use Switch off, remove the plug from the socket Work area and ensure that moving parts have stopped Do not expose the appliance to rain. Do not rotating before leaving the appliance use the appliance in damp or wet conditions.
- Page 10 E N G L I S H ELECTRICAL SAFETY 360˚ The appliance has been designed for one voltage Keep people and animals at least 6 m only. Always check that the power supply away from the cutting area. corresponds to the voltage on the rating plate. Do not expose the appliance to rain or This appliance is designed for use on AC high humidity.
- Page 11 E N G L I S H The cable wire colours, or a letter, will be 7. Locking ring marked at the connection points of most good 8. Cable storage hooks quality plugs. Attach the wires to their 9. Motor housing respective points in the plug (see above).
- Page 12 E N G L I S H GL670/GL670P - Adjusting the trimmer head angle (fig. I) Let the tool work at its own pace. Do not The adjustable trimmer head angle allows you to overload. set the optimum trimming angle regardless of your length.
- Page 13 E N G L I S H In trimming mode, set the plant protector to Align the tabs (21) on the spool cover with the position A. holes (26) in the housing (fig. K). In edging mode, set the plant protector to Push the cover onto the housing until it snaps position B or C.
- Page 14 E N G L I S H Only use the appropriate type of PROTECTING THE ENVIRONMENT Black & Decker cutting line. Ensure that cutting line is present in both sections of Should you find one day that your tool the spool (fig. P). needs replacement, or if it is of no further use to you, think of the protection of the TROUBLESHOOTING...
- Page 15 E N G L I S H The use of other than genuine Black & Decker accessories and parts may cause decreased performance or damage to the product and will render the guarantee void. AFTER SALES SERVICE Full details on our after-sales service are available on the Internet at www.2helpU.com.
- Page 16 TYP. GL660 GL660P GL650 GL660P 07 - 08 - 2000 www.2helpU.com E13015 GL650_UK.PM5 07-11-2000, 15:20...
- Page 17 TYP. GL670 GL670P GL670P www.2helpU.com 07 - 08 - 2000 E13016 GL650_UK.PM5 07-11-2000, 15:20...
- Page 18 Australia WALT Industrial Power Tool Company Tel. 03 9895 9200 7 Clarice Road Fax 03 9899 7465 Box Hill, Victoria 3128 New Zealand Black & Decker Tel. 09 579 7600 81 Hugo Johnson Drive Fax 09 579 8200 Penrose, Auckland, New Zealand South Africa Black &...
- Page 19 GL650_UK.PM5 22-11-2000, 12:15...
- Page 20 806620-09 GL650_UK.PM5 22-11-2000, 12:15...


