Table of Contents
Advertisement
Quick Links
Advertisement
Table of Contents

Related Manuals for Baumatic BTD1


Summary of Contents for Baumatic BTD1
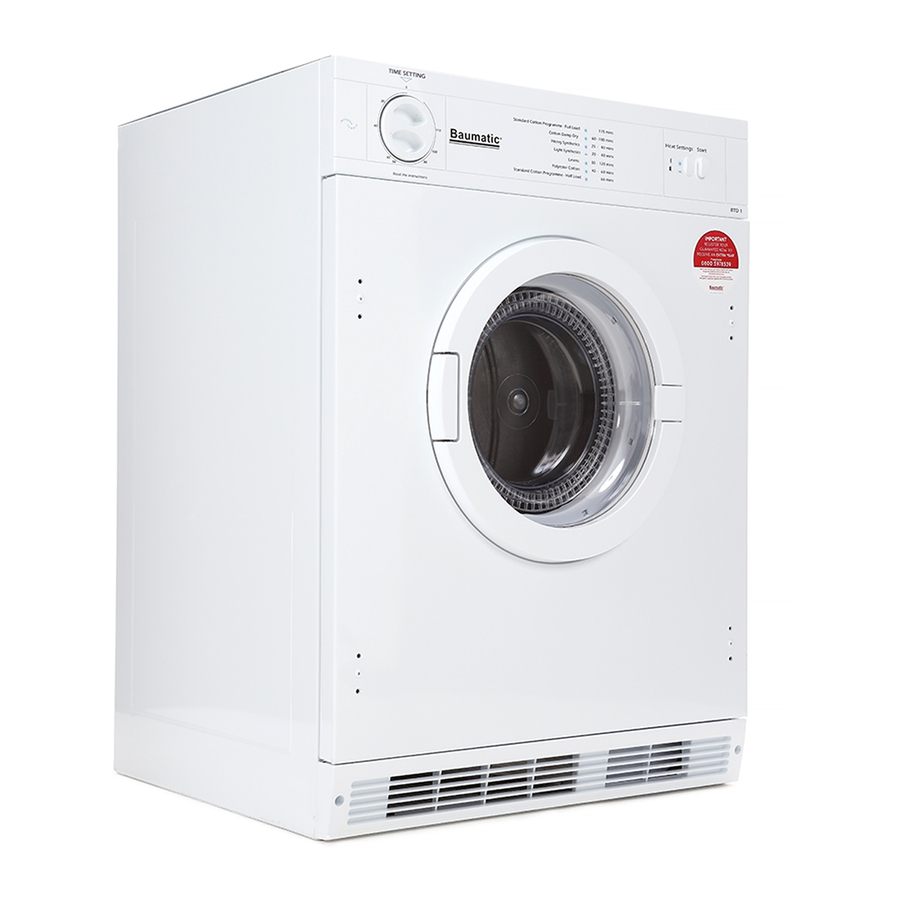
- Page 1 BTD1 Fully integrated air- vented tumble dryer...
-
Page 2: Tumble Dryer
USER MANUAL FOR YOUR BAUMATIC BTD1 Fully integrated air-vented tumble dryer NOTE : This User Instruction Manual contains important information, including safety & installation points, which will enable you to get the most out of your appliance. Please keep it in a safe place so that it is easily available for future reference. -
Page 3: Table Of Contents
Contents Environmental note Important safety information 5 – 7 Specifications 8 – 10 Product and aperture dimensions Product specifications Electrical details Control panel 9 - 10 Drying program guidance 10 – 11 Care labels Selecting a drying program Pausing a drying cycle Maintenance and cleaning 13 - 14 In daily use... -
Page 4: Environmental Note
This should be undertaken by a competent person. Disable the door lock to make sure that children cannot get stuck inside the appliance. o The packaging materials that Baumatic uses are environmentally friendly and can be recycled. o Please discard all packaging material with due regard for the... -
Page 5: Important Safety Information
General Safety o Repairs to your appliance must only be carried out by a Baumatic engineer or one of its authorised service agents. Any attempt by an inexperienced person to repair the appliance, could result in injury or damage to your tumble dryer. - Page 6 If you use either dyes or bleaching agents inside this machine, then you should consult with the manufacturer of these products to make sure they are suitable for use in your tumble dryer. Baumatic cannot be held responsible for any damage that may result. o Fabric...
- Page 7 o Items soiled with substances such as cooking oil, acetone, alcohol, petrol, kerosene, spot removers, turpentine, waxes and wax removers should be washed in hot water with extra detergent before being dried. o Remove all objects from pockets of clothes such as lighters and matches.
-
Page 8: Specifications
Specifications Product and aperture dimensions Appliance dimensions Aperture dimensions Height: 820 - 850 mm Height: 820 mm (min) (excluding décor strip) Width : 595 mm Width: 600 mm Depth: 530 mm Depth: 600 mm Product specifications o Capacity: 6 kg o 6 drying programs o Adjustable heat input o Minute minder up to 140 minutes... -
Page 9: Electrical Details
Electrical details Rated voltage: 220 - 240 Vac 50 Hz Electrical connection rating: 2.70 kW Supply connection: Control panel Drying time selection knob Program suggestion display Heat selection button Start button Drying time selection knob o Turning the control knob allows you to select the drying time according to your laundry. -
Page 10: Drying Program Guidance
Program suggestion display o The control panel shows recommendations of drying times and temperatures for certain types of laundry. The suggestions are as follows: Laundry Temperature setting Drying time (mins) Cotton dry Cotton damp dry 60 – 100 Heavy synthetics 20 –... -
Page 11: Care Labels
o Only dry garments of the same fabric type in a single drying program. If heavy and light fabrics are dried in the same drying cycle, then you will get uneven drying performance. o When drying larger garments such as sheets, it is advisable not to place more than two garments in the appliance at once. -
Page 12: Selecting A Drying Program
Selecting a drying program o Open the tumble dryer door. o Load the clothes loosely into the drum. Items such as sheets should be loaded corner-first. o Close the door and dry your hands thoroughly. o Select the desired drying temperature using the heat selection button (C). -
Page 13: Maintenance And Cleaning
Maintenance and cleaning In daily use o The filter should be cleaned after each drying cycle. o Leave the porthole door ajar for a short while after a drying cycle has completed. This should help to prevent stagnant smells and to protect the door seal. -
Page 14: The Filter
The filter o It is important to remove fluff from the filter after each drying cycle. o You should disconnect the appliance from the mains supply before cleaning the filter. o The filter is located inside the doorway rim at the bottom, as shown in the above diagram. -
Page 15: Installation
Installation IMPORTANT: THIS INSTALLATION MUST COMPLETED BY A SUITABLY QUALIFIED PERSON. BAUMATIC ONLY SANCTION INSTALLATION GIVEN THIS INSTRUCTION MANUAL. SHOULD KEEP THE TRANSIT PACKAGING, IN CASE YOU NEED TO TRANSPORT THE MACHINE IN THE FUTURE. Installing the appliance into a kitchen unit o You should ensure that the size of the aperture is the same as the dimensions given in the above diagram. - Page 16 o The vent hole should be positioned 125 mm in from the left adjacent kitchen unit and 695 mm below the work surface above. o If the vent through the wall is to be positioned anywhere else other than behind the dryer, the vent hose should be located at floor level and through an adjacent side panel to a suitable position.
-
Page 17: Reversing The Dryer Door
Reversing the dryer door IMPORTANT: The appliance must be disconnected from the mains supply before carrying out this procedure. o The tumble dryer’s door can be positioned to open either to the right or the left. o Open the dryer door. o Undo the screw (A), remove the switch strike (B) and replace the screw. - Page 18 o Pull the hinge cover (F) forwards to remove it. o Remove the two outer screws (G). Remove the door. o Fit the latch plate (D) with screws (C). o Reverse the door and place against the dryer’s doorway so that it is in the closed position.
-
Page 19: Fitting The Décor Door
Fitting the décor door o The hinges can be fastened through the pre-drilled holes on either the left or right hand side with the door stops being fitted on the other side. o The décor door and dryer door must be hinged on the same side. The décor door must not be sliding or lockable. -
Page 20: Power Supply
The special mains cable and plug assembly must only be replaced with a genuine part from the Baumatic Spares department or our appointed service agent. o IMPORTANT: We do not recommend that this appliance is... -
Page 21: Troubleshooting
Troubleshooting o If your tumble dryer appears to have a fault, please check the table below before calling the Baumatic Customer Care Helpline. Problem Possible cause Possible solution The filter is dirty. Clean the filter. You used the wrong Increase the temperature setting. - Page 22 Or any installation other than the one specified by Baumatic Ltd. has been completed. Please refer to the conditions of guarantee that appear on the...
-
Page 23: Technical Data
Technical Data Manufacturer BAUMATIC Model Number BTD1 Rated Capacity of Standard Cotton 6 kg Program Type of Dryer Air-Vented (air-vented, condenser or gas-fired) Energy Efficiency Class Annual Energy Consumption (1) 459 kWh per year Type of Dryer Non-Automatic (Automatic / Non-automatic) Energy Consumption of the Standard 3.92 kWh... -
Page 27: Contact Details
Kundendienst & Ersatzteile (0118) 933 6933 Deutschland 0049(0)180-5888975 E-mail: Oesterreich +43 (0) 820 / 420423 sales@baumatic.co.uk customercare@baumatic.co.uk www.baumatic.de spares@baumatic.co.uk technical@baumatic.co.uk Italy Baumatic Italia S.R.L. Website: Via Galvani N.3 www.baumatic.co.uk 35011 Campodarsego (PD) Facebook: +3904 9920 2297 www.facebook.com/baumatic.uk www.baumatic.it Republic of Ireland Holland Baumatic Benelux B.V. - Page 28 4213 094 71905...