Table of Contents
Advertisement
Quick Links
Cisco Small Business
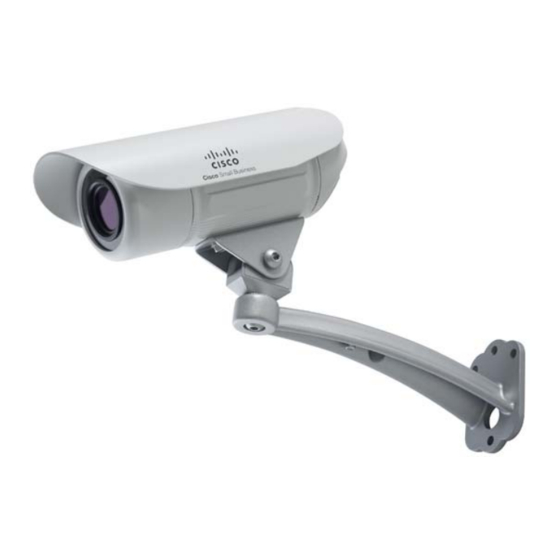
VC240 Outdoor WDR Day/Night PoE Network
Camera
Package Contents
• Cisco VC240 Outdoor Network Camera
• Mounting and Installation Accessories
• Open-end Wrench and Allen Wrench
• Female-to-Female Ethernet Adapter
• Setup and Documentation CD
• I/O and RS-485 Connectors
• Quick Start Guide
• Camera Stand
• Sun Shield
Quick Start Guide
Versión en Español para México en el CD
Version en français sur CD
Versione italiana sul CD
Deutsch Version auf CD
Advertisement
Table of Contents

Related Manuals for Cisco Small Business VC240


Summary of Contents for Cisco Small Business VC240
-
Page 1: Quick Start Guide
Quick Start Guide Cisco Small Business VC240 Outdoor WDR Day/Night PoE Network Camera Package Contents • Cisco VC240 Outdoor Network Camera • Mounting and Installation Accessories • Open-end Wrench and Allen Wrench • Female-to-Female Ethernet Adapter • Setup and Documentation CD •... -
Page 2: Before You Begin
Welcome Thank you for choosing the Cisco VC240 Outdoor Wide Dynamic Range (WDR) Day/Night PoE Network Camera. This camera is a high-performance, web-ready camera and can be part of a flexible surveillance system. This guide describes how to physically install your VC240 camera and how to install and launch the Setup Wizard. -
Page 3: Front Panel
• Reset—Press and hold the Reset button for less than 5 seconds to reset the camera. • Restore Factory Defaults—Press and hold the Reset button for 5 seconds until Status LED is flashing red every 0.2 seconds. Cisco VC 240 Network Camera Quick Start Guide... - Page 4 • Flashing red every second—Camera and network are functioning (heartbeat). • Steady red—Network failure. • Flashing red every 2 seconds—Audio is disabled. • Flashing red every 0.2 seconds—Restoring default settings. • Flashing red every 0.5 seconds—Upgrading firmware. Cisco VC 240 Network Camera Quick Start Guide...
-
Page 5: Back Panel
Allows you to connect the camera to external input/ Purpose Input/ output devices that can provide additional controlling Output (GPIO) functions. For more information, see the Cisco VC240 Outdoor WDR Day/Night PoE Network Camera Administration Guide found at: http://www.cisco.com/en/US/products/ps9944/ prod_maintenance_guides_list.html 5-Port Connects the camera to 24 VAC power (0.5 A) or serves... - Page 6 Ethernet Connects the Cisco VC240 camera to a PoE switch or 10/100 RJ45 router, or to a PoE power injector (not provided) for Plug connection to a non-PoE switch or router. Audio Out Connects the Cisco VC240 camera through the 3.5 mm (green) input jack to an external speaker or computer.
-
Page 7: Placement Tips
You should reliably connect the VC240 camera to the main protective earthing terminal. The VC240 camera uses a UL-listed AC/DC power adapter with a marked output rating of 12 VDC, 600 mA. The VC240 camera uses a UL-listed AC/DC power adapter with a marked output rating of 24 VAC, 700 mA. - Page 8 • 4 #6M anchors • 1 Allen wrench (5 mm) • 4 washers (6 mm) • 2 hex-head bolts (6 mm x 8 mm) • 4 self-tapping screws (M4 x 32 mm) Cisco VC 240 Network Camera Quick Start Guide...
- Page 9 Mounting the Camera to a Wall or Ceiling You can mount the Cisco VC240 camera on the flat surface of a wall or a ceiling. The flat surface must be smooth, dry, and sturdy. Provided with the camera is a kit that includes anchors (#8–#10 US) and screws (#8 US) to help you secure the camera to the wall or ceiling.
- Page 10 In an outdoor installation, make sure that only the portion of the connector cables covered in black is exposed to the elements because it is weather proof. The individual cables should be behind the ceiling or wall. Cisco VC 240 Network Camera Quick Start Guide...
- Page 11 Cisco VC 240 Network Camera Quick Start Guide...
-
Page 12: Connecting The Equipment
PoE-enabled switch. Use a Category 5 crossover cable to directly connect the camera to a computer. 10 Ba se 10 Ba se 10 Ba se External devices External devices Cisco VC 240 Network Camera Quick Start Guide... - Page 13 PoE power injector. Connect the switch to the PoE power injector. Connect the PoE power injector to a power outlet. External devices External devices 10 Ba se 10 Ba se 10 Ba se Cisco VC 240 Network Camera Quick Start Guide...
- Page 14 Connect the power supply to the camera’s power cord socket (black connector). Alternatively, you can use the 5-port connector to connect the camera to power. 10 Ba se 10 Ba se 10 Ba se External devices External devices Power adapter Cisco VC 240 Network Camera Quick Start Guide...
-
Page 15: Verifying The Hardware Installation
• Verify that the Status LED is flashing green as described in the “Front Panel” section on page If you need help resolving a problem, visit the Cisco Small Business Support Community at www.cisco.com/go/smallbizsupport. For technical documentation and other links, see the “Where to Go From... - Page 16 192. 1 68. 1 .99 in the address field to open the camera’s home page. When the login page appears, enter the user name and password. The default user name is cisco. The default password is cisco. Passwords are case sensitive. To protect your camera from unauthorized use, change the default password.
-
Page 17: Suggested Next Steps
Suggested Next Steps Congratulations, you are now ready to start using your Cisco VC240 camera. You may wish to consider taking some of the following steps: Adjusting the Lens While viewing live video from your camera, you can now adjust the zoom factor and focus range as needed. -
Page 18: Attaching The Sun Shield
Ceiling Mount Placing Silica Gel Desiccant Bags Inside the Camera The VC240 camera comes with silica gel desiccant bags. One is placed inside the camera using two-sided adhesive tape and the other is a replacement bag provided in a sealed aluminum bag. -
Page 19: Where To Go From Here
_support_center_contacts.html Cisco Small Business www.cisco.com/go/smallbizfirmware Firmware Downloads Select a link to download firmware for Cisco Small Business Products. No login is required. Downloads for all other Cisco Small Business products, including Network Storage Systems, are available in the Download area on Cisco.com at... - Page 20 Cisco, Cisco Systems, the Cisco logo, and the Cisco Systems logo are registered trademarks or trademarks of Cisco and/or its affiliates in the United States and certain other countries. All other trademarks mentioned in this document or website are the property of their respective owners.