Advertisement
Quick Links
Advertisement

Related Manuals for Sharp SWV-1209


Summary of Contents for Sharp SWV-1209
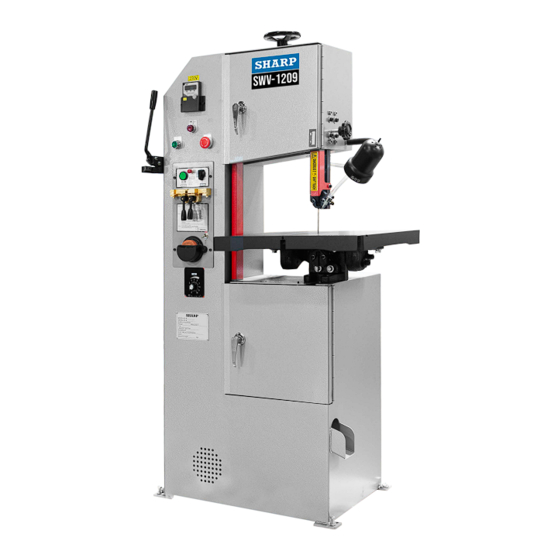
- Page 1 OPERATION MANUAL SWV-1209...
- Page 2 SWV-1209 VERTICAL BAND SAW MACHINE <Index> Machine Specification Safety rules for operation Instruction for installation Machine maintenance Simple Trouble shooting Electrical circuit diagram Spare parts detailed...
- Page 3 SWV-1209 Vertical Band Saw Machine Specification Model SWV-1209 Max. Sawing Thickness Cutting Capacity Max. Throat Depth Table Dimensions 500 × 500 Table Front & Rear 10° Inclination Left & Right 15° Size Length 2560 Saw Blade Max. Speed m/min Min.
- Page 4 1. FIX SAW BLADE Low down the wheel and put the saw blade on the wheels. Then turn the elevating hand wheel until saw blade is in suitable tightness. 2. GUIDE HOUSING Blade Guide Post ADJUSTMENT 1. Loose the inner hexagonal screws located at the rear side with an “L”...
- Page 5 3. BLADE GUIDES ADJUSTING (as figure) 4. GUIDE POST ADJUSTING 1. Loose Guide Post Locker. 2. Lower or upper the Guide Post according to the thickness of the object. The height between the object and the Blade Guide End is suggested to be 1/4”. 3.
- Page 6 5. In operating, blade should be in the middle of the Blade Guide exactly to prevent wear of the Blade Guide.。 SPEED CHANGING Set the Geared Speed Changing Bar to correct speed to suite to various material cutting. You may see the blade speed from the Digital Readout Tachometer. Speed adjustment and speed drive Please check the front of the machine (speed pitch selector) Operation: Turn on Motor Start, and then turn on Variable Speed Regulator...
- Page 7 WELDING OPERATING AND PROCEDURE Pressurization adjustment method Tempering Pressurization Welding adjustment Tight Tight Relax The width of the saw blade is as shown in the diagram 1. WELDING 1. Adjust welding upset force selector to position 0. 2. Grind off blade ends, the cut off blade ends square allow for correct tooth spacing, clamp the two blade ends, put them in the center between the two jaws.
- Page 8 2. ANNEALING 1. Release the jaw clamping handles, adjust the welding upset force selector to position 0, then close the jaw clamping handles. 2. Press the anneal button slowly to heat the blade slowly until the weld become a deep color. Continue to heat by jogging the anneal button until the width of the blue color is one-half the length of the blade exposed between the jaws.
-
Page 9: Safety Regulation
2. Safety regulation: 1. Please to know your machine well, read instruction carefully, realize your machine application, to avoid any possibility of machine damage risk. 2. Keep working environment clean. If disorderly, dirty or dark could cause accident happen. 3. Do not let children near tools, and everyone should keep safe distance away from machine. - Page 10 8. Before turn on the switch, must take adjusting tools and wrench away. 9. To choose applicable model of machine, do not use small machine or accessories to bear over load work, and do not use machine to work for process out of regulation. 10.
- Page 11 17. Unplug the plug and shot off the power when replace parts, maintain and stop using. 18. Keep focus on operation, never during the time when operator tired, un-concentrate, alcohol and drug effect. 19. Safekeeping when machine is not in using, shut off power, cleans away chips and lubricates sliding parts.
-
Page 12: Instruction For Installation
3. Instruction for installation Machine installation—can’t hanging Environmental position (1). Choose a flat surface concrete ground for the machine. (2). Avoid the place were direct sunlight and excessive heat or humidity. (3). Avoid to install the machine in the place where has corrosive material. - Page 13 Attention for starting: (1). Carefully read the operation manual and the related attention items. (2). Check if the power voltage is matched the regulation before starting. (3). Clear the obstacles and steel chips around the machine. (4). Check all of the oil pipes to see if there is oil leaking.
-
Page 14: Machine Maintenance
4. Machine maintenance Daily maintenance: Check the lubricating oil gauge, oil bucket and the lubricating condition of each activities’ parts; when the oil below the standard should be added right away. (Refer to the machine maintenance diagram that indicates the location) Every week maintenance: (1). - Page 15 Monthly maintenance: (1). In accordance with the provisions of regularly replace the use of oil (2). Check the operation buttons on the control panel are sensitive and if the operations are normal. Annual maintenance: (1). Machine external maintenance. (2). The machine internal adjustment, fine-tuning operation.
- Page 16 5. SIMPLE TROUBLE SHOOTING GUIDE Trouble Cause Action a. Main power isn’t ON or power a. Check main power’s wiring and turn the power isn’t well connected. switch to ON. b. Power indicating lamp isn’t ON b. First check transformer and see if input pressure has and transformer is burnt out.
- Page 17 SIMPLE TROUBLE SHOOTING GUIDE Trouble Cause Action a. Select wrong saw blade. a. The material quality and thickness to d. Tongs is seriously damaged and be cut relates to the number of saw no fix it. teeth, so number of teeth must be c.
- Page 18 聖偉S-310電控箱單相230V Machine lights 機臺燈 機台上 POWER PILOT LAMP 主軸風扇 Spindle fan EMERGENCY START STOP 電源燈 Power lights ANPL-221-W ALEPB-221C-R 緊急停止 變頻 EMERGENCY Inverter STOP NFLPB2211O-G 主軸啟動 START 變 機 上 下 風 變 頻 臺 門 門 扇 頻 Inverter Down 器...
- Page 19 7. Spare Parts Detailed SWV-1209 parts list Consumable parts/machine Name Quantity Tungsten carbide clamp piece Round tungsten carbide rod Pulley belt Driver belt...