Advertisement
Quick Links
Advertisement

Related Manuals for Harol PR210


Summary of Contents for Harol PR210
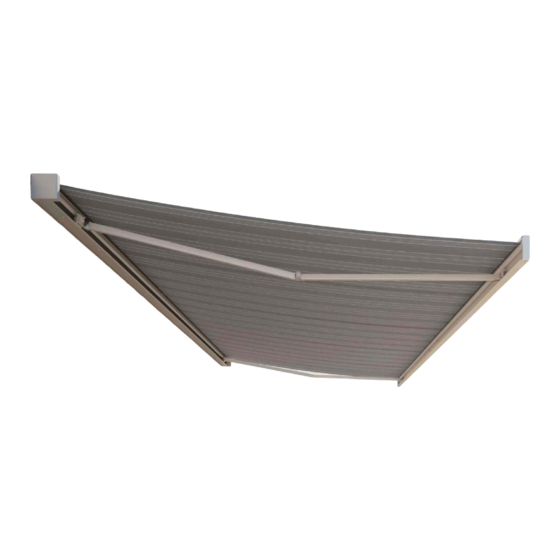
- Page 1 Assembly instructions Awnings PR210 - PR220 - PR230 art.nr. 033944...
-
Page 2: General Warnings
Assembly instructions awnings PR210-PR220-PR230 A. Introduction The PR200- range comprises the 3 awnings PR210, PR220 and PR230. This is a 3- tube system. The construction is caracterized by the fact that consoles, roller tube and the folding arms are fitted onto the Torque bar.. -
Page 3: Assembly Manual
Assembly instructions awnings PR210-PR220-PR230 D. Assembly manual D1. Opening the packaging: Open the cardboard packaging. Be careful when using a knife to cut the straps. If the cardboard is slit open carelessly, the paint can quite easily get scratched. You might even cut right through the fabric. - Page 4 If the walls are made of cellular concrete or hollow brick, the correct type of screw must be used, e.g. coach bolts, etc. For this, take comprehensive advice from your sup- plier of attachment materials. The company Harol accepts no responsibility for any attachment screws that come loose.
- Page 5 Assembly instructions awnings PR210-PR220-PR230 This adjusting screw is located on the lower side of the tilting mechanisms. These adjusting screws operate to block both mechanisms and prevent the awning from blowing over. Once the pointed screws A have been removed, the head of the adjusting screw B is freed and can be operated using an Allen key.
- Page 6 Assembly instructions awnings PR210-PR220-PR230 between the awning and extension pole and ensuring that the bolts C of the rotational system can be easily operated. To adjust the front frame, unscrew C in the rotational mechanism on both arms. Tip: the more the arms are closed, the less the fabric is tightened the easier the adjustment.
- Page 7 Assembly instructions awnings PR210-PR220-PR230 cords or straps (spread across the whole length of the front pole). Then pull the cords and/or straps over the bearing pole. Now spread the ends of the different cords among the necessary persons. When the straps of the arms are loosened one can, using the cords, hold the front frame steady and slowly let it fall.
- Page 8 Assembly instructions awnings PR210-PR220-PR230 If the awning is provided with a fabric split covering, the assembly pole will be fitted with two supports to carry the fabric roller close to the coupling. Attention! Both supports are identical. Ensure that the left support is so assembled that the round recess points upwards.
- Page 9 Assembly instructions awnings PR210-PR220-PR230 E. Connection of the single-pole switch and setting of the motor E1-Single-pole switch Firstly, connect the electric cable of the motor to a test cable. Four wires exit the motor: yellow-green (earth), blue (neutral), brown and black (up- and down direc- tion).
- Page 10 In principle the motor is already set at the factory, but it may be necessary to change the setting. For this proceed as follows: For a LT-motor (PR210 – PR220): First remove the yellow cap from the adjusting buttons. Press in both buttons fully to against their stops so that they remain a little deeper.
- Page 11 Assembly instructions awnings PR210-PR220-PR230 Let the motor run down for 20 cm. Close the awning completely. One can hear the motor hum for a few seconds, then it switches itself off. Replace the cover cap on the buttons. The end switches of the motor are now set.
- Page 12 Assembly instructions awnings PR210-PR220-PR230 E3. Why use a MRI 2? When the same switch operates different motors a relay box must always be used. If relay boxes are not used, the built-in limit switches of the motor will very quickly burn due to the high inductive and capacitive voltages that can be generated between them.
-
Page 13: Fault Finding
Assembly instructions awnings PR210-PR220-PR230 F. Fault-finding Your Harol awnings are 100% checked before they leave the factory. It is therefore highly unlikely that faults could be present whereby e.g. the motor does not work after assembly. Before contacting our services it is advisable to first thoroughly check a number of points. These points below will probably already provide the solution: F1. - Page 14 Assembly instructions awnings PR210-PR220-PR230 Faulty: there is no symmetry, distance A does not correspond with distance B Faulty: the articulated points are not in one line Correct: the articulated points are in one line and distance A equals distance B...
- Page 15 G. Mounting the side flaps Please, remove the lateral fabric before closing the awning. Harol reserves the right to make changes at any time to the construction without having to inform the client beforehand, and therefore without having to adapt existing installations.