Advertisement
Table of Contents
Contents
Black & Decker SM1000W - Sandwich Maker Manual

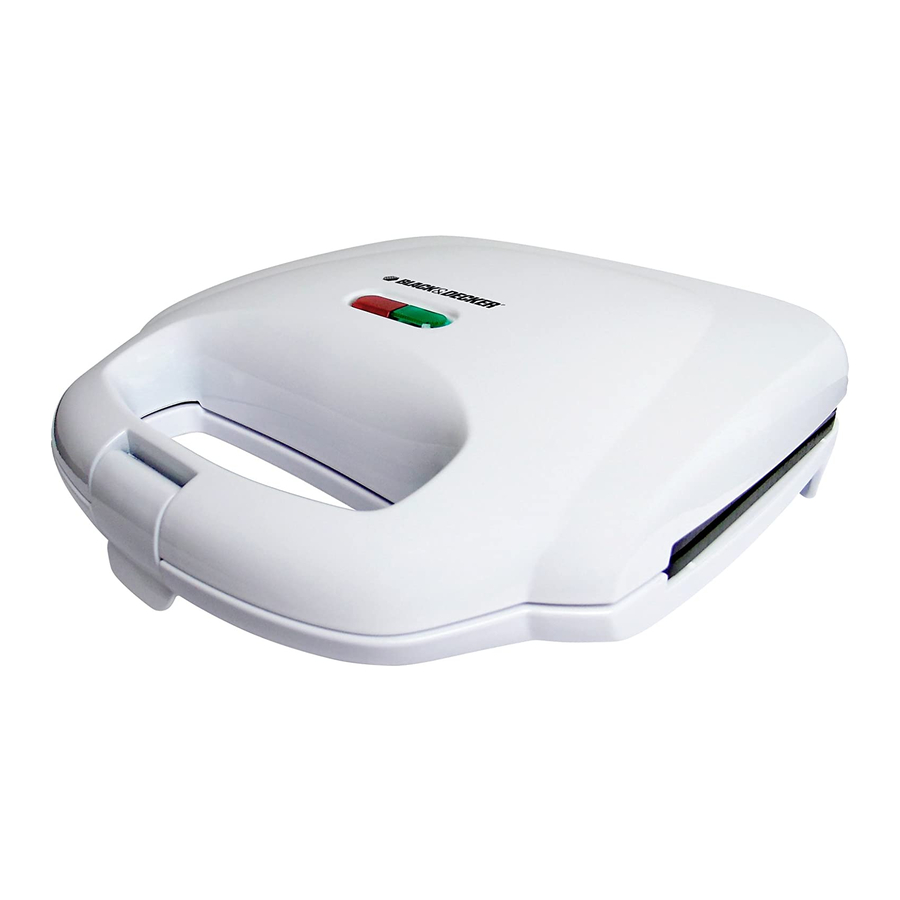
DEVICE OVERVIEW
Product may vary slightly from what is illustrated.

- Ready light (green)
- Power light (orange)
- Latch
- Handle
- Nonstick heating plates
HOW TO USE
This product is for household use only.
GETTING STARTED
- Before using, unpack the unit and peel off any adhesive labels.
- Wipe nonstick heating plates with a soapy damp cloth, rinse and dry. Never immerse appliance in water. Do not use steel wool, scouring pads or abrasive cleaners, as this will damage the finish.
- Operate the appliance without bread in order to burn off any residues on the heating elements.
- When using the sandwich maker for the first time, you may notice a fine smoke haze being emitted. This is normal and will quickly disappear.
USING THE SANDWICH MAKER
Do not operate sandwich maker in the open position.
- Lift the latch and the lid to open the sandwich maker.
- Check that the nonstick heating plates are clean and free of dust. If necessary, wipe with a damp cloth.
- Lightly coat the nonstick heating plates with cooking spray.
- Close the lid and press down on the latch until it snaps into place.
- Plug into an electrical outlet. The red power indicator light comes on to indicate that the unit is on.
To avoid burns, handle the unit carefully. The sides of the heating plates are exposed and they will get very hot. - Allow the appliance to preheat while preparing the sandwiches.
- When the correct cooking temperature is reached, the green temperature indicator light turns off indicating the unit is ready for cooking. The green light will cycle on and off during cooking to keep the correct temperature, this is normal.
- Lift the latch and lid to fully open the sandwich maker. Place one or two sandwiches on the bottom plate.
Note: For golden-toasted sandwiches, butter the outside of the sandwiches.
- Gently lower the lid until both handles meet and then press down on the latch until it snaps into place. Do not force the lid to close.
- Toasting time should take approximately 3-5 minutes. Exact time will be a matter of taste and will depend on the type of bread and filling used.
- When sandwiches are cooked to your taste, remove the sandwiches using a heatproof plastic or wooden spatula. Do not use metal tongs or knives, as these may damage the nonstick coating.
- Place the sandwiches on a plate and wait a few minutes before serving since they will be very hot.
- Close the lid and latch to preserve the heat until you are ready to toast your next sandwiches.
- Repeat steps 7 through 12.
- When you are finished making sandwiches, unplug the unit and wait for it to cool off before putting it away.
The sandwich maker will stay on, unless it is unplugged.
CARE AND CLEANING
This product contains no user-serviceable parts. Refer service to qualified service personnel.
CLEANING:
- Unplug unit and let it cool.
- Wipe nonstick heating plates with an absorbent paper towel or a soft cloth. Never immerse appliance in water. Do not use steel wool, scouring pads or abrasive cleaners, as this will damage the finish.
- To remove filling that may adhere to the nonstick heating plates, pour a little cooking oil onto the area where the filling is and let it stand for 5 to 10 minutes. If it does not come off, then wipe the heating plates with a slightly dampened cloth and a small amount of non-abrasive detergent.
- Wipe the exterior surfaces with a soft, dry cloth.
STORING:
Unplug unit and let it cool.
- Store in a clean, dry place.
- Never store it while it is hot or still plugged in.
- Never wrap cord tightly around the unit.
- Do not put any stress on the cord where it enters the unit, as this could cause cord to fray and break.

Documents / ResourcesDownload manual
Here you can download full pdf version of manual, it may contain additional safety instructions, warranty information, FCC rules, etc.
Advertisement
Thank you! Your question has been received!


 Note: For golden-toasted sandwiches, butter the outside of the sandwiches.


Need Assistance?
Do you have a question about the SM1000W that isn't answered in the manual? Leave your question here.