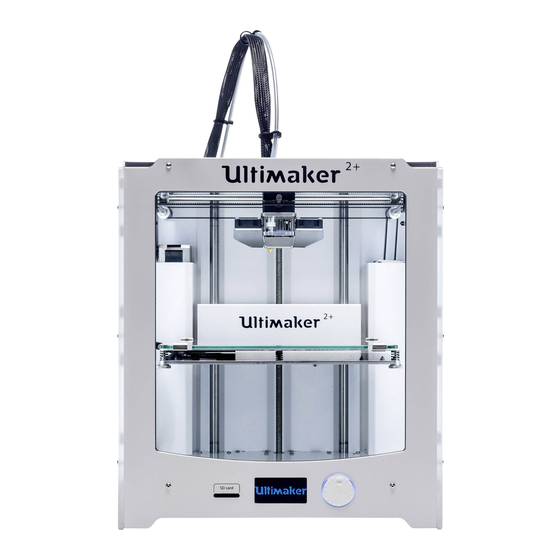
Summary of Contents for Ultimaker 2+
- Page 1 Ultimaker 2+, 2+ EXT - Calibration Guide Guide ID: 127 - Release: v1.0 [major] 2020-07-23 Ultimaker 2+, 2+ EXT - Calibration Guide Written By: Adalyn Ordono This document was generated on 2021-12-22 12:23:35 AM (MST). © 2021 support.mosaicmfg.com/ Page 1 of 9...
- Page 2 Ultimaker 2+, 2+ EXT - Calibration Guide Guide ID: 127 - Release: v1.0 [major] 2020-07-23 INTRODUCTION If you're not printing with a Palette, please skip this step. In the following steps Palette 2 will automatically calibrate with your printer. Palette needs to produce the exact required length for each filament so that splices reach your nozzle at the correct time.
- Page 3 Ultimaker 2+, 2+ EXT - Calibration Guide Guide ID: 127 - Release: v1.0 [major] 2020-07-23 Step 1 — Enter the Outgoing Tube Length on Palette On Palette screen navigate to Next > Other and then select 'Custom' and then using the arrows, ...
- Page 4 Ultimaker 2+, 2+ EXT - Calibration Guide Guide ID: 127 - Release: v1.0 [major] 2020-07-23 Step 2 — Download Calibration Print and Slice Download the dual-color keychain: https://www.thingiverse.com/thing:330157... Slice the keychain model in CANVAS. After slicing in CANVAS is complete you will have two files.
- Page 5 Ultimaker 2+, 2+ EXT - Calibration Guide Guide ID: 127 - Release: v1.0 [major] 2020-07-23 Step 4 — Starting the Print on Palette Turn on Palette 2 and select 'Start Print'. On the top left corner of the screen, you can select to load a file from Palette's SD card (MAF file) ...
- Page 6 Select 'Next' on the following two screens until you see the screen below that says 'Slowly extrude filament…'. On the Ultimaker screen select Maintenance > Advanced > Heat up Nozzle > Scroll to 210C. Wait until the temperature reaches 210C. Caution: the nozzle will be very hot through the next few steps.
- Page 7 Ultimaker 2+, 2+ EXT - Calibration Guide Guide ID: 127 - Release: v1.0 [major] 2020-07-23 Step 7 — Remove bowden tube and pre-load clear filament Remove the bowden tube from the print head by removing the lock clip. Find 20-30cm of clear or white PLA. Manually load into the print core from the top of the print head ...
- Page 8 'Ready' again immediately to stop loading. At this point the filament will have been moved to the entry of your Ultimaker hotend. In the next ...
- Page 9 2020-07-23 Step 9 — Start Print Start the print on the Ultimaker screen by navigating to Print > Select the calibration print. If you get a message 'This print job is not suitable for this printer…', select 'Ignore'. Please note the printer may take 5-6 minutes to initialize.


