Table of Contents
Advertisement
Advertisement
Table of Contents

Related Manuals for GE CARESCAPE R860


Summary of Contents for GE CARESCAPE R860
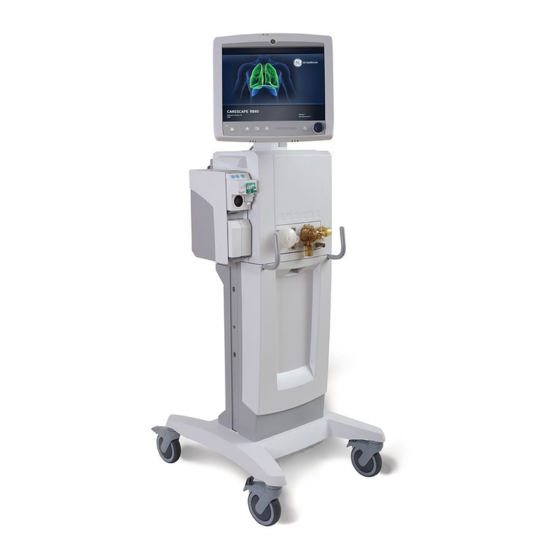
- Page 1 CARESCAPE ™ R860 Ventilator Quick Reference Guide gehealthcare.com...
- Page 2 Notice The materials contained in this document are intended for educational purposes only. This document does not establish specifications, operating procedures or maintenance methods for any of the products referenced. Always refer to the official written materials (labeling) provided with the product for specifications, operating procedures and maintenance requirements.
-
Page 3: Table Of Contents
Contents Before Powering the System On............... . .4 Powering the System On . -
Page 4: Before Powering The System On
Occlusion ® Connection port Hard keys on the CARESCAPE R860 Ventilator display 3b 3c 3d Powering the System On 1. Connect the air and oxygen supply hoses to the gas supply source. 2. Plug power cord into an approved electrical outlet. -
Page 5: Patient Setup
Patient Setup 1. Select NEW PATIENT. 2. Select Adult, Pediatric or Neonatal patient type. Note: When selecting neonatal, a neonatal flow sensor is recommended for improved tidal volume delivery and monitoring. 3. Select Patient ID (Identification), if necessary, and enter 10 characters and select Confirm. Note: Only English alpha-numeric characters may be entered. -
Page 6: System Check
System Check Circuit Setup 1. Select CIRCUIT SETUP. 2. Select check box for the HME or Humidifier. Note: Settings are confirmed when the setting is changed. 3. Select X to close the menu. Note: Use Circuit Setup to select settings that must be compensated for in the patient circuit measurements. -
Page 7: Setting A Ventilation And Backup Mode
Setting a Ventilation and Backup Mode 1. Select Current Mode. 2. Select the desired ventilation mode. a. Depending on the facility default setup for ventilation modes, the Mode Settings menu may contain 2 icons, a partial list and a full list. 3. -
Page 8: Starting Patient Ventilation
Starting Patient Ventilation 1. From Standby, select Start Ventilation. 2. After ventilation has started, connect the breathing circuit to the patient. Note: • It is recommended that a system check is completed prior to starting ventilation. • If the Start Ventilation button is yellow, the Complete System Check warning alert will display the following: –... - Page 9 Alarm Priority Priority Color Light Tone Audio and visual indicators tell the priority of the alarm. Series of five High Flashes red tones twice Series of Medium Yellow Flashes yellow three tones Informational Blue Solid blue Single tone Alarm Setup 1.
-
Page 10: Nebulizer
Nebulizer Warning • Do not use a filter, heat-moisture exchanger or heat-moisture exchanger filter between the nebulizer and the patient airway. • Use of a heat-moisture exchanger or nebulizer in the breathing circuit can substantially increase flow resistance when a nebulizer is active. - Page 11 Warning • Do not use a filter, heat-moisture exchanger or heat-moisture exchanger filter between the nebulizer and the patient airway. • Use of a heat-moisture exchanger or nebulizer in the breathing circuit can substantially increase flow resistance when a nebulizer is active. Monitor the breathing system filter frequently for increased resistance and blockage.
-
Page 12: Procedures
Procedures Suction Any ventilation mode may be used with a closed suction catheter. Patient disconnected, RR low, MVexp low, Vtexp low, Apnea and other alarms may occur during use of a closed suction catheter. To perform a suctioning without nuisance alarms, an open suction procedure is provided by the ventilator: 1. -
Page 13: Navigation
Navigation 1. Past/Historical Trends Workspace. 2. Present/Patient Status Workspace. 3. Future/Clinical Decision Support Workspace. To Review Patient Data: 1. Touch the icon to display the Present/Patient Status Workspace or swipe to the right or left to move from the Past and Future workspaces. 2. -
Page 14: To Review Patient Trends
To Review Patient Trends: 1. Touch the icon to display the Past/Historical Trends Workspace or swipe to the right to move from the Present/Patient Status Workspace. 2. From the Past/Historical Trends Workspace, choose any option below: a. Graphical Trends View: Use this view to review historical waveforms and patient trends. -
Page 15: Powering The System Off
Powering the System Off 1. Disconnect the patient from the breathing circuit. 2. Select Standby. 3. Select Pause Ventilation. Note: Select Pause Ventilation to go into Standby. Ventilation and monitoring will be stopped. Select Cancel to continue ventilation if a warning message is displayed. 4.