Table of Contents
Advertisement
Quick Links
Advertisement
Table of Contents

Related Manuals for Baumatic BF500W


Summary of Contents for Baumatic BF500W
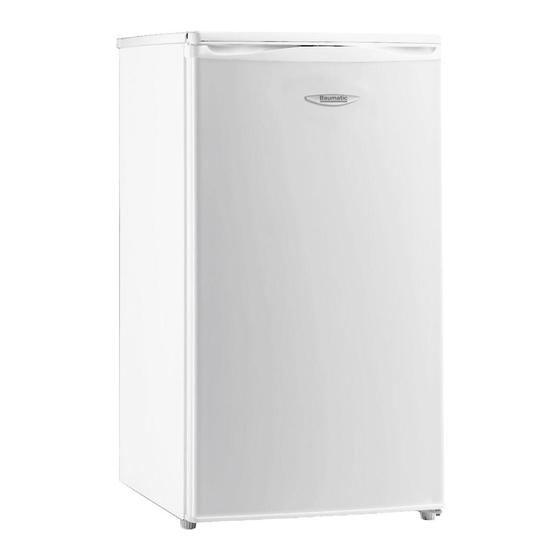
- Page 1 BF500W Undercounter fridge with 4* freezer compartment...
- Page 2 USER MANUAL FOR YOUR BAUMATIC BF500W Undercounter fridge with **** freezer compartment NOTE : This User Instruction Manual contains important information, including safety & installation points, which will enable you to get the most out of your appliance. Please keep it in a safe place so that it is easily available for future reference, for you or any person not familiar with the operation of the appliance.
-
Page 3: Table Of Contents
5 - 7 Specifications of your fridge + **** freezer compartment 7 Description of the appliance Description of the product features Using your Baumatic fridge 10-11 Before switching on During first use Switching on the appliance and setting the thermostat... -
Page 4: Environmental Note
Disable the door lock to make sure that children cannot get stuck inside the appliance. o The packaging materials that Baumatic uses are environmentally friendly and can be recycled. o Please discard all packaging material with due regard for the... -
Page 5: Important Safety Information
Important safety information Your safety is of the utmost importance to Baumatic. Please make sure that you read this instruction booklet before attempting to install or use the appliance. If you are unsure of any of the information contained in this booklet, please contact the Baumatic Advice Line. - Page 6 o Do not place any objects on top of the appliance, as this may damage the table top. Child safety o Packaging material should be kept away from children. o Children should not be allowed to touch the controls or play with the appliance. General safety o Do not pull on the power supply cable to remove the plug from your mains supply socket.
-
Page 7: Specifications Of Your Fridge + **** Freezer Compartment
You should not attempt to repair the appliance yourself, as this could cause injury or a more serious malfunction. If you require a service call then please contact the Baumatic Customer Care Department. Specifications of your fridge + **** freezer compartment... -
Page 8: Description Of The Appliance
Description of the appliance 1) Top cover 2) Freezer compartment 3) Light bulb 4) Safety glass shelf 5) Salad crisper 6) Fixed foot 7) Adjustable foot 8) Door shelves (x 2) 9) Bottle shelf... -
Page 9: Description Of The Product Features
Description of the product features 1) Shelf o The shelf may be placed in any of the guide slots within the interior of the appliance. They are protected from sliding out. o To remove a shelf: Take off all of the items that are stored on the shelf. -
Page 10: Using Your Baumatic Fridge
Using your Baumatic fridge Before switching on o Make sure that it has been installed by a suitably qualified person, information contained Baumatic’s installation instructions. o After delivery, wait for eight hours before connecting the appliance to your mains supply. This will allow any refrigerant gasses that may have been disturbed during the transportation process to settle. -
Page 11: Switching On The Appliance And Setting The Thermostat
Switching on the appliance and setting the thermostat o You switch on your appliance by connecting it to your mains supply and setting the thermostat. The thermostat dial is located on the upper right hand side of the inside of the cabinet, next to the interior light. -
Page 12: Arranging And Storing Food In The Fridge Section
Arranging and storing food in the fridge section o Warm food or evaporating liquids should not be stored in your refrigerator, as this will increase the humidity inside of the appliance. o All foods should be wrapped or covered, this is particularly important if the food has a strong flavour. -
Page 13: The **** Star Freezer Compartment
o Milk bottles should have a cap on them and be stored on the bottle shelf that sits in the door. o Garlic, potatoes, onions and bananas should only be stored in a refrigerator IF they are kept in airtight containers. -
Page 14: Making Ice Cubes
Making ice cubes o Fill the ice cube tray ¾’s full with water and place it into the freezer compartment. o After the water is completely frozen and turned to ice, you can twist the ice cube tray (as shown in the drawing below) to dispense the ice. -
Page 15: Cleaning And Maintenance
Cleaning and maintenance WARNING: PLEASE ENSURE THAT YOUR APPLIANCE IS DISCONNECTED FROM YOUR MAINS SUPPLY BEFORE ATTEMPTING TO CLEAN IT. o Do not clean the appliance by pouring water onto it or spraying water over it. o The refrigerator compartment should be cleaned periodically, using a solution of bicarbonate of soda and lukewarm water. -
Page 16: The Defrost Drain Hole
The defrost drain hole o Defrosting occurs automatically in the refrigerator section during operation. The defrost water is collected by the evaporating tray and evaporates automatically. o The drain hole should be cleaned periodically with the drain hole cleaner. This will prevent water from collecting in the bottom of the refrigerator, instead of flowing down the defrost drainage channel and drain hole. -
Page 17: Defrosting The **** Freezer Compartment
Defrosting the **** freezer compartment After a period of time frost will build up in the freezer compartment. As a temporary measure, this frost should be scraped away using a plastic scraper. Complete defrosting will however become necessary approximately twice per year, or if the frost layer exceeds 5 cm (2”). This will maintain the efficiency of the refrigerator. -
Page 18: Replacing The Light Bulb
Replacing the light bulb WARNING: PLEASE ENSURE THAT YOUR APPLIANCE IS DISCONNECTED FROM YOUR MAINS SUPPLY BEFORE ATTEMPTING TO REPLACE THE LIGHT BULB. o There is an interior light next to the thermostat dial. o Press the hooks on the sides of the light cover and slide the cover off. -
Page 19: Installation
Installation IMPORTANT: Before installation and usage read all the instructions and make sure that the voltage (V) and the frequency (Hz) indicated on the rating plate are exactly the same as the voltage and frequency in your home. The rating plate can be found on the front left edge of the inside of the refrigerator. -
Page 20: Positioning
o When the connection is completed, no stray strands or cut wire should be present. The cord clamp must be secured over the outer sheath. Positioning o It is advisable that your appliance is only installed in a location where the ambient temperature of the room, corresponds with the climate classification that is stated on the rating plate of your appliance. -
Page 21: Reversing The Door
Reversing the door IMPORTANT: BEFORE COMMENCING THE DOOR REVERSAL PROCESS THE APPLIANCE MUST BE DISCONNECTED FROM YOUR MAINS SUPPLY. o We suggest that two people complete the door reversal process. o We recommend that the door reversal process is done before the appliance is placed in its final position. - Page 22 5. Carefully remove the appliance door, placing it gently on a cushioned surface, so that it doesn’t get damaged. 6. Carefully tilt the appliance to a 60° angle. Unscrew the three screws on the bottom hinge and move them to the opposite side from...
-
Page 23: Troubleshooting
BEFORE SWITCHING THE APPLIANCE BACK ON. Troubleshooting IMPORTANT: If your fridge appears not to be operating properly, before contacting the Baumatic Customer Care Department, please refer to the checklist below. My fridge does not appear to be working/there is no power to my appliance. - Page 24 My fridge appears to be performing poorly. o Check that the appliance isn’t overloaded and that food hasn’t been packed too tightly into it. o The thermostat setting is too low; you should turn the thermostat up higher. o Ensure that the door is closing properly and that the door has not been opened for a prolonged period in error.
- Page 25 Or any installation other than the one specified by Baumatic Ltd. has been completed. Please refer to the conditions of guarantee that appear on the warranty card that you receive with the appliance.
-
Page 26: Contact Details
Czech Republic United Kingdom Baumatic CR spol s.r.o. Baumatic Ltd., Průmyslová zóna Sever 696 Baumatic Buildings, 460 11 Liberec 11 6 Bennet Road, Czech Republic Reading, Berkshire RG2 0QX +420 483 577 200 United Kingdom www.baumatic.cz Sales Telephone (0118) 933 6900... - Page 28 28 28...