Table of Contents
Advertisement
Quick Links
Advertisement
Table of Contents

Summary of Contents for HIKVISION DS-KB6403-WIP
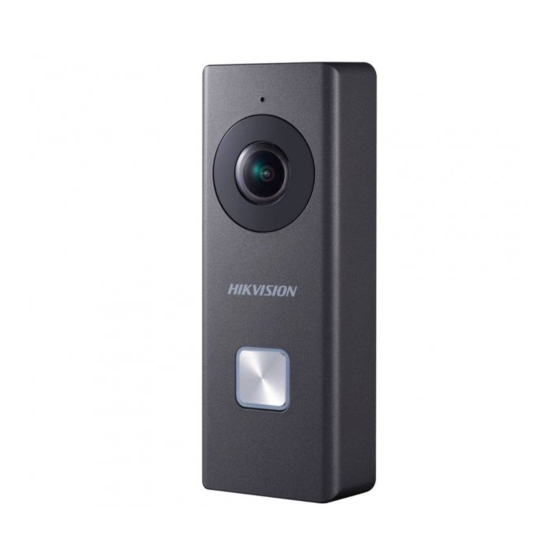
- Page 1 Wi-Fi Video Doorbell User Manual...
- Page 2 Trademarks and other Hikvision marks are the property of Hikvision and are registered trademarks or the subject of applications for the same by Hikvision and/or its affiliates. Other trademarks mentioned in this manual are the properties of their respective owners. No right of license is given to use such trademarks without express permission.
-
Page 3: Regulatory Information
Regulatory Information FCC Information Please take attention that changes or modification not expressly approved by the party responsible for compliance could void the user’s authority to operate the equipment. FCC compliance: This equipment has been tested and found to comply with the limits for a Class A digital device, pursuant to part 15 of the FCC Rules. -
Page 4: Available Models
Cet équipement doit être installé et utilisé à une distance minimale de 20 cm entre le radiateur et votre corps. Available Models This manual is applicable to the Wi-Fi Video Doorbell: DS-KB6003-WIP, DS-KB6403-WIP. Symbol Conventions The symbols that may be found in this document are defined as follows. - Page 5 All the electronic operation should be strictly compliance with the electrical safety regulations, fire prevention regulations and other related regulations in your local region. Please use the power adapter, which is provided by normal company. The power consumption cannot be less than the required value. ...
- Page 6 1.5A MOSO POWER SUPPLY NEMA MSA-C1500IC12.0-18P-US TECHNOLOGY CO.,LTD 1.5A SHENZHEN TRANSIN NEMA TS-A018-120015AD TECHNOLOGIES CO.,LTD MOSO POWER SUPPLY NEMA MSA-C2000IC12.0-24P-US TECHNOLOGY CO.,LTD SHENZHEN HONOR NEMA ADS-26FSG-1212024EPCU ELECTRONIC CO.,LTD 1.5A MOSO POWER SUPPLY MSA-C1500IC12.0-18P-DE TECHNOLOGY CO.,LTD 1.5A SHENZHEN HONOR ADS-25FSG-1212018GPG ELECTRONIC CO.,LTD MOSO POWER SUPPLY MSA-C2000IC12.0-24P-DE TECHNOLOGY CO.,LTD...
- Page 7 SHENZHEN HONOR ADS-24S-12 1224GPBR ELECTRONIC CO.,LTD 1.5A MOSO POWER SUPPLY TS-A018-120015N5 TECHNOLOGY CO.,LTD 1.5A SHENZHEN HONOR ADS-25FSG-12 12018GPI ELECTRONIC CO.,LTD SHENZHEN HONOR ADS-26FSG-12 12024EPI ELECTRONIC CO.,LTD SHENZHEN HONOR ADS-24S-12 1224GPI ELECTRONIC CO.,LTD SHENZHEN HONOR ADS-26FSG-12 12024EPI ELECTRONIC CO.,LTD SHENZHEN HONOR ADS-24S-12 1224GPI ELECTRONIC CO.,LTD...
- Page 8 Doorbell Appearance Front and Rear Panels You can see the camera, call button, and crews for wiring on the doorbell on the front panel and the rear panel. Figure 1-1 Front Panel and Rear Panel Table 1-1 Components Description Name Description IR Light Auto light source for night vision.
- Page 9 Figure 1-2 Side Panel and Bottom Panel Table 1-2 Components Description Name Description For TF card. If a TF card is used, video files will be stored in the TF TF Card Slot card. Hold the button for 15 seconds to restore the factory settings, and RESET then enter the Wi-Fi connection mode.
- Page 10 Doorbell Installation 2.1 Attach Mounting Template Mounting template is included in the box content, and it is an auxiliary help for you to install the doorbell. Steps 1. Determine the installation height of doorbell. Figure 2-1 Suggested Installation Height 2. Align the cable hole on the mounting template with the cable hole on the wall. 3.
-
Page 11: Connect Power Cables
2.2 Connect Power Cables Before You Start Make sure you have powered off the main power switch of your home. Steps 1. Loosen the screws on the rear panel of the doorbell, put loops of power cables (included in the box content) into the screws, and then tighten them. Figure 2-3 Connect Included Power Cables 2. - Page 12 Steps 1. Remove the faceplate attached on the doorbell to view the front panel and side panel of the doorbell. 2. Remove the card slot cover. 3. Insert the TF card into the card slot on the side of the doorbell. 4.
- Page 13 Figure 2-6 Insert Expansion Tube 2. Route the cables and insert cables and power connector into the drilled cable hole. 3. Align the screw holes on the doorbell body with drilled holes on the wall. 4. Fix the doorbell body to the wall tightly with 2 screws. Figure 2-7 Install Doorbell 5.
-
Page 14: Getting Started
Getting Started Getting Started section provides the quick usage guide to the doorbell and its related application. 3.1 Set up Hik-Connect App Hik-Connect App is necessary for the doorbell configuration and operation. Before You Start Make sure your mobile device has been connected to Wi-Fi. Steps 1. - Page 15 Connect Wi-Fi You should set the Wi-Fi connection before adding the doorbell to the App and operating the doorbell. Steps 1. In the Home page of the App, tap More -> Settings -> Wi-Fi Settings to enter the Wi-Fi settings page. 2.
- Page 16 2. Scan the QR code or input the serial No. on the front panel of the doorbell body. Activation page pops up after finishing the Wi-Fi connection. The suggested scanning distance is 5 to 10 cm. The doorbell gives a beep for success. 3.
- Page 17 You will hear the voice prompt “Start configuring Wi-Fi”. 4) Tap Next in 3 minutes to start the Wi-Fi connection. Activation page pops up after finishing the Wi-Fi connection. 4. Activate the doorbell. 1) Tap Set Device Password and input a password to activate the doorbell. 2) Tap Activate in the next page to finish activating.
-
Page 18: Doorbell Operation
Doorbell Operation Via the Hik-Connect App, you can realize some certain functions of the doorbell (including, but not limited to, live view, and remote playback). Video Intercom Press Call Button on the doorbell. You can accept the call via the Hik-Connect App, get the live view of the doorbell, and capture the snapshots. - Page 19 UD08001B...


