Makita JV103D Instruction Manual
Hide thumbs
Also See for JV103D:
- Instruction manual (93 pages) ,
- Instruction manual (65 pages) ,
- Instruction manual (65 pages)
Table of Contents
Advertisement
Quick Links
Advertisement
Table of Contents

Related Manuals for Makita JV103D


Summary of Contents for Makita JV103D
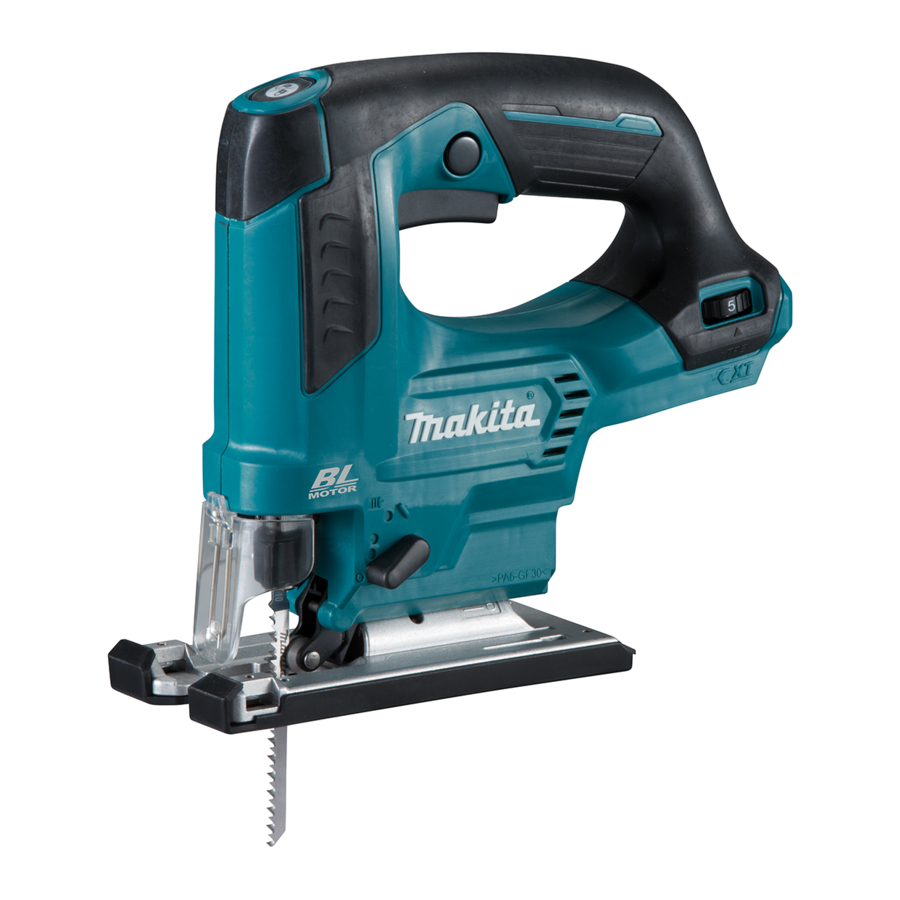
- Page 1 INSTRUCTION MANUAL Cordless Jig Saw JV103D Read before use.
-
Page 2: Specifications
SPECIFICATIONS Model: JV103D Length of stroke 23 mm Strokes per minute 800 - 3,000 min Blade type B type Max. cutting capacities Wood 90 mm Mild steel 10 mm Aluminum 20 mm Overall length 237 mm Rated voltage D.C. 10.8 V - 12 V max... -
Page 3: General Power Tool Safety Warnings
may result in serious personal injury. SAFETY WARNINGS Use personal protective equipment. Always wear eye protection. Protective equipment such as a dust mask, non-skid safety shoes, hard hat or General power tool safety warnings hearing protection used for appropriate conditions will reduce personal injuries. WARNING: Read all safety warnings, instruc- Prevent unintentional starting. Ensure the tions, illustrations and specifications provided with this switch is in the off-position before connecting power tool. - Page 4 Use the power tool, accessories and tool bits Cordless jig saw safety warnings etc. in accordance with these instructions, tak- ing into account the working conditions and Hold power tool by insulated gripping sur- the work to be performed. Use of the power tool faces, when performing an operation where for operations different from those intended could the cutting accessory may contact hidden wir-...
-
Page 5: Functional Description
If you can see the red indicator on the causing fires, personal injury and damage. It will upper side of the button, it is not locked completely. also void the Makita warranty for the Makita tool and charger. CAUTION: Always install the battery cartridge fully until the red indicator cannot be seen. -
Page 6: Overload Protection
Overload protection Selecting the cutting action When the battery is operated in a manner that causes it to draw an abnormally high current, the tool automat- ically stops without any indication. In this situation, turn the tool off and stop the application that caused the tool to become overloaded. Then turn the tool on to restart. -
Page 7: Electronic Function
Workpiece Number Wood 4 - 5 Mild steel 3 - 5 Stainless steel 3 - 4 Aluminum 3 - 5 Plastics 1 - 4 NOTICE: When changing the speed dial from "5" to "1", turn the dial counterclockwise. Do not turn the dial clockwise forcibly. - Page 8 ASSEMBLY CAUTION: Always be sure that the tool is switched off and the battery cartridge is removed before carrying out any work on the tool. Installing or removing jig saw blade CAUTION: Always clean out all chips or for- eign matter adhering to the jig saw blade and/or blade holder. Failure to do so may cause insufficient tightening of the blade, resulting in a serious personal ► 1 .
-
Page 9: Operation
OPERATION CAUTION: Always hold the base flush with the workpiece. Failure to do so may cause jig saw blade breakage, resulting in a serious injury. CAUTION: Advance the tool very slowly when cutting curves or scrolling. Forcing the tool may cause a slanted cutting surface and jig saw blade breakage. ► 1 . Hex wrench 2. Bolt 3. Base Tilt the base until the desired bevel angle is obtained. The edge of the motor housing indicates the bevel angle by graduations. Then tighten the bolt to secure the base. -
Page 10: Plunge Cutting
Plunge cutting Dust extraction Clean cutting operations can be performed by connect- ing this tool to a Makita vacuum cleaner. Installing or removing the dust cover Install the dust cover as shown in the figure. You need not bore a starting hole or make a lead-in cut if you carefully do as follows. -
Page 11: Rip Fence
► 1 . Button 2. Dust nozzle Connecting the tool to the vacuum cleaner Connect the hose of the vacuum cleaner to the dust nozzle. ► 1 . Dust cover Installing or removing the dust nozzle Insert the dust nozzle all the way into the tool. Rip fence Optional accessory CAUTION:... -
Page 12: Cover Plate
To install, insert the rip fence into the rectangular hole Slide the rip fence to the desired cutting radius, on the side of the base with the fence guide facing and tighten the bolt to secure it in place. Then move the down. Slide the rip fence to the desired cutting width base all the way forward. position, then tighten the bolt to secure it. NOTE: Always use jig saw blades No. B-17, B-18, B-26 or B-27 when cutting circles or arcs. -
Page 13: Optional Accessories
CAUTION: These accessories or attachments adapter will assure the production of fast and clean are recommended for use with your Makita tool cuts. To install the guide rail adapter, insert the rule specified in this manual. The use of any other bar into the square hole of the base as far as it goes. accessories or attachments might present a risk of Secure the bolt with the hex wrench securely. - Page 16 Makita Europe N.V. Jan-Baptist Vinkstraat 2, 3070 Kortenberg, Belgium Makita Corporation 3-11-8, Sumiyoshi-cho, Anjo, Aichi 446-8502 Japan 885595-228 www.makita.com 20170321...