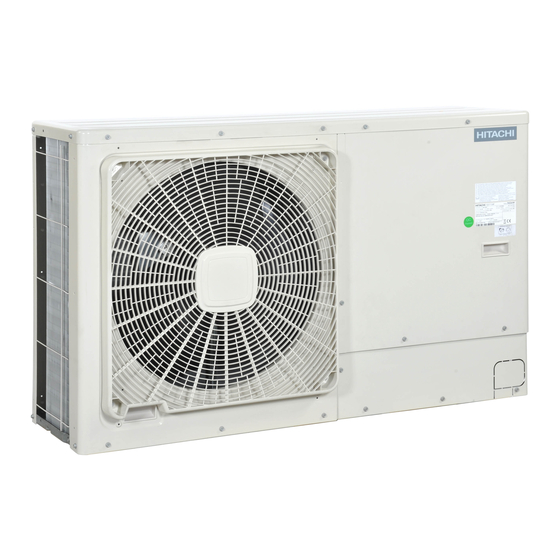
Hitachi RASM-2VRE Installation And Setup
Hide thumbs
Also See for RASM-2VRE:
- Instruction manual (490 pages) ,
- Installation & operation manual (364 pages) ,
- Technical catalogue (142 pages)

Related Manuals for Hitachi RASM-2VRE


Summary of Contents for Hitachi RASM-2VRE
- Page 1 Yutaki M Typical Installation With third party heating controls Installation and setup Monobloc System Rev 1.1 January 11, 2022...
- Page 2 This manual is designed to be a quick guide to the most common type of instal- lation for a Hitachi Yutaki M Monobloc system. This assumes heating via a buffer tank or low loss header, domestic hot water via a cylinder with sensor pocket and immersion heater, 3 port diverting valve and Secon remote room RF wireless programmable temperature controller.
-
Page 3: Warranty
A commissioning sheet is available for download on the Secon renewable web site www.seconrenewables.com and this should be filled in and returned to Hitachi within 28 days of commissioning. Also the unit should be subject to an annual service by the installing contractor or another authorized service company to meet the warranty conditions. -
Page 4: Power Supply
Power Supply sizes are - Without Immersion Heater With Immersion Heater Model Max Amps MCB Size Min Cable Size Max Amps MCB Size Min Cable Size RASM-2VRE 12.7A 2.5mm² x 3* 25.2A 6mm² x 3* RASM-3VRE 17.2A 4mm² x 3* 29.7A 6mm² x 3* RASM-4VNE 6mm²... -
Page 5: Control Wiring
We recommend taking the immersion heater and the heating pump wiring through local • fused switches mounted next to each (Pump—5A and Heater 16A) The tank hot water sensor is a Hitachi specific part and not a generic item. • Please confirm all details with the relevant Hitachi installation manuals. -
Page 6: Pre-Start Checks
Pre-Start Checks Please check the following before commencing startup. Power must be supplied to the monobloc unit for at least 8 hours before start up in or- • der to provide sufficient power to the compressor heater Check all electrical wiring and connections •... -
Page 7: Getting Started
Getting Started Once you have selected Installer Mode then you can negotiate the controller using the various buttons and can return to the main screen at any time using the return button to get back to the home screen. Air Purge Mode Before doing anything else make sure all of the water valves in the system are open, that the system is maintaining pressure and the air vents are all open. - Page 8 Setting the Space Heating Mode To set the water temperature in space heating mode you have two options, to set a constant water temperature or to set a weather compensated heat curve. We normally suggest a heat curve is best for most applications and this is the method we shall describe here. See the suggested settings below.
- Page 9 Optimisation for scald protection entails setting the hot water temperature in the cylinder at 50C which can be carried out by the heat pump in most circumstances. This avoids sys- tematic use of the immersion heater and taking the hot water to a temperature which risks scalds.
- Page 10 This manual is based around the use of a third party RF programmable controller NOT a Hi- tachi wired or wireless controller. If you are going to use a Hitachi controller then please con- tact Secon Solar Technical as the wiring schematic and setup procedure are different to that shown in this manual.
-
Page 11: System Test
System Test Assuming you have set up the system as recommended then you are ready to do a run test of the system. Controller Description LCD Display—See below for more details OK—to select and confirm selection Arrows Key—to navigate menus and selections On / Off button and Run / Trip Light Menu Button Return Button... - Page 12 System Test—Heating Mode First ensure that the base station for the heating system is not sending a demand for heating. Some systems let you do this on the base station and some need the thermostat to be turned right down. Make sure you are in Installer Mode too before starting. Once this is done press the left right icons and select the C1 segment of the display (3).
- Page 13 System Test—Tank Mode Once you confirm the heat pump works correctly in heating mode then it is time to check the operation in Tank mode. Use the left and right arrows to highlight the DHW segment of the display then turn the heat pump on using the ON/OFF switch Select me using the arrow keys Press Me...
- Page 14 Check list after testing Once the system has been fully tested in both heating and tank modes then it can be set up to actually run for the customer. The end user should be dissuaded from trying to use the Hi- tachi Yutaki controller themselves as they may not understand the ramifications of changes they make.
- Page 15 www.seconrenewable.com info@seconrenewables.com T: 0191 516 6554...
- Page 16 T: 0191 516 6554 www.seconrenewable.com info@seconrenewables.com...
- Page 17 Have you visited our web shop yet? www.seconrenewables.com Secon Renewables, Unit 87, Business & Innovation Centre, Wearfield, Sunderland SR5 2TH W:www.seconrenewables.com 0191 516 6554 info@seconrenewables.com...