Table of Contents
Advertisement
Quick Links
Advertisement
Table of Contents

Related Manuals for AEG BE3013021

Summary of Contents for AEG BE3013021
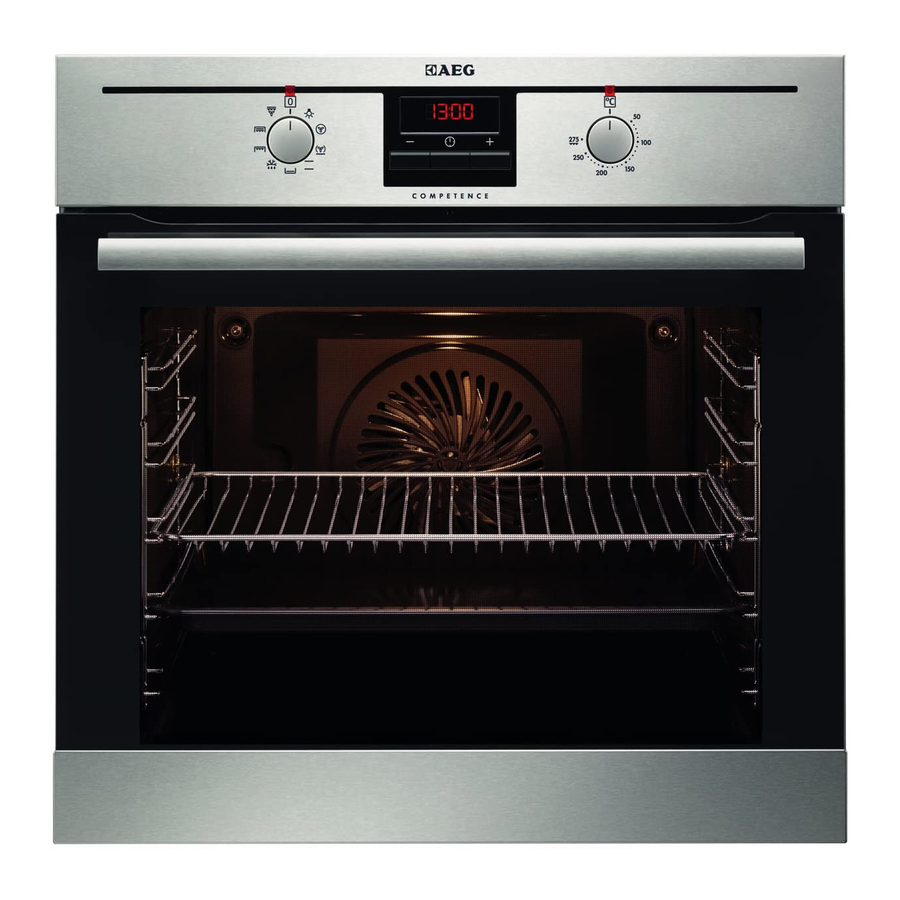
- Page 1 EN OVEN BE3013021 USER MANUAL...
- Page 2 FOR PERFECT RESULTS Thank you for choosing this AEG product. We have created it to give you impeccable performance for many years, with innovative technologies that help make life simpler – features you might not find on ordinary appliances. Please spend a few minutes reading to get the very best from it.
-
Page 3: Table Of Contents
CONTENTS Contents 4 Safety information 7 Product description 8 Before first use 9 Daily use 10 Clock functions 11 Using the accessories 13 Additional functions 13 Helpful hints and tips 22 Care and cleaning 25 What to do if… 26 Environment concerns The following symbols are used in this user manual: Important information concerning your... -
Page 4: Safety Information
Safety information SAFETY INFORMATION Before the installation and use, read this manual carefully: • For your personal safety and the safety of your property • For the respect of the environment • For the correct operation of the appliance. Always keep these instructions with the appliance also if you move or sell it. The manufacturer is not responsible if incorrect installation or use results in damage. -
Page 5: Electrical Connection
• Before the installation, make sure that the kitchen cabinet has the recess dimensions ap- plicable. • Make sure that the appliance is installed below and adjacent safe structures. • Keep the minimum distances to the other appliances and units. •... -
Page 6: Oven Lamp
Safety information • Always close the appliance door when you cook, even while grilling. Care and cleaning • Before maintenance, switch off the appliance and disconnect the appliance from the power supply. • Before maintenance, make sure that the appliance is cold. There is the risk of burns. There is the risk that the glass panels can break. -
Page 7: Product Description
Disposal of the appliance • To prevent the risk of physical injury or damage – Disconnect the appliance from the power supply. – Cut off the mains cable and discard it. – Discard the door catch. This prevents children or small animals from being closed in- side of the appliance. -
Page 8: Before First Use
Before first use Bottom heat Shelf support, removable Shelf positions Accessories • Wire shelf For cookware, cake tins, roasts. • Combi pan For cake and biscuits. To bake and roast or as pan to collect fat. • Telescopic runners For shelves and trays. BEFORE FIRST USE WARNING! Refer to "Safety information"... -
Page 9: Daily Use
Setting the time The oven only operates after time set. When you connect the appliance to the electrical supply or in case of a power cut, the Time func- tion indicator flashes automatically. To set the current time use " + " or " - " button. After approximately 5 seconds, the flashing stops and the display shows the time of day set. -
Page 10: Clock Functions
Clock functions Oven function Conventional Cooking Bottom Heat Defrost Grilling Fast Grilling Turbo Grilling Electronic programmer Function indicators Function indicators Time display Button "+" Selection button Button "-" CLOCK FUNCTIONS Setting the clock functions Set an oven function and temperature (necessary only for Duration and End). Push the Selection button again and again until necessary function indicator flashes. -
Page 11: Using The Accessories
With the functions Duration Push any button to stop the signal. Turn the oven functions control knob and the temperature control knob to off posi- tion. Clock function Time of day Minute minder Duration Duration and End off automatically later. In this case first set Duration Cancelling the clock functions Push the Selection button again and again until necessary function indicator flashes. - Page 12 Using the accessories Installing the wire shelf and the deep pan to- gether Put the wire shelf on the deep pan. Push the deep pan between the guide-bars of one of the oven levels. Telescopic runners - Inserting the Oven Accessories Put the baking tray or the deep pan on the tele- scopic runners.
-
Page 13: Additional Functions
ADDITIONAL FUNCTIONS Cooling fan When the appliance operates, the cooling fan activates automatically to keep the surfaces of the appliance cool. If you deactivate the appliance, the cooling fan can continue to oper- ate until the appliance cools down. HELPFUL HINTS AND TIPS Inner side of door In some models on the inner side of the door you can find: •... - Page 14 Helpful hints and tips Type of baking Oven function Madeira cake/ True Fan Cooking fruit cakes Sponge cake True Fan Cooking Sponge cake Conventional Flan base - short True Fan Cooking pastry Flan base - True Fan Cooking sponge mixture Apple pie (2tins True Fan Cooking Ø20cm, diagonal-...
- Page 15 Type of baking Oven function Fruit flans (made with yeast dough/ True Fan Cooking sponge mixture) Fruit flans (made with yeast dough/ Conventional sponge mixture) Cooking Fruit flans made True Fan Cooking with short pastry Yeast cakes with delicate toppings Conventional (e.
- Page 16 Helpful hints and tips Type of baking Small cakes (20per tray) 1) Pre-heat the oven Multileveled Baking Cakes/pastries/breads on baking trays Type of baking Cream puffs/ Eclairs Dry streusel cake 1) Pre-heat the oven Biscuits/small cakes/pastries/rolls Type of baking Short pastry bis- cuits Short bread/ Pas- try Stripes...
- Page 17 Tips on baking Baking results The cake is not browned enough underneath The cake sinks (becomes soggy, lumpy, streaky) The cake sinks (becomes soggy, lumpy, streaky) The cake sinks (becomes soggy, lumpy, streaky) Cake is too dry Cake is too dry Cake browns unevenly Cake browns unevenly Cake does not cook in the bak-...
- Page 18 Helpful hints and tips Roasting Roasting dishes • Use heat-resistant ovenware to roast (please read the instructions of the manufacturer). • Large roasting joints can be roasted directly in the deep pan (if present) or on the wire shelf above the deep pan. •...
- Page 19 Lamb Type of meat Quantity Leg of lamb, 1-1.5 kg roast lamb Saddle of 1-1.5 kg lamb Game Type of meat Quantity Saddle of up to 1 kg hare, leg of hare Saddle of ven- 1.5-2 kg ison Haunch of 1.5-2 kg venison 1) Pre-heat the oven...
- Page 20 Helpful hints and tips Always pre-heat the empty oven with the grill functions for 5 minutes. • Set the shelf in the shelf position as recommended in the grilling table. • Always set the pan to collect the fat into the first shelf position. •...
- Page 21 Type of baking Unleavened bread Puff pastry flan Flammekuchen (Pizza- like dish from Alsace) Piroggen (Russian ver- sion of calzone) 1) Pre-heat the oven 2) Use deep pan Defrosting Remove the food packaging. Put the food on a plate. Do not cover it with a bowl or a plate. This can extend the defrost time. Use the first oven shelf position.
-
Page 22: Care And Cleaning
Care and cleaning Food to be dried Mushrooms Herbs Fruit Food to be dried Plums Apricots Apple slices Pears Information on acrylamides Important! According to the newest scientific knowledge, if you brown food (specially the one which contains starch), acrylamides can pose a health risk. Thus, we recommend that you cook at the lowest temperatures and do not brown food too much. - Page 23 Removing the shelf support Pull the front of the shelf support away from the side wall. Pull the shelf support from the back of the side wall to remove it. To install the shelf support follow the proce- dure in reverse. Valid with telescopic runners: The retaining pins on the telescopic shelf runners must point to the front!
- Page 24 Care and cleaning Ceiling You can fold down the heating element on the ceiling to clean the ceiling easily. WARNING! Before you fold down the heating element deactivate the appliance. Make sure that the appliance is cold. There is a risk of burns! Folding down the heating element Remove the shelf supports.
-
Page 25: What To Do If
Removing and cleaning the door glass panels Remove the door. Hold the door trim (B) on the top edge of the door at the two sides and push inwards to release the clip seal. Pull the door trim to the front to re- move it. -
Page 26: Environment Concerns
Environment concerns The necessary data for the service centre is on the rating plate. The rating plate is on the front frame of the appliance cavity. We recommend that you write the data here: Model (MOD.) Product number (PNC) Serial number (S.N.) ENVIRONMENT CONCERNS The symbol on the product or on its packaging indicates that this product may not be... - Page 28 892945985-A-282011...