Panasonic BB-HCM381A Installation Manual
Indoor use only
ac adaptor type
poe type
Hide thumbs
Also See for BB-HCM381A:
- Service manual (163 pages) ,
- Operating instructions manual (160 pages) ,
- Troubleshooting manual (28 pages)
Advertisement
Quick Links
Installation Guide
Network Camera
BB-HCM381A
Model No.
BB-HCE481A
This manual is for both BB-HCM381A (AC Adaptor Type) and BB-HCE481A (PoE Type). Available features and operations
are different in part depending on the model. Read the Operating Instructions on the CD-ROM carefully and use the
Network Camera properly.
Mount the camera after the camera is connected and finished setting up following Getting Started.
Installation Procedures
Temporarily place
the camera.
Adjust the position and
direction of the camera.
Attach the camera.
•
The camera can be viewed in the least light requirement at 3 lx (default). Use supplemental lighting for the dimly lit places.
(The camera can be viewed in the least of 0.09 lx in the color night view mode (see page 80 of the Operating Instructions on
the CD-ROM), which may increase the refresh interval.)
•
After preparing the Ethernet cable that has enough length, mount the camera.
•
Mounting and cabling instructions described in this Installation Guide follow generally accepted guidelines suitable for residential
installations. In some areas, commercial and industrial installations are regulated by local or state ordinances. For such installations,
contact your local building department or building inspector for more details.
Mounting on the Ceiling
•
Make sure the camera is firmly mounted on the ceiling.
•
The camera is available between ±15˚ based on level line
for mounting.
•
The camera should be uninstalled from the ceiling when removing
the SD memory card (see page 140 of the Operating Instructions
on the CD-ROM).
•
The camera is intended for indoor use only. Prolonged exposure
to direct sunlight or halogen light may damage CCD.
•
The camera's MAC address and serial number are printed on the
bottom of the camera. They are needed in order for camera
configuration and maintenance. Record both of them for before
mounting the camera.
•
Set the Mounting type setting to [On the ceiling] on the Camera Setup
page (see page 80 of the Operating Instructions on the CD-ROM).
•
Two ways of wiring can be considered; wiring through a hole made
in the ceiling or wiring without making a hole for a cable in the ceiling.
Select either one of the two.
•
The audio/video cable cannot be connected or removed after
mounting on the ceiling.
© 2006 Panasonic Communications Co., Ltd. All Rights Reserved.
Indoor Use Only
(AC Adaptor Type)
(PoE Type)
Temporarily place the camera where you like to view images.
Adjust the position and direction of the camera while you confirm that
images are displayed on the monitor as you imaged.
The camera can be mounted on the ceiling.
Attach the camera firmly when mounting on the ceiling.
•
Please read the Important Information before using.
•
"Network Camera" is called "Camera" in this manual.
•
"Setup CD-ROM" is called "CD-ROM" in this manual.
•
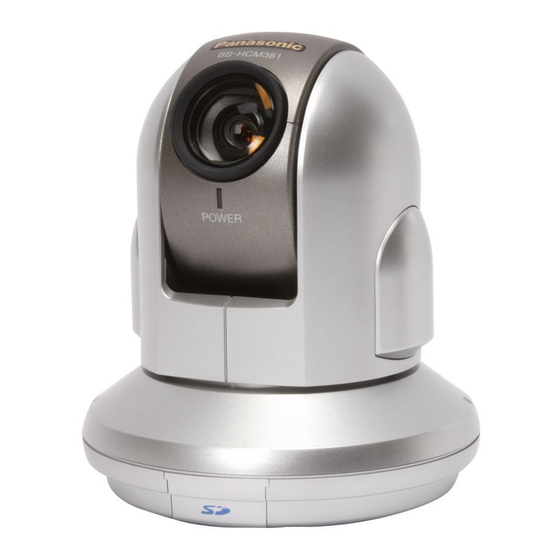
The illustrations used in this manual are of BB-HCM381A.
Wiring through a hole made in the ceiling
1
Attach the Ceiling Plate B on the ceiling with Screws B.
Camera direction
Screws B (4 pcs.)
•
Attach the Ceiling Plate B more than 100 mm (3 15/16 inches) off
the wall or other obstacles from its center.
•
Make sure the camera is firmly mounted on a beam of wood etc.
When there is no beam, apply a board on the other side of the
ceiling to make sure the camera does not drop.
Keep more than 100 mm
(3 15/16 inches) off the wall
or other obstacles.
100 mm
(3 15/16 inches)
PQQX15035ZA
KK1105RM0
Advertisement

Related Manuals for Panasonic BB-HCM381A


Summary of Contents for Panasonic BB-HCM381A
- Page 1 The illustrations used in this manual are of BB-HCM381A. This manual is for both BB-HCM381A (AC Adaptor Type) and BB-HCE481A (PoE Type). Available features and operations are different in part depending on the model. Read the Operating Instructions on the CD-ROM carefully and use the Network Camera properly.
- Page 2 Ceiling Mounting when the material of Make a hole for a cable. the ceiling is mortar or concrete Hole for a cable • Make a 25 mm (1 inch) 25 mm (1 inch) hole where is 65 mm Fit the Ceiling Plate B to the mounting position (2 9/16 inches) away from 65 mm the center in the plate.