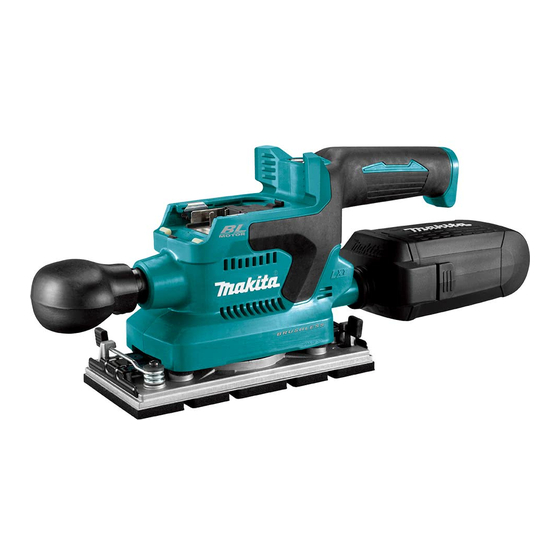
Makita DBO380 Instruction Manual
Cordless finishing sander
Hide thumbs
Also See for DBO380:
- User manual ,
- Instruction manual (128 pages) ,
- Instruction manual (128 pages)
Table of Contents
Advertisement
Quick Links
Advertisement
Table of Contents

Related Manuals for Makita DBO380


Summary of Contents for Makita DBO380
- Page 1 INSTRUCTION MANUAL Cordless Finishing Sander DBO380 DBO381 Read before use.
-
Page 2: Specifications
The typical A-weighted noise level determined accord- for the equipment. Be sure that you understand their ing to EN62841-2-4: meaning before use. Model DBO380 Sound pressure level (L ) : 72 dB(A) Read instruction manual. Uncertainty (K) : 3 dB(A) -
Page 3: Ec Declaration Of Conformity
The vibration total value (tri-axial vector sum) deter- adapter plugs with earthed (grounded) power mined according to EN62841-2-4: tools. Unmodified plugs and matching outlets will Model DBO380 reduce risk of electric shock. Work mode: sanding metal plate Avoid body contact with earthed or grounded Vibration emission (a ) : 3.6 m/s... -
Page 4: Sander Safety Warnings
Do not let familiarity gained from frequent use Keep handles and grasping surfaces dry, of tools allow you to become complacent and clean and free from oil and grease. Slippery ignore tool safety principles. A careless action handles and grasping surfaces do not allow for can cause severe injury within a fraction of a safe handling and control of the tool in unexpected second. - Page 5 It will Avoid storing battery cartridge in a con- also void the Makita warranty for the Makita tool and tainer with other metal objects such as charger. nails, coins, etc.
-
Page 6: Functional Description
Important safety instructions for supplied case or a static-free container. wireless unit 26. Do not insert any devices other than Makita wireless unit into the slot on the tool. Do not disassemble or tamper with the wire- 27. Do not use the tool with the lid of the slot dam- less unit. -
Page 7: Overload Protection
NOTE: Depending on the conditions of use and the CAUTION: Always install the battery cartridge fully ambient temperature, the indication may differ slightly until the red indicator cannot be seen. If not, it may accidentally from the actual capacity. fall out of the tool, causing injury to you or someone around you. NOTE: The first (far left) indicator lamp will blink when CAUTION: Do not install the battery cartridge... - Page 8 Changing the tool speed Using abrasive paper supplied with tool The orbital speed can be changed in three modes, that is, high, Push and hold down the clamp lever on either front medium and low depending on the application and workload. or rear end of the pad, and slide it away from the stopper Press the power/speed select button to switch speed mode.
- Page 9 Maintain a proper tension on abrasive paper, and Reposition the abrasive paper so it is finely over- then set the clamp lever on the other end in a locked laid on the pad surface. position. Set the clamp lever back in a locked position to clamp the end of abrasive paper securely.
- Page 10 Using hook-and-loop abrasive paper CAUTION: The O ring may come out of the sanding base while replacing the pad. Set the O Optional accessory ring back in the circular grooves around the cen- CAUTION: Make sure to install a hook-and- ter of the base before installing the optional pad.
-
Page 11: Replacing Filter
Take the filter out of the dust box while pulling the Installing and removing dust box outer bottom edge of the cardboard opening free from the lower hooking tab. Optional accessory Attach the dust box over the tapered dust spout at the back end of the motor housing. -
Page 12: Sanding Operation
Optional accessory When you wish to perform clean sanding operation, connect a Makita vacuum cleaner to your tool. Use either an optional horse 28 mm or a combination of front cuffs 22 and hose provided with the cleaner to establish a connection. - Page 13 Keep the entire pad level and even with the sur- WIRELESS ACTIVATION face and apply slight pressure on the tool. FUNCTION For model DBO381 only NOTICE: The wireless function is only available when the supported vacuum cleaner is being installed. What you can do with the wireless activation function The wireless activation function enables clean and com-...
- Page 14 Tool registration for the vacuum cleaner NOTE: A Makita vacuum cleaner supporting the wireless activation function is required for the tool registration. NOTE: Finish installing the wireless unit to the tool before starting the tool registration.
- Page 15 Press the wireless activation button on the vac- Connect the hose of the vacuum cleaner with the uum cleaner for 3 seconds until the wireless activation tool. lamp blinks in green. And then press the wireless acti- vation button on the tool in the same way. Fig.30 Set the stand-by switch on the vacuum cleaner to "AUTO".
- Page 16 Pull the switch trigger of the tool. Check if the NOTE: The wireless activation lamp on the tool will vacuum cleaner runs while the switch trigger is being stop blinking in blue when there is no operation for pulled. 2 hours. In this case, set the stand-by switch on the To stop the wireless activation of the vacuum cleaner, vacuum cleaner to "AUTO"...
- Page 17 If the cancellation is performed successfully, the wire- Cancelling tool registration for the less activation lamps will light up in red for 2 seconds vacuum cleaner and start blinking in blue. NOTE: The wireless activation lamps finish blinking in Perform the following procedure when cancelling the red after 20 seconds elapsed.
- Page 18 Before asking for repairs, conduct your own inspection first. If you find a problem that is not explained in the manual, do not attempt to dismantle the tool. Instead, ask Makita Authorized Service Centers, always using Makita replace- ment parts for repairs.
-
Page 19: Maintenance
To maintain product SAFETY and RELIABILITY, repairs, any other maintenance or adjustment should be performed by Makita Authorized or Factory Service Centers, always using Makita replacement parts. After use Wipe off the tool using a dry cloth or cloth slightly moist- ened with soapy water at regular intervals. - Page 20 Makita Europe N.V. Jan-Baptist Vinkstraat 2, 3070 Kortenberg, Belgium Makita Corporation 3-11-8, Sumiyoshi-cho, Anjo, Aichi 446-8502 Japan 885907-225 www.makita.com 20210615...