Advertisement
Quick Links
Getting Started
Does your WiFi router have a WPS button?
Wi-Fi Protected Setup (WPS) is an easy way to connect WiFi devices. The button might look like one of these:
Yes
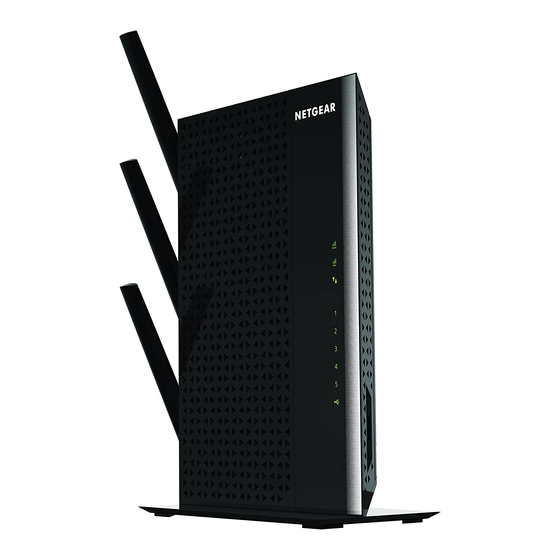
1. Attach the antennas.
Attach the antennas to the connectors and turn them clockwise to
tighten. Bend and rotate the antennas into position. Double check that
the antennas are properly tightened.
2. Turn on your extender.
Place the extender close to your WiFi router. Plug the extender into an
electrical outlet. Press the Power button if necessary.
3. Connect to your WiFi router.
Press the WPS button on the extender. The Link Rate LEDs and Device to
Extender LED blink green.
Within two minutes, press the WPS button on your WiFi router. After a
few seconds, the 2.4 GHZ Link Rate LED lights green, indicating a good
connection between your WiFi router and your extender. If the 2.4 GHz
Link Rate LED does not light, or the LED is blinking amber, try again. If
the LED still does not light, follow the instructions for No WPS button on
the right.
4. Add a WiFi band.
If your WiFi router supports the 5 GHz band (not all routers do), and you
want to extend that band, repeat Step 2 and check that the 5 GHz Link
Rate LED lights solid green to confirm the connection.
5. Choose a location and check the signal strength.
Now that the extender is connected to your WiFi router, you can move
it to a location that will boost your WiFi range. The location you choose
must be within the range of your existing WiFi router network.
The Link Rate LEDs help you choose a spot where the
extender-to-router connection is optimal. See the Indicator LEDs section
on the back to learn how the LEDs show the best connection.
If you get no connection or a poor connection, move the extender closer
to your WiFi router and try again until the 2.4 GHz or 5 GHz Link Rate
LED lights green.
6. Connect your WiFi devices.
Take your WiFi device to the location with poor WiFi router coverage.
Find the new extender network name:
Existing network name: MyNetworkName
New extended network name:
Select the new network and use your WiFi router password to connect.
You are now using your extended WiFi network.
MyNetworkName_2GEXT
or
MyNetworkName_5GEXT
AC1900 WiFi Range Extender
Model EX7000
Quick Start Guide
No (or not sure)
1. Attach the antennas.
Attach the antennas to the connectors and turn them clockwise to
tighten. Bend and rotate the antennas into position. Double check that
the antennas are properly tightened.
2. Turn on your extender.
Place the extender close to your WiFi router. Plug the extender into an
electrical outlet. Press the Power button if necessary.
3. Connect to the extender.
On a computer, tablet, or smartphone, open the WiFi connection
manager and connect to the extender network called NETGEAR_EXT.
When you are connected to the extender, the Device to Extender LED
lights solid green.
4. Set up with NETGEAR genie.
Launch a web browser. You are automatically taken to a login screen.
If a login screen does not display, go to www.mywifiext.net.
To set up your extender, do the following:
a.
Click the NEW EXTENDER SETUP button.
Complete the Extender Setup screen and click the NEXT button.
b.
c.
Click the WiFi Range Extender button.
d.
Click the Smart Setup button.
e.
Select a WiFi network to extend and click the Next button.
If you do not want to extend both WiFi bands, clear the 2.4GHz
WiFi Networks or the 5GHz WiFi Networks checkbox.
In the Password field, type the existing WiFi network password and
f.
click the Next button.
g.
Set the network name (SSID) and password for your extender and
click the Next button.
h.
Use a WiFi network manager on the computer or WiFi device to
connect to the new extended WiFi network.
5. Choose a location and check the signal strength.
Now that the extender is connected to your WiFi router, you can move
it to a location that will boost your WiFi range. The location you choose
must be within the range of your existing WiFi router network.
The Link Rate LEDs help you choose a spot where the
extender-to-router connection is optimal. See the Indicator LEDs section
on the back to learn how the LEDs show the best connection.
If you get no connection or a poor connection, move the extender closer
to your WiFi router and try again until the 2.4 GHz or 5 GHz Link Rate
LED lights green.
Advertisement

Related Manuals for NETGEAR AC1900


Summary of Contents for NETGEAR AC1900
- Page 1 2.4 GHZ Link Rate LED lights green, indicating a good connection between your WiFi router and your extender. If the 2.4 GHz 4. Set up with NETGEAR genie. Link Rate LED does not light, or the LED is blinking amber, try again. If Launch a web browser.
-
Page 2: Indicator Leds
Support After installing your extender, locate the serial number on the label and use it to register your product at https://my.netgear.com. You must register your product before you can use NETGEAR telephone support. NETGEAR recommends registering your product through the NETGEAR website. - Page 3 Federal Communication Commission Interference Statement This device complies with Part 15 of the FCC Rules. Operation is subject to the following two conditions: (1) This device may not cause harmful interference, and (2) this device must accept any interference received, including interference that may cause undesired operation.
-
Page 4: Industry Canada Statement
Industry Canada statement: This device complies with RSS-210 of the Industry Canada Rules. Operation is subject to the following two conditions: (1) This device may not cause harmful interference, and (2) this device must accept any interference received, including interference that may cause undesired operation. Ce dispositif est conforme à... -
Page 5: Radiation Exposure Statement
Radiation Exposure Statement: This equipment complies with IC radiation exposure limits set forth for an uncontrolled environment. This equipment should be installed and operated with minimum distance 27 cm between the radiator & your body. Déclaration d'exposition aux radiations: Cet équipement est conforme aux limites d'exposition aux rayonnements IC établies pour un environnement non contrôlé. - Page 6 Les types d'antenne non inclus dans cette liste, ou dont le gain est supérieur au gain maximal indiqué, sont strictement interdits pour l'exploitation de l'émetteur. Approved antenna(s) list Type Gain Brand Dipole 2dBi Netgear Dipole 2dBi Netgear Dipole 2dBi Netgear...