Advertisement
Quick Links
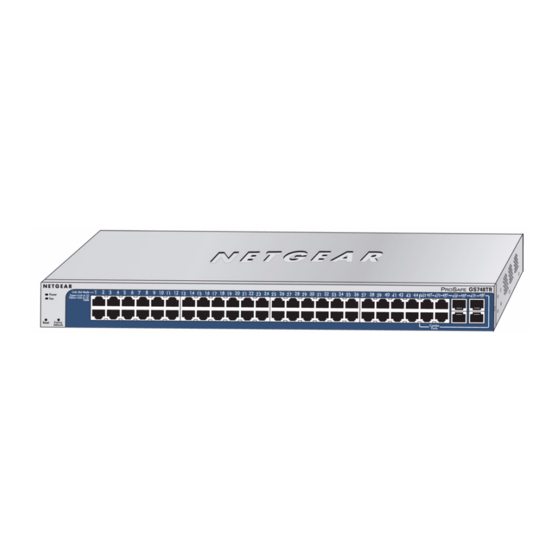
GS700TR Series (724, 748) Smart Switch with Static Routing
Start Here
Follow these instructions to set up your smart switch. Before proceeding with the smart
switch installation, familiarize yourself with the contents of the Resource CD, especially
the reference manuals on your Resource CD.
First, Verify Package Contents
•
NETGEAR Smart Switch
•
Rubber footpads for tabletop installation
•
Power cord
•
Rack-mount kit for installing the switch in a 19-inch rack
•
Installation Guide
•
Smart Switch Resource CD that includes the Smartwizard Discovery utility and
GS700TR Series Hardware Installation Guide. (A link to the online GS700TR
Software Administration User's Manual is on the Resource CD.)
•
Warranty/Support Information Card.
Then, Prepare to Install Your Smart Switch
Prepare a PC with an Ethernet adapter and a CD ROM drive.
Next, Install the Smartwizard Discovery
Utility on a PC
1.
Insert the resource CD into your CD drive.
2.
Run the Setup program to install the Smartwizard Discovery. The Installation Wizard
will guide you through.
Next, Connect Your Smart Switch in the
Correct Order
These instructions assume you are using DHCP in your network. If you are using static IP
addressing in your network, configure the switch IP address before connecting it to your
network. In the absence of a DHCP server, the switch will default to 192.168.0.239 for its
IP address.
To configure the switch before connecting it to your network:
1.
Set up the PC with a Static IP address in the 192.168.0.x subnet, and connect the PC
to the switch. Then, use the Smartwizard Discovery utility to configure the switch.
2.
Connect each PC to an RJ-45 network port on the Switch front panel.
Use category 5 (Cat5) unshielded twisted-pair (UTP) cable terminated with an RJ-45
connector to make these connections.
3.
Connect the smart switch to your network.
4.
Power on the switch.
5.
Verify that the PC with the Smartwizard Discovery utility is on the same subnet as the
switch.
Now, Configure the Switch with the
Smartwizard
1.
Click Start > Programs and select the Smartwizard utility.
2.
Click Discover to find your switch in the network.
The Smartwizard Discovery utility finds the switch and displays its MAC Address, IP
Address, and model number. If you cannot configure your switch, verify that the
Advertisement

Summary of Contents for NETGEAR GS700TR Series
- Page 1 • Installation Guide • Smart Switch Resource CD that includes the Smartwizard Discovery utility and GS700TR Series Hardware Installation Guide. (A link to the online GS700TR Software Administration User's Manual is on the Resource CD.) • Warranty/Support Information Card. Then, Prepare to Install Your Smart Switch Prepare a PC with an Ethernet adapter and a CD ROM drive.
- Page 2 WEEE Directive. © 2007 by NETGEAR, Inc. All rights reserved. NETGEAR and the NETGEAR logo are registered trademarks of NETGEAR, Inc. in the United States and/or other countries. Other brand and product names are trademarks or registered trademarks of their respective holders.


