Honeywell Performance Series Quick Installation Manual
8mp hqa bullet camera mfz
Hide thumbs
Also See for Performance Series:
- User manual (276 pages) ,
- Owner's manual (22 pages) ,
- Installation instructions manual (16 pages)
Advertisement
Quick Links
Performance Series Cameras
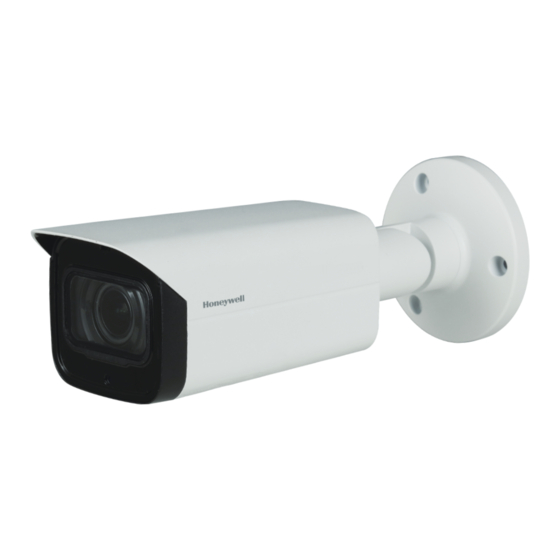
HBD42HD8 8MP HQA Bullet Camera MFZ
Quick Installation Guide
Thank you for purchasing a Honeywell Performance
Series HQA HBD42HD8 camera. Follow the instructions
in this guide to install and log in to your camera.
Warnings and Cautions
THIS SYMBOL INDICATES THAT
CAUTION
DANGEROUS VOLTAGE
RISK OF ELECTRIC
CONSTITUTING A RISK OF
SHOCK
ELECTRIC SHOCK IS PRESENT
DO NOT OPEN
WITHIN THE UNIT.
CAUTION: TO REDUCE THE RISK OF ELECTRIC
THIS SYMBOL INDICATES THAT
SHOCK, DO NOT REMOVE THE COVER.
IMPORTANT OPERATING AND
NO USER-SERVICEABLE PARTS INSIDE.
MAINTENANCE INSTRUCTIONS
REFER SERVICING TO QUALIFIED SERVICE
ACCOMPANY THIS UNIT.
PERSONNEL.
WARNING
This device is configured for 12 VDC/24 VAC operation. Do not connect to a higher
voltage. Use only with NRTL-approved Class 2 power supplies.
WARNING
IR emitted from this product. Do not view directly with optical instruments. Do not
stare directly into the lamp at a distance of less than 3.3 ft (1 m).
CAUTION
Invisible LED radiation (850 nm). Avoid exposure to beam.
Important Safeguards
• Read and keep these instructions.
• Confirm the installation surface can support at least three times the weight of the camera.
• Do not apply power to the camera before completing installation.
• Do not aim the camera toward a bright light source for extended periods to prevent damage to the
imager. Avoid operating the unit under or close to unstable light sources (may cause flickering), or
close to fluorescent lamps or objects reflecting light.
• Do not touch the camera lens.
• Do not drop the camera or subject it to physical shock.
• Do not use a strong or abrasive detergent when cleaning the camera.
• Avoid operating or storing the unit in extremely humid, dusty, hot/cold environments, where the
operating temperature is outside the recommended range of -40°F to 140°F (-40°C to 60°C).
Before You Begin
Before you begin, check that you have received all of the parts listed below. If any parts are missing or
damaged, contact your dealer immediately.
• Camera
• Self-tapping screws (×5)
• Mounting template
• Hex key (L-wrench)
• Power pigtail
CAUTION
Installation and servicing should be performed only by qualified and experienced
technicians to conform to all local codes and to maintain your warranty.
Camera body
Preparing the Mounting Surface
1. Apply the mounting template to the mounting surface.
Note
Observe the orientation of the cable exit notch on the mounting bracket base. In outdoor
installations the notch should point downward to prevent water from entering the camera
housing.
2. Using the mounting template as a guide, drill three pilot holes in the mounting surface, then
hammer the supplied anchors into the holes.
3. Drill a cable entry hole in the mounting surface, then pull the required cables through the hole.
• Plastic anchors (×5)
• Video transfer cable
Self-tapping
Anchors
Mounting
screws
template
Mounting
surface
Advertisement

Related Manuals for Honeywell Performance Series


Summary of Contents for Honeywell Performance Series
- Page 1 • Mounting template • Hex key (L-wrench) • Video transfer cable • Power pigtail Thank you for purchasing a Honeywell Performance CAUTION Installation and servicing should be performed only by qualified and experienced Series HQA HBD42HD8 camera. Follow the instructions technicians to conform to all local codes and to maintain your warranty.
- Page 2 © 2018 Honeywell International Inc. All rights reserved. No part of this publication may be reproduced by any means without written permission from Honeywell. The information in this publication is believed to be accurate in all respects.