Advertisement
Quick Links
Advertisement

Related Manuals for Cisco CP-8865


Summary of Contents for Cisco CP-8865
- Page 1 CP-8865 Do Not Ship Enclosure with Phone Installed [PHONE MUST BE INSTALLED ON-SITE]...
- Page 2 CP-8865 Mounting the Enclosure Take into consideration before you install: - Due to the size and mass of this product, it is important that the Backbox is safely installed according to these installation instructions. - Make sure that the type of wall is capable of supporting the system and use screws that are suitable for that type of wall.
-
Page 3: Accessory Kits
Accessory Kits #6-32 x 3/16” Button Head Torx Machine Screw (Spare) Drilled Spanner 3/16” Driver Bit Hex L-Key Keypad #8 Hex Nut Coverplate Jumper Shunt (Ground Lug) #6-32 x 5/8” Flat Head Mounting Pin Torx Machine Screw Screw Machine Screw (Spare - 2 Pieces) Torx Security Bit &... - Page 4 Mount the Backbox Assembly to the Wall Figure Shown Typical Installation: Tools Required: 1) Electric Powered Hand Drill 2) Drill Bit (Use Correct Drill Bit for Wood / Concrete) 3) Leveler 4) Torque Wrench, Wrench and Socket Steps A) Prepare Hole on Drywall (with Stud Behind) / Concrete B) Insert Stud Anchors in to Holes C) Align then Place Backbox Assembly Mounting Holes to Studs Anchors D) Tighten Washers and Nuts that included with Stud Anchors...
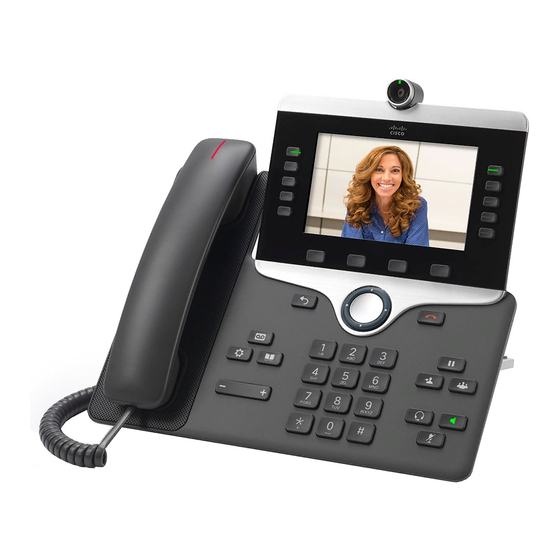
- Page 5 Remove Handset & Disconnect Cord from Phone. Then Connect Power Plug (1) & Network Cable (2), etc. Through Mounting Bracket Remove Both USB & KEM Covers...
- Page 6 Lower Phone Mount Until Tabs Stops Then Tightening Screws This Will Allow Camera to Line Up with Right Angle USB-A to Phone Camera Hole on the Faceplate the USB Port on the Side Mount Screw Screw Mounting Mounting Mounting Holes Cable Exit from Serial...
- Page 7 Armored Cord Handset to USB to Analog Audio Module Hookswitch Connections 921285C Serial Controller Connections (6,7 & 8) Tool Provided for Terminal Block Screw: Handset 1) #00 size Phillips Screw Driver Connections RED Wire YELLOW Wire Red Wire to J4 (Position 1) GREEN Wire Yellow Wire to J4 (Position 2) BLACK Wire...
- Page 8 Ground Lug Ground Wire & Network Cable are Not Provided Ground the Backbox from ESD Hex Nut Network Cable Serial Controller UAAM Backbox Assembly *Handset Wires to UAAM Not Shown...
- Page 9 Use Provided Driver Bit to Install Security Screws Open Camera Shutter Tool Required: Before Installing the Faceplate Assembly Powered Screw Driver or Powered Hand Drill *First Install the Upper Faceplate Assembly then the Lower Faceplate Assembly << Factory Disconnected >> Reconnect Before Installing the Faceplates Assemblies UAAM Also Double Check all Cables and Wires are Plugged in and Secure...
- Page 10 Lip Go Under Upper Faceplate Assembly Ground Faceplate from ESD Diagram Shown Typical Installation Ground Wires Twist...
-
Page 11: Dimensions And Features
1.628 [41.35] Dimensions and Features 2.559 [65.00] 4.016 [102.00] to Remove Security Drilled Spanner Screw 1.969 [50.00] Use Provided No.6 Drilled Spanner Driver Bit 1.969 [50.00] 4.724 [120.00] 8.268 [210.00] Ø0.413 [10.50] Hookswitch Cradle Coverplate Replaceable Scratch Resistance (4 Places) Included for Handsfree Operation Acrylic Bezel for Camera P/N: 621029* Ø0.630 [16.00]... - Page 12 Secure Acrylic Bezel with Tape Acrylic Bezel * Do Not Block View P/N: 621029* *Peel O Protective Film Before Install on to Backbox Narrow Side Mounting Screw Acrylic Bezel Hex L-Key P/N: 621028* Mounting Bracket Replace the Acrylic Bezels...