Breville the Smart Oven Pro Instruction Book
Hide thumbs
Also See for the Smart Oven Pro:
- Instruction book (42 pages) ,
- Instruction book (60 pages)
Table of Contents
Advertisement
Advertisement
Table of Contents

Related Manuals for Breville the Smart Oven Pro


Summary of Contents for Breville the Smart Oven Pro
- Page 1 Smart Oven ‰ Instruction Book – BOV850...
-
Page 2: Table Of Contents
• Do not use on a cloth-covered SAFETY FIRST surface, near curtains or other flammable materials. At Breville we are very safety • A fire may occur if the oven is conscious. We design and covered or touches flammable manufacture consumer... - Page 3 • Do not let the power cord hang • Do not place cardboard, plastic, over the edge of a table or paper, or other flammable counter, or touch hot surfaces. materials in the oven. • To avoid electric shock, do •...
- Page 4 Immediately stop use and call are unsure. Breville Customer Service. • To turn off the oven, press the • The appliance is not intended START/CANCEL button on to be operated by means of...
- Page 5 EXPOSURE TO EXCESSIVE UV RADIATION, OR INJURY BREVILLE ASSIST PLUG TO PERSONS: ® Your Breville appliance comes • Always unplug the oven and with a unique Assist Plug, ® let all parts (including the conveniently designed with bulb housing, glass cover and...
-
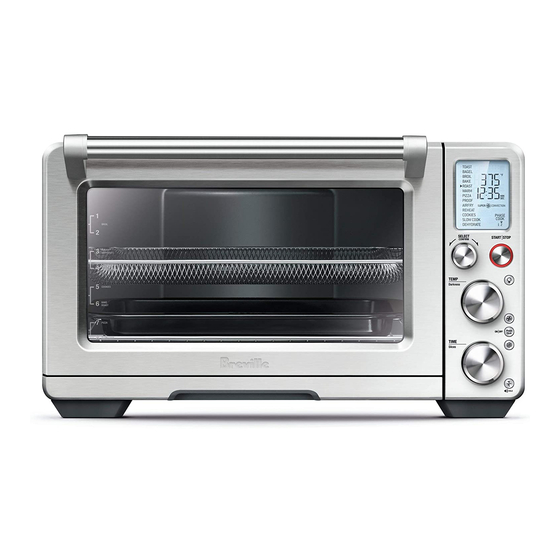
Page 6: Components
I. Wire rack D. Door handle J. Crumb tray E. Oven light K. Ventilation slots F. Top rack height position: GRILL L. Breville Assist® Plug function M. LCD screen G. Middle rack height position: TOAST, Crumpet, PIZZA and COOKIES N. START/CANCEL button... - Page 7 Accessories sold separately: Bamboo Cutting Board Part No: BOV800CB 30cm Non-Stick Pizza Crisper Part No. BOV800PC13 30cm Pizza Stone Part No. BOV800PS13 O. FUNCTION dial TEMPERATURE conversion button Q. TEMPERATURE dial/toast and crumpet darkness control R. TIME dial/toast and crumpet slice selection OVEN LIGHT button CONVECTION button...
-
Page 8: Quick Start Guide
5. Insert the crumb tray into the oven. 6. Unwind the power cord completely and ELEMENT IQ ‰ insert the power plug in to a grounded The Breville Smart Oven Pro features ‰ power outlet. Element IQ ‰ , a cooking technology that 7. - Page 9 OVEN FUNCTIONS OVERVIEW FUNCTION RACK OPTIONAL PRESETS PREHEAT RANGE POSITION SETTINGS GRILL TEMPERATURE HI, MED, LO CONVERSION 10 MINS Up to 20 MINS TOAST Middle FROZEN FOODS Darkness 4 Darkness 1–7 Slices 4 Slices 1–6 CRUMPET Middle FROZEN FOODS Darkness 4 Darkness 1–7 Slices 4 Slices 1–6...
- Page 10 Turn the TIME dial to the left to reduce the cooking time or to the right to increase the cooking time. OPERATING YOUR BREVILLE OVEN 1. Position the wire rack so the spokes face TIME upward and insert it into the desired DIAL rack position.
-
Page 11: Grill Function
GRILL FUNCTION a) When the oven is ready for use, the blinking ‘PREHEATING’ will go out, The GRILL function is ideal for open-faced the oven alert will sound and the timer sandwiches, small cuts of meat, poultry and will start counting down. Place the fish, sausages and vegetables. -
Page 12: Toast Function
7. The timer will be displayed and 5. The darkness setting and number of automatically begin to count down. slices can be adjusted before or during The temperature and time can be adjusted the toasting cycle. during the grilling cycle by turning the a) The darkness setting is indicated by corresponding TEMPERATURE and TIME the row of circles at the top of the LCD... -
Page 13: Crumpet Function
CRUMPET FUNCTION 5. The darkness setting and number of crumpets can be adjusted before or during The CRUMPET function crisps the top of the toasting cycle. your crumpet while only lightly toasting the a) The darkness setting is indicated by the base. -
Page 14: Bake Function
BAKE FUNCTION 5. Press the START/CANCEL button to activate the BAKE function. The button The BAKE function cooks food evenly backlight will illuminate red, the oven throughout. This function is ideal for baking alert will sound and the LCD screen will cakes, muffins, brownies and pastries. -
Page 15: Roast Function
ROAST FUNCTION 5. Press the START/CANCEL button to activate the ROAST function. The button The ROAST function is ideal for cooking a backlight will illuminate red, the oven variety of meats and poultry. Food will be alert will sound and the LCD screen will tender and juicy on the inside and roasted to illuminate orange. -
Page 16: Pizza Function
PIZZA FUNCTION 5. Press the START/CANCEL button to activate the PIZZA function. The button The PIZZA function melts and browns backlight will illuminate red, the oven cheese and toppings, while crisping up alert will sound and the LCD screen will the pizza crust. -
Page 17: Cookies Function
COOKIES FUNCTION A note on pizza stones When using a pizza stone, it is necessary The COOKIES function is ideal for baking to first heat the stone (without a pizza) homemade or commercially prepared for optimum results. cookies and other baked treats. 1. -
Page 18: Reheat Function
5. Press the START/CANCEL button to 4. Turn the FUNCTION dial until the activate the COOKIES function. The indicator on the LCD screen reaches button backlight will illuminate red, the the REHEAT function. The top figure oven alert will sound and the LCD screen on the LCD screen indicates the preset will illuminate orange. -
Page 19: Warm Function
WARM FUNCTION 7. The timer will be displayed and automatically begin to count down. The WARM function maintains hot foods at The temperature and time can be adjusted the recommended temperature to prevent during the warming cycle by turning the bacterial growth (70°C/160°F or above). - Page 20 Time can be adjusted The only exception is the optional Breville during the slow cook cycle by turning the Bamboo Cutting Board and Serving Tray corresponding TIME dial.
- Page 21 2. Remove the used bulb by pulling it directly out of its holder. Care & Cleaning REPLACING THE OVEN LIGHT WARNING Always unplug oven and let cool before replacing bulb. Only use a 25-Watt, 220–240V, 3. Use a soft cloth to insert the new bulb. Do G9 type oven bulb.
- Page 22 CLEANING THE OUTER BODY WARNING AND DOOR Use extreme caution when cleaning the Before cleaning, ensure the oven is turned quartz heating elements. Allow the oven to off by pressing the START/CANCEL cool completely, then gently rub a soft, damp button on the control panel.
- Page 23 5. Ensure the door is closed. 6. Store the appliance in an upright position standing level on its support legs. Do not store anything on top. The only exception is the optional Breville Bamboo Cutting Board and Serving Tray.
-
Page 24: Troubleshooting
Troubleshooting POSSIBLE PROBLEM EASY SOLUTION • Check that the power plug is securely inserted into the outlet. • Insert the power plug into an independent outlet. Oven will not switch "ON" • Insert the power plug into a different outlet. •... - Page 25 ‘preheat’ alert sounds, to reach the target temperature. To ensure the fastest heat up time, the Breville oven uses the maximum allowable power from the outlet (1500W for baking, 2400W for toasting).
- Page 26 Notes...
- Page 27 Notes...
- Page 28 Web: Web: www.breville.com www.breville.com Breville, the Breville logo, Master Every Moment, Smart Oven and Element IQ are trademarks of Breville Pty. Ltd. A.B.N. 98 000 092 928. Copyright Breville Pty. Ltd. 2019. Due to continued product improvement, the products illustrated/photographed in this brochure may vary slightly from the actual product.