Advertisement
Quick Links
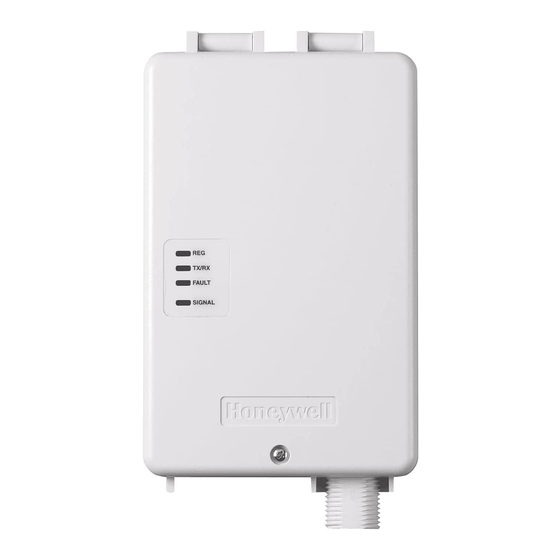
LTE-X Series Communicators – LTE-XV, LTE-XA, LTE-XC
Quick Installation Guide
(see LTE-X Series Installation and Setup Guide 800-23340 10/17.)
General Information
The LTE-X series Communicator easily connects to your security system's control panel and sends alarms and messages
to AlarmNet for subsequent transfer to the central monitoring station. The communicator can be mounted directly on the
control panel or remotely.
NOTE: This guide addresses a simple installation using default programming values where possible. For detailed
information, refer to the LTE-X Series Communicator Installation and Setup Guide. Due to Honeywell's continuing
effort to improve our products, your device may look slightly different than pictured.
• The communicator requires an AlarmNet account. For new installations, please obtain the account information from the
central station prior to programming the communicator.
• The communicator is for control panels that support LTE communicators and the ECP communications bus.
• The control panel treats the communicator as an ECP device, so ensure to program the control panel with the
communicator's device address.
• The communicator is for indoor use only. Standby current is 25mA, and Transmit Current is 250mA.
REMOTE SERVICES
Honeywell offers secure web based services that enable users to remotely monitor and control their security system. These web services enable
users to: monitor and control their security system from a website, receive email and text message notifications of system events, and use text
messages to control the system and receive confirmations.
Dealers can enroll their customers for "Remote Services" by using the AlarmNet 360 website. Once enabled, the specific programming fields
associated with these features can be programmed into the communications device either remotely using the AlarmNet 360 website or locally using
the 7720P programming tool.
1. Mount and Wire the Communicator
SELECT A MOUNTING LOCATION
When choosing a suitable mounting location, understand that it must be
mounted indoors, and for best signal strength it should be mounted vertically.
Signal strength is very important for proper operation. For most installations,
mounting the unit on the control panel provides adequate signal strength and
we suggest that this method is tried first (especially if the control panel is not in
a basement location or in an area that contains large metal objects).
If the control panel location does not provide adequate signal strength, then the
communicator can be mounted remotely.
VERIFY SATISFACTORY SIGNAL STRENGTH
In this procedure you will temporarily power up the communicator to check for
satisfactory signal strength. You can power it from a 12V battery or from the
control panel's AUX PWR terminals. In buildings where reception may be a
problem, powering from a battery would allow the communicator to be portable.
The following procedure assumes the control panel will be used for power.
1. Ensure power to the control panel (both AC and battery) is off. Open the
enclosure and connect the ECP cable to the communicator. Temporarily
attach the Black and Red wires to the GND and AUX PWR terminals of the
control panel. DO NOT connect the Yellow and Green wires at this time.
2. Turn power on and wait about one minute for the communicator to initialize.
Position the communicator near a suitable mounting position. Verify the
Minimum Signal Strength LED (green) is lit steadily.
3. Verify the signal strength remains steady for a few minutes, then mark that
mounting position. Turn power off.
MOUNT THE COMMUNICATOR ON THE CONTROL PANEL
1. Ensure power to the control panel (both AC and battery) is off,
then remove a knockout on the top right.
2. Open the cover and remove the bottom knockout for the
threaded mount. Remove the Hole Cap attached to the plastic,
and snap it into the top of the enclosure.
3. Install the threaded mount so it snaps into the plastic retaining
tabs. Mount the communicator in the cabinet's knockout, and
fasten with the locking nut.
4. Connect the ECP cable to the communicator's circuit board and
thread the wires through the threaded mounting adapter.
Advertisement

Summary of Contents for Honeywell LTE-XC
- Page 1 REMOTE SERVICES Honeywell offers secure web based services that enable users to remotely monitor and control their security system. These web services enable users to: monitor and control their security system from a website, receive email and text message notifications of system events, and use text messages to control the system and receive confirmations.
- Page 2 MHz, 6.00 dBi for 1700 MHz, 9.01 dBi for 1900 MHz cm) from all persons and must not be co-located or operating in LTE-XC: The external antenna gain shall not exceed 6.63 dBi for conjunction with any other antenna or transmitter except in accordance 700MHz &...


