Table of Contents
Advertisement
Advertisement
Table of Contents

Related Manuals for Linksys re4100w


Summary of Contents for Linksys re4100w
-
Page 1: User Guide
User Guide RE4100W... -
Page 2: Table Of Contents
This User Guide can help you connect the extender to your network and solve common setup issues. You can find more help from our award-winning, 24/7 customer support at Linksys.com/support. Contents Overview ........1 How to install the range extender.... -
Page 3: Overview
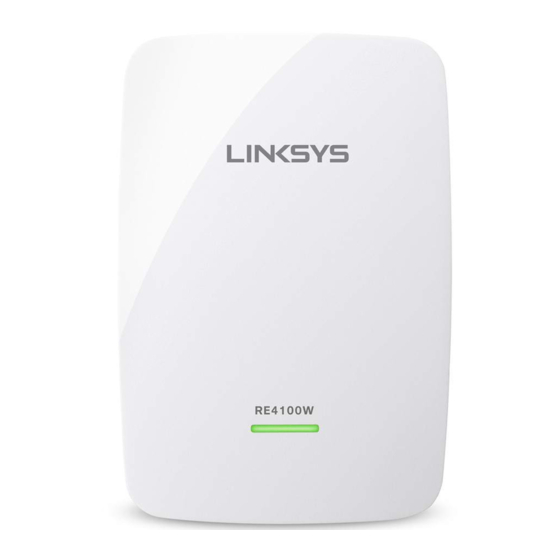
Overview Front The light on the front of the range extender gives you information about power and Wi-Fi Protected Setup. Use Wi-Fi Protected Setup to automatically and securely connect compatible wireless devices such as wireless printers. Power Light Status/ description •... - Page 4 Side Power Switch European versions only. Audio Port Connect the extender to your speaker. Wi-Fi Protected Setup Button Use Wi-Fi Protected Setup to automatically and securely add compatible wireless devices to your network. Refer to Using Wi-Fi Protected Setup on page 7. Reset Press and hold for about five seconds to reset to factory defaults.
-
Page 5: How To Install The Range Extender
Open Windows Explorer. Click My Network Places on the left panel. Look for the RE4100W icon on the right panel. (You might be required to change the firewall settings to allow the display of networked computers. Refer to your operating system’s help for instructions.) -
Page 6: Using Range Extender Settings
Leave the User name blank, and enter the default password “admin.” Click OK. Mac OS X: 1. Open Safari. Click the book icon. Click Bonjour on the left panel. Look for the RE4100W icon on the bottom right panel. 2. Double-click the RE4100W icon. -
Page 8: Using Wi-Fi Protected Setup
Using Wi-Fi Protected Setup Wi-Fi Protected Setup™ makes it easy to connect your extender to your network, and connect other devices to your network through the extender. Wi-Fi Protected Setup light activity WPS Light Status/ description • Blinking When WPS connection is in Green process •... - Page 9 Connecting with the Wi-Fi Protected Setup Button Use this method if your router or access point has a Wi-Fi Protected Setup button. 1. Press the Wi-Fi Protected Setup button on the extender. 2. Click the Wi-Fi Protected Setup button on the router’s Wi-Fi Protected Setup screen (if available), OR press and hold the Wi-Fi Protected Setup button on the router for one second.
- Page 10 Connecting with the range extender’s PIN The Wi-Fi Protected Setup PIN (Personal Identification Number) can be found on the product label on the back of the extender. You can use this method only if your router’s administration utility has a Wi-Fi Protected Setup menu. 1.
-
Page 11: How To Use Site Survey
Conn ecting w with the W Wi-Fi Pro otected S Setup Bu utton e this metho od if your cli ient device has a Wi-F i Protected Setup butto 1. Pres ss the Wi-Fi Protected S Setup butto on on the cli ent device. - Page 12 To open the Site Survey page: 1. Log in to the browser-based utility (see “How to access the browser- based utility” on page 5). 2. Click the Wireless tab. Click the Site Survey page. 3. Select—To connect to a wireless network, click the button next to the wireless network name (SSID) in the Select column, and click Connect.
-
Page 13: Wireless Music Playback
2. Click Connect. When prompted, enter the password or passphrase used to secure your wireless network. The type of security information required in this screen must match your access point or router’s wireless security settings. 3. Click Save. Your extender wireless parameters should be configured. The wireless interface will restart, and the extender will connect to the access point or router you have chosen. -
Page 14: Troubleshooting
The 3.5mm stereo port supports earphones and powered speakers 8. Troubleshooting NOTE Your RE4100W works on 2.4GHz network. You cannot get your extender connected Check the position of your router and extender •... - Page 15 • Avoid plac cing the rou uter and ex xtender ne ear other el lectronics t that may cause sign nal interfer rence. If you’r re using W i-Fi Protec cted Setup to connec ct, wait unti l the Wi-Fi Protected Setup i indicator s...
- Page 16 In the men nu bar acro oss the top p of the scr reen, click the Wi-Fi i con. Linksys Co onnect has s automatic cally assig gned your n network a n name. In the exa mple below...
-
Page 17: Specifications
Plug in the range extender midway between your router and the area without Wi-Fi. Be sure you have at least 50% of your router’s Wi-Fi signal at that point on the device you used for setup. 9.Specifications RE4100W Model Name Linksys RE4100W Model Description Dual-band Wireless-N Range Extender Model Number RE4100W Standards IEEE , 802.11a, 802.11n, 802.11g, 802.11b,... - Page 18 Specifications are subject to change without notice. Visit linksys.com/support for award-winning 24/7 technical support BELKIN, LINKSYS and many product names and logos are trademarks of the Belkin group of companies. Third-party trademarks mentioned are the property of their respective owners. Licenses and notices for third party software used in this product may be viewed here: http://support.linksys.com/en-us/license.