Samsung LTN406W Manuals
Manuals and User Guides for Samsung LTN406W. We have 8 Samsung LTN406W manuals available for free PDF download: Owner's Instructions Manual, Manual De Instrucciones, Manual
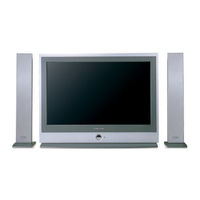
Samsung LTN406W Owner's Instructions Manual (84 pages)
LCD TV with Life-Like Picture & Sleek Design
Table of Contents
Advertisement
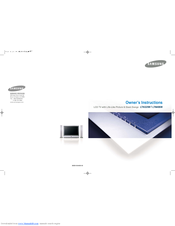
Samsung LTN406W Owner's Instructions Manual (81 pages)
LCD TV with Life-Like Picture & Sleek Design
Table of Contents

Samsung LTN406W Owner's Instructions Manual (82 pages)
LCD TV with Life-Like Picture & Sleek Design
Table of Contents
Advertisement


Samsung LTN406W Owner's Instructions Manual (81 pages)
LCD TV with Life-Like Picture & Sleek Design
Table of Contents
Samsung LTN406W Manual (2 pages)
Samsung LED TV Open Source Guide
Brand: Samsung
|
Category: Flat Panel TV
|
Size: 0.34 MB

(Spanish) Samsung LTN406W Manual De Instrucciones (83 pages)
User Manual (user Manual) (ver.1.0) (Spanish)
Table of Contents

(Spanish) Samsung LTN406W Owner's Instructions Manual (81 pages)
LCD TV with Life-Like Picture & Sleek Design
Table of Contents
Advertisement