Table of Contents
Advertisement
Advertisement
Table of Contents

Related Manuals for Mamiya PRO 645


Summary of Contents for Mamiya PRO 645
- Page 1 Instructions...
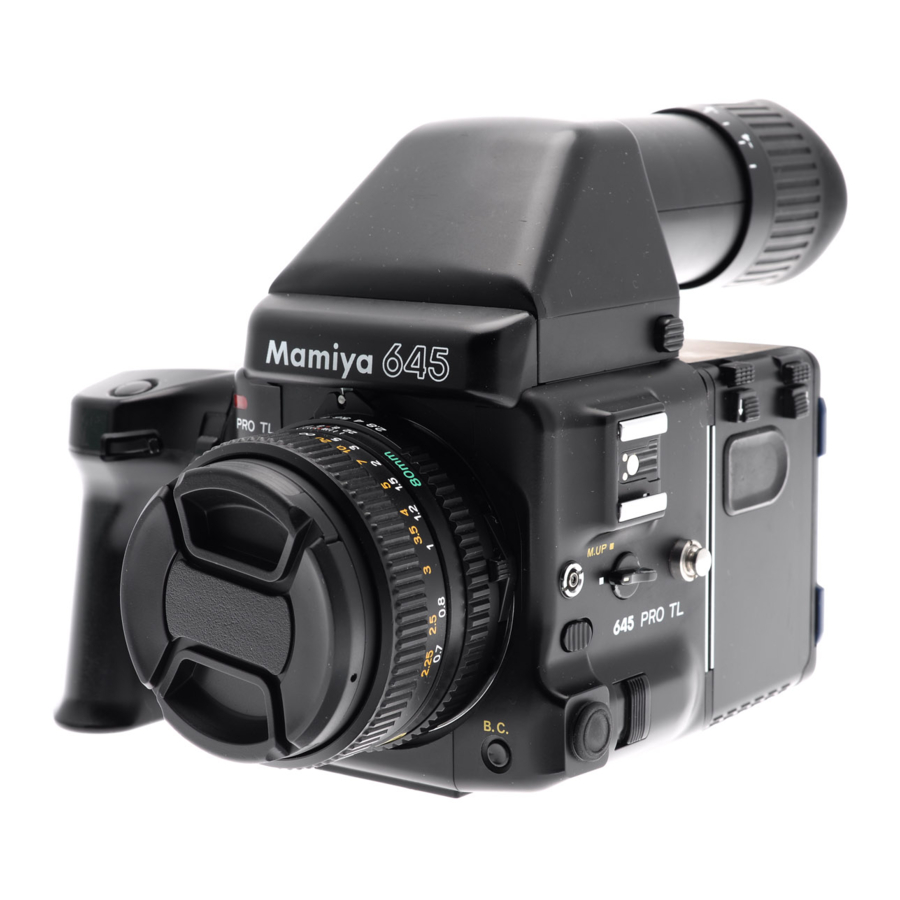
- Page 2 Congratulations on your purchase of the Mamiya 645 PRO Mamiya pioneered the 6x4.5 film format and introduced the world’s first 645 SLR in 1975. The 645 PRO is the latest masterpiece in this series and incorporates all the latest mechanical, electronic and optical advances. Its external appearance, too, has been modernized and its ergonomic design further enhanced.
- Page 3 Special Features of Mamiya 645PRO...3 Names and Function of Parts ...7 Attaching and Removing Lenses ... 10 Attaching and Removing Roll Film Holders ... 11 Attaching and Removing Viewfinders ..12 Attaching and Removing the Film Advance Crank...13 Inserting Battery and Battery Check ... 14 Shutter Release Selector...16...
- Page 4 Introduced in 1975 to not only provide an alternative to the 35mm format, but to afford the user with advanced versatility given its much larger format, the Mamiya 645 Series is constantly being upgraded. Elements such as speed and handling plus a host of other special features have been enhanced to satisfy the needs of most de- manding professionals.
- Page 5 - Sharp Images and Outstanding Color Balance - There are an amazing variety of interchangeable lenses in the PRO 6 x 4.5 format series. Mamiya has concen- trated an all-out effort on the systematic production of lenses in an effort to satisfy a multitude of needs. All lenses are multi-coated to eliminate flare and ghosting even under the most adverse light conditions.
- Page 6 tion and crystal clear definition. A feature lens is the new 300mm f/2.8 APO lens which eliminates chromatic aber- ration and produces photos with the sharpest definition. Given the wide variety of lenses in the 645 PRO Series, they greatly expand the world of images that are possible. Auto winding with the Power Drive Grip WG401 This Power Drive Grip WG401 has been specially de- signed for heavy duty, motorized operation with the 645...
- Page 7 A Broad Accessory System For Specialized Applications A useful accessory system to serve the specialized needs of the photographer. It includes Auto Bellows and Auto Extension Rings for close-up and copying work; Infrared Remote Control for studio and nature photogra- phy;...
- Page 8 Focusing Screen N Aperture Ring Couping Pin This pin is fitted into the Ex- posure Meter Coupler of the lens, to transmit the aperture data to the AE Prism Finder. Battery Check Lamp Focusing Screen Release Pin When you want to change the screen.
- Page 9 Finder Coupling Panel (Front) Finder Coupling Panel (Rear) Electric Contact for Film Holder This contact receives film sensitivity data from the film holder. Film Holder Mount Film Holder Coupling Pin Shutter Curtain Exposures are controlled by opening and closing the cur- tain Film Holder Mounting Bracket...
- Page 10 Tripod Socket 1/4" tripod socket. To con- vert to a 3/8" socket, remove the small screw in the base of the socket. Then remove the bushing. See page 32. Distance Scale The camera to subject dis- tance can be set or confirmed with this scale.
- Page 11 Aperture Ring Coupler Pin is engaged with the Exposure Meter Coupling Pin @, which sticks out under the Mamiya name plate of the camera. * When the Aperture Ring Coupler Pin by the exposure meter coupling pin lever, F/stop data is conveyed to the AE Prism Finder.
- Page 12 Attaching the Roll Film Holder * Remove the Roll Film Holder Cover. 1. While spanning the Roll Film Holder between your thumb and middle fin- ger, holding it on the rubberized fin- ger rests, carefully align its Film Holder Mounting Bracket with the corresponding center clip of the camera body.
- Page 13 The same procedure applies to all finders. The illustrations shows the AE Prism Finder FF401. Attaching the Finder. Lift the Upper Cover from the camera body. Insert the Attaching Latches (A) of the finder into the Finder Coupling Panel (B) in the front wall of the body. Press the finder down until the rear latch locks securely in place.
- Page 14 Removing the Crank Push lock Lever (A) on its bottom in a forward direction as far as it will go (see illustration). Attaching the Crank With the flat part, having a White Index Line, on top, line the Crank up against its mounting plate on the side of the body and push Film Advance Crank Lock Lever backward.
- Page 15 Inserting the Battery The camera will not function without a battery The camera will not function with- out a battery With your fingernail, pull the Battery Chamber Cover latch, on the bottom of the camera body, as indicated by the arrow in the illustration. Lift the cover off.
- Page 16 Important: 1. The sealed, new battery which is supplied with this camera may have been subject to storage conditions which have reduced its service life. Therefore it is desirable to replace it with a fresh battery as soon as pos- sible.
- Page 17 For normal operation set the White Dot of the Shutter Release Selector (A) against the White Square Dot Cl. When set to the Red Dot 0, the Release Button is locked. * Select this mode if the camera will be idle for a period and to prevent accidental shutter re- lease.
- Page 18 Attach the Roll Film 3. Set the Shutter Speed Holder to the camera body. Dial to any other position 2. Pull out the Dark Slide than ”A” or ”AEL”. When the and place it into its Storage AE Prism Finder is not mounted on the camera, the Slot.
- Page 19 1. While pushing the Back Cover Lock Release Button (A) downward, press the Back Cover Opening But- ton, and the Back Cover will open. When you load film the first time, remove and discard the protective paper cover which is attached to the in the roll film holder.
- Page 20 4. In the same manner, insert a roll of film in the upper compartment. At that time, check that the film leader paper is set as shown in the photo above. (The leader paper inside is facing outward on the pressure plate. Note that the film direction is wrong if the leader paper is facing inward.) 5.
- Page 21 Inserting the Roll Film Insert Insert the loaded Roll Film Insert into the holder, the film roll on top, while squeezing on both sides of the Release Latch (A) as shown in illus- tration. Make sure that is been properly seated and is locked in place.
- Page 22 Attach the loaded Roll Film Holder to the camera. Remove Dark Slide and store it. Turn the Multiple Expo- sure Lever (A) to its normal position, White Dot against White Square. Turn the Film Advance Crank until it stops. The number “1” will now ap- pear in the Film Counter Window.
- Page 23 explained 4. “A and “AEL” “A (auto exposure) and “AEL” (auto exposure lock) setting must only be used when the AE Prism Finder is attached to camera. 1. If it is not attached and the dial is either of these positions, the set to shutter release will not work.
- Page 24 Set the desired f/stop on the Aper- ture Ring (A) by aligning the f/number with the red reference dot (B) in the center of the Scale Ring. The Aper- ture Ring has a click stop for each f/ stop. In-between clicks can also be used.
- Page 25 While looking through the viewfinder, turn the lens Focusing Ring until the most important subject part appears sharp and clear. Focusing with the Standard Focusing Screen N Type E 1. The camera comes equipped with a bright, Type E, RangefinderlMi- cro-prism Focusing Screen.
- Page 26 Depth of field is defined as the zone of sharpness before and behind the plane of focus. It depends on cam- era subject/distance, focal length of lens, aperture setting and distance the lens is focused at. Reading the Depth of Field Scale In addition to visual observation, the Depth of Field can be determined by using the Depth of Field Scale on...
- Page 27 1. Giving the Film Advance Crank one complete turn, will cock the shutter and mirror and ready the camera for the next exposure. 2. When the film is completely ex- posed (15 exposures on 120, 30 on 220 film), the crank stop will disen- gage.
- Page 28 To use the Self-Timer, set the Shut- ter Release Selector to 0 and press the Shutter Release Button. The Battery Check Lamp will light for 8 seconds and blink for 2 seconds, whereupon the shutter will go off. * After using the self-timer mode, be sure to return the Shutter Re- lease Selector to the White Square.
- Page 29 * To override the multiple expo- sure mode or to return to normal operation, be sure to return the lever’s White Dot against the white squareandthenadvancethefilm. (If you forget you will continue to make multiple exposures on the same frame.) For time exposures set the Shutter Release Selector to 0, the self- timer mode, and set the Shutter...
- Page 30 This is an important feature when the tripod mounted camera is used at slow or long exposure times and particularly also with use of long telephoto lenses. It eliminates the possibility of even the slightest “mir- ror bounce ”which may affect image sharpness.
- Page 31 Infrared light rays - being of longer wavelength - focus at a slightly dif- ferent plane and require the follow- ing adjustment: 1. Note the Red Index Mark against which you read your distance scale. The red infrared index mark is slightly to its right.
- Page 32 Sync Terminal and set the Shutter Speed Dial to 1/60 sec. or slower. * The Mamiya 645 PRO has an X- sync terminal. Attach a shoe-mount flash to the hot-shoe of the camera or the Left Hand Grip GL401 (optional).
- Page 33 * When using a flash, carefully read the instructions that come with the flash bulbs or flash unit to check for appropriate shutter speeds and to avoid malfunctions. The Mamiya 645 PRO Tripod Socket accepts a standard tripod 1/4" mounting screw. For use with tri- pods having 3 / 8 "...
- Page 34 Eye-level Operation Hold the camera as shown in the illustration, with its base resting on your left hand, the right hand sup- porting it from the side and top. Press both elbows against your body and activate the shutter release with a smooth, steady stroke.
- Page 35 Attaching the Strap to the Camera 1. While pushing down, pull out the Neck Strap Fastener (A) of the at- taching clip. 2. Place the hole of the strap fas- tener (A) over the Neck Strap on the camera body as illustrated, and pull until it clicks and locks into place.
- Page 36 6 x 4.5cm electronic focal-plane shutter SLR Polaroid pack film (Polaroid 100, 600 series) 135 roll film in film cartridge Daylight loading-interchangeable film holders with film speed dial available Film loading Standard lenses M645 bayonet mount (applicable to all M645 lenses) Lens mount Moving coil, electronic controlled focal-plane shutter Shutter...
- Page 37 Single turn winding by Film Advance Crank AC401. Film transport Variable crank start position Interchangeable (Power Drive Progressive type: automatic reset. Exposure counter The counter for 120 and 220 film will be automatic. Activated by the Multiple Exposure Lever. Multiple exposure Depth-of-field Depth-of-field Scale provided on lens Self-timer...
- Page 38 * If the camera should fail to function properly, please check the following: The Shutter Release Button does not move. Push the Battery Check Button. If the lamp does not light, check: Is a Battery in the camera? If yes, is it correctly inserted? (Polarity) Is it dead? If the lamp does light, check: Has the Film Holder Dark Slide been pulled?
- Page 39 * Cold Temperature Photography Use a fresh lithium battery b. Utilize the External Battery Case accessory. (Permits battery to be placed inside clothing). Batteries that fail at low temperatures may still be used at normal temperatures. However fre- quent temperature changes shortens battery life. c.
- Page 40 The AE Prism Finder FE401 The Mamiya AE (Automatic Exposure) Prism Finder FE401 pentaprism guarantees a true, upright image and features built-in electronic shutter control which, ensures aperture-priority, TTL automatic exposure metering while in the A or AEL mode. < 3-Way Metering System>...
- Page 41 Roll Film Holders 120 Roll Film Holder HA401 220 Roll Film Holder HB401 135 Roll Film Holder HC401 (with Panoramic Adapter) Polaroid Land Pack Film Holder HP401 Interchangeable Lenses Wide-angle Lenses 35mm f/3.5N, 45mm f/2.8N, 55mm f/2.8N Telephoto Lenses 150mm f/3.5N, A150mm f/2.8, 210mm f/4N ULD300mm f/5.6N, A300mm f/2.8AP0, 500mm f/5.6...
- Page 43 Should any malfunction occur or if the camera has been dropped, jarred or become wet, do not attempt to fix it yourself but send it to the Service Department of your Mamiya distributor.
Need help?
Do you have a question about the PRO 645 and is the answer not in the manual?
Questions and answers