
Related Manuals for PARKZONE Albatros D. Va


Summary of Contents for PARKZONE Albatros D. Va
- Page 1 Albatros D. Va Instruction Manual • Bedienungsanleitung • Manuel d’utilisation • Manuale di Istruzioni...
- Page 2 NOTICE All instructions, warranties and other collateral documents are subject to change at the sole discretion of Horizon Hobby, Inc. For up-to-date product literature, visit www.horizonhobby.com and click on the support tab for this product. Meaning of Special Language: The following terms are used throughout the product literature to indicate various levels of potential harm when operating this product: NOTICE: Procedures, which if not properly followed, create a possibility of physical property damage AND little or no possibility of injury.
-
Page 3: Table Of Contents
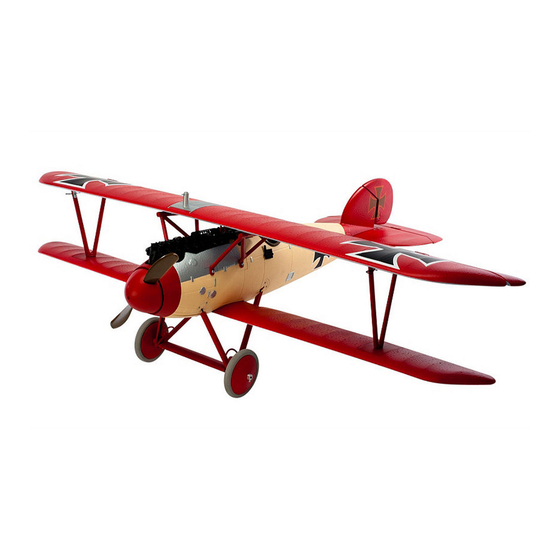
Welcome to one of the most exciting and unique park fl yer experiences you will ever have. Compared to the Spartan look of most World War I airplanes, the smooth, rounded fuselage and fl owing lines of the Albatros D.Va made it one of the more daring designs of its time. The ParkZone team has done a fantastic job of recreating this Western Front warrior without sacrifi... -
Page 4: Charging The Flight Battery
LED will fl ash. Turn the control on the Amps selector so the arrow points to the charging rate required for the battery (the Albatros D. Va 1800mAh Li-Po battery will charge at 1.5 amps). DO NOT change the charge rate once the battery begins charging. -
Page 5: Transmitter And Receiver Binding
Transmitter and Receiver Binding Binding is the process of programming the receiver of the control unit to recognize the GUID (Globally Unique Identifi er) code of a single specifi c transmitter. You ™ ® ® need to ‘bind’ your chosen Spektrum DSM2 /DSMX technology equipped aircraft transmitter to the receiver for proper operation. -
Page 6: Before Flight
3. Your battery should be approximately the same capacity, dimensions and 2. If using another battery, the battery must be at least a 1800mAh battery. weight as the ParkZone Li-Po battery to fi t in the fuselage without changing the center of gravity a large amount. -
Page 7: Installing Landing Gear
Installing Landing Gear Assembling Landing Gear 1. Install the left and right (marked L and R) landing gear covers (A) on the axle assembly (B) using 1.5 X 6mm (4) left and right simulated shock absorbers (C) (marked L and R) and 4 screws (D). 2. -
Page 8: Installing Upper Wing
Installing Upper Wing 1. Rest the aircraft on its landing gear. 2. Install the left and right cabanes (A) over the respective L-brackets (B) on the upper wing. Turn the cabanes on the brackets so the cabanes face in as shown. 3. -
Page 9: Installing Tail
Installing Tail 1. Place a piece of supplied double-sided tape (A) on the horizontal tail as shown, then install the horizontal tail on the fuselage. Tip: A drop of CA (cyanoacrylate adhesive) can be used instead of tape. Only use a small amount to allow for removal of the horizontal stabilizer. 2. -
Page 10: Installing Optional Tail Wheel
Installing Optional Tail wheel As desired, install the steerable tail wheel for hard fi nished runways. Installing the Tail Wheel 1. Remove the 2 screws (A) from the rudder control horn (B) and turn the rudder to the left. Turn the control horn on the clevis for more space and to expose the rudder box (C) as shown. -
Page 11: Installing Clevises On Control Horns And Control Centering
Make sure the fl ight battery is secured using hook and loop straps. It is 57mm easiest to balance the Albatros D. Va with the 2.25 inches back from leading edge aircraft upright. of the top wing. -
Page 12: Control Direction Test
Control Direction Test Bind your aircraft and transmitter before doing these tests. Move the controls on the transmitter to make sure the aircraft control surfaces move correctly and in the proper direction. After performing the Control Test, correctly set the failsafe. Make sure the transmitter controls are at neutral and the throttle and throttle trim are in the low position, then rebind the model to your transmitter. -
Page 13: Dual Rates
Dual Rates Your DSM2/DSMX full range transmitter features dual rates to help you select High Rate Low Rate the amount of travel that you want from the control surfaces. Aileron 40mm up/30 down 26mm up/24down Elevator 20mm up/down 15mm up/down Rudder 40mm left/right 30mm left/right... -
Page 14: Flying Tips And Repairs
Due to the scale landing gear and characteristics of the aircraft, keep the wings level throughout the fl ight After fi nal assembly, range check the radio system with the Albatros D. Va. and when landing or taxiing. An optional tail wheel has Refer to your specifi... -
Page 15: Ama National Model Aircraft Safety Code
AMA National Model Aircraft Safety Code Effective January 1, 2011 B. RADIO CONTROL A. GENERAL 1. All pilots shall avoid fl ying directly over unprotected people, vessels, A model aircraft is a non-human-carrying aircraft capable of sustained fl ight vehicles or structures and shall avoid endangerment of life and property in the atmosphere. -
Page 16: Troubleshooting Guide
Troubleshooting Guide Problem Possible Cause Solution Aircraft will not respond Throttle not at idle and/or throttle trim too high Reset controls with throttle stick and throttle trim to throttle but responds to at lowest setting other controls Throttle servo travel is lower than 100% Make sure throttle servo travel is 100% or greater Throttle channel is reversed Reverse throttle channel on transmitter... -
Page 17: Limited Warranty
Limited Warranty What this Warranty Covers Inspection or Services Horizon Hobby, Inc. (“Horizon”) warrants to the original purchaser that the If this Product needs to be inspected or serviced and is compliant in the product purchased (the “Product”) will be free from defects in materials and country you live and use the Product in, please use the Horizon Online Service workmanship at the date of purchase. -
Page 18: Contact Information
Contact Information Country of Purchase Horizon Hobby Address Phone Number/Email Address 4105 Fieldstone Rd 877-504-0233 Horizon Service Center Champaign, Illinois Online Repair Request: (Electronics and engines) 61822 USA visit www.horizonhobby.com/service United States of America 4105 Fieldstone Rd Horizon Product Support 877-504-0233 Champaign, Illinois (All other products) -
Page 19: Parts Contact Information
Parts Contact Information • Kontaktinformationen für Ersatzteile • Coordonnés pour obtenir de piéces détachées • Recapiti per i ricambi Country of Purchase Horizon Hobby Address Phone Number/Email Address United States of 4105 Fieldstone Rd 800-338-4639 Sales America Champaign, Illinois 61822 USA Sales@horizonhobby.com Units 1-4 Ployters Rd Staple Tye... -
Page 20: Optional Parts
Optional Parts • Optionale Bauteile • Piéces optionnelles • Pezzi opzionali Part # | Nummer Description Beschreibung Description Descrizione Numéro | Codice Sonic Combat adapter w/mount Sonic Combat Adapter mit Befestigung Adaptateur Sonic Combat avec support Sonic Combat Adapter con supporto PKZ1055 and leads und Kabeln... - Page 21 © 2012 Horizon Hobby, Inc. ParkZone, JR, DSM, DSM2, EC3, Sonic Combat Module, ModelMatch, Bind-N-Fly, Z-Foam and Plug-N-Play are trademarks or registered trademarks of Horizon Hobby, Inc. DSMX is a trademark of Horizon Hobby, Inc., registered in the U.S. The Spektrum trademark is used with permission of Bachmann Industries, Inc.
Need help?
Do you have a question about the Albatros D. Va and is the answer not in the manual?
Questions and answers