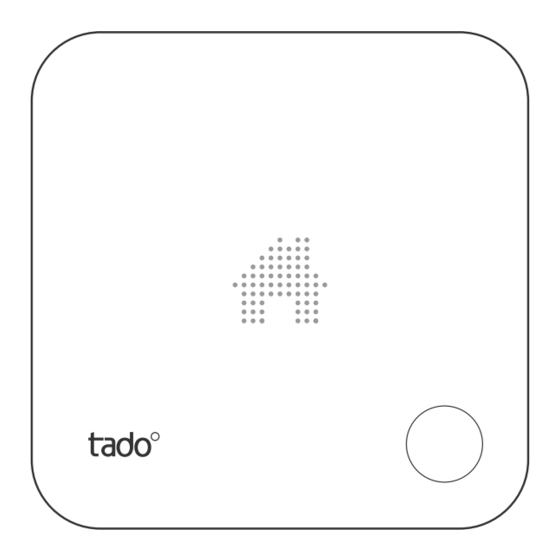
Summary of Contents for tado° RU01
- Page 1 Manual & Technical Documentation V1.1 tado° Smart Thermostat tado° Extension Kit ENGLISH...
-
Page 2: Table Of Contents
Content Product Packages Compatibility Intelligence & Security Functions Smart Thermostat • Usage • Menu Structure • Special States • Pairing & Reset • Interfaces • Correct placement of the Smart Thermostat as a Sensor Extension Box • Usage • Pairing & Reset •... -
Page 3: Product Packages
Product Packages tado° Smart Thermostat tado° Extension Kit • Measures temperature, humidity, noise & luminosity • Required for the replacement of hot water controlling programmers (UK only) • Displays the measured temperature and allows the adjustment • Recommended for heating system setups without a room thermostat. The of operation and set point Extension Box acts as a reciever;... -
Page 4: Compatibility
Compatibility Intelligence & Security Compatibility Model Predictive Control tado° does not require presence or absence time programming. Patents have been tado° is compatible with almost all central heating systems, including: filed for the algorithms which automatically adjust the heating output to the user‘s •... -
Page 5: Functions
Functions Functions Heating Operations tado° has been developed for mobile phone and web use. The There are three different heating operations. settings are most easily controlled using the tado° mobile app. It is available for iOS (> Version 7.1), Android (> Version 2.3) and Window Phone (>... -
Page 6: Smart Thermostat
Smart Thermostat Smart Thermostat – Usage tado° Smart Thermostat Usage The tado° Smart Thermostat replaces existing thermostats or The tado° Smart Thermostat has a user interface which is ac- acts as a wireless thermostat together with the tado° Extension tivated by pressing the button in the bottom right corner. First, Box for heating systems that didn‘t have a wired thermostat the current temperature is displayed. -
Page 7: Menu Structure
Smart Thermostat – Menu Structure HOT WATER Hot Water (not supported by all heating systems) HEATING (not supported by all heating systems) 1. State 2. Operation / Mode 3. Change Settings 4. State 5. Hot Water Operation (1x button push) (2x button push) (3x button push) (4x button push) -
Page 8: Activation Notifications
Smart Thermostat – Special States Activation Notifications The activation notifications are shown immediately after pressing the mechanical The states and behaviour are different if an Extension Kit is used. button to activate the user interface. POSSIBLE ERROR STATES FLASH NOTIFICATIONS SMART THERMOSTAT + EXTENSION KIT Smart Thermostat has Update... -
Page 9: Pairing & Reset
Smart Thermostat – Pairing & Reset As part of the installation the Smart Thermostat and the Bridge need to be paired. The Smart Thermostat can be reset for troubleshooting. PAIRING RESET Pressing and holding the button until pairing symbol flashes Pressing and holding the button until the pairing symbol has Pairing Symbol... -
Page 10: Interfaces
Smart Thermostat – Interfaces Interfaces Correct Placement of the Smart Thermostat as a Sensor The tado° Smart Thermostat supports both 230V and extra low voltage interfaces. The In cases where the tado° Smart Thermostat does not replace an existing wired wiring diagram on the back of the device shows the wiring for the relay operation, three thermostat, it can be placed in any appropriate location. -
Page 11: Extension Box
Extension Box Extension Box – Usage tado° Extension Box Usage The Extension Box has one mechanical button and one The tado° Extension Box acts as a communication link between the tado° Smart Thermostat and the white LED that shines through the front housing. The boiler. -
Page 12: Back Of The Device
Extension Box – Mechanical Design Mechanical Design Contact pins Serial number & authentication code Jumper Backplate wiring diagrams 1. Hook the device into the backplate and press it down Back of the Device Terminal blocks Holes for wall mounting Screws to fasten housing 2. -
Page 13: Interfaces
Extension Box – Interfaces Interfaces The tado° Extension Box has connectors for relays (labeled 1-4) as well as analog and digital interfaces (labeled A, -, +). Two relay wiring configurations are possible and are distinguished by two different jumper positions. NL NL 1212 3434... -
Page 14: Bridge
Bridge Bridge LED Actions tado° Bridge The tado° Bridge is the intermediary device between the Smart LINK LED ACTION MEANING Thermostat, the Extension Box (if present) and the tado° Servers. It is connected to a router via an ethernet cable and communica- No power link link... -
Page 15: Installation
Installation Support tado° Installation For online support, please visit: support.tado.com tado° provides installation instructions specific to every heating setup. These instruc- tions are provided via an interactive installation assistant. The documentation at hand is not a replacement for these instructions and is a general documentation of tado° devices and features, not of the installation process itself. -
Page 16: Technical Specifications
Technical Specifications Regulatory Conformity tado° Smart Thermostat (Model RU01) EU Declaration of Conformity Dimensions: circa 104 x 104 x 19 mm (L x W x H) / circa 132 g Operating voltage: 5-36V DC 0.2A / 4.5V DC (3xAAA batteries, 1,200 mA/h) Battery Life (when operating on batteries) : ~ 2 years Relay: max.


Need help?
Do you have a question about the RU01 and is the answer not in the manual?
Questions and answers