Table of Contents
Advertisement
Advertisement
Table of Contents

Related Manuals for Huawei E5172


Summary of Contents for Huawei E5172
-
Page 2: Packing List
Thank you for purchasing the WiFi Router. This WiFi Router brings you a high speed wireless network connection. This document will help you understand your WiFi Router so you can start using it right away. Please read this document carefully before using your WiFi Router. For detailed information about the functions and configurations of the WiFi Router, refer to the online help on the web management page that comes with the WiFi Router. -
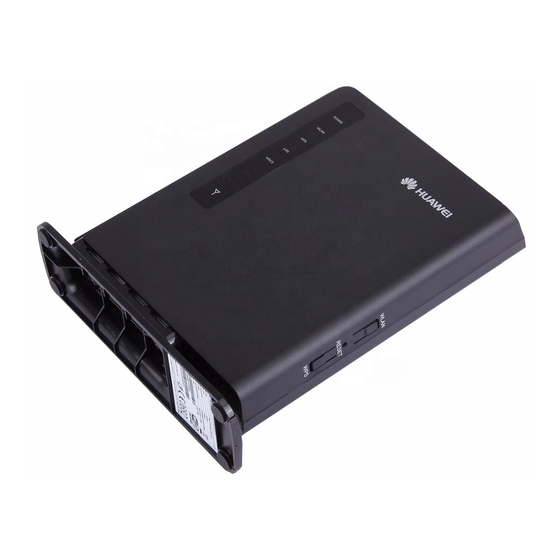
Page 3: Product View
Getting to Know Your WiFi Router Note: The WiFi Router function descriptions and illustrations in this document are for your reference only. The product you have purchased may vary. Power indicator Steady blue: The device is powered on. The power adapter is in use and working properly, or the power adapter is not in use but the battery level is high. -
Page 4: Wlan Button
Off: The device is powered off. WLAN indicator On: WLAN function enabled Blinking: Transmitting data through WLAN Off: WLAN function disabled WPS indicator On: WPS function enabled Blinking: WPS interconnection verification is in progress. This process should not take longer than 2 minutes. Off: WPS function disabled LAN indicator On: The port is connected to a device. -
Page 5: Battery Compartment
Note: Restoring the default settings of the WiFi Router will override all the previous settings. WPS button After the WPS function is enabled, press and hold this button for more than 2 seconds to initiate WPS interconnection. External antenna port Connect to an external antenna. -
Page 6: Installing Usim Card And Battery
Getting Started Installing the USIM Card and the Battery Install the USIM card and the battery according to the illustration. Note: Do not remove the USIM card when it is in use. Doing so will affect the performance of your WiFi Router and data stored on the USIM card may be lost. -
Page 7: Connecting To Wifi Router
Note: Only use power adapters compatible with the WiFi Router and provided by a designated manufacturer. Use of an incompatible power adapter or one from an unknown manufacturer may cause the WiFi Router to malfunction, fail, or could even cause a fire. Such use voids all warranties, whether expressed or implied, on the product. -
Page 8: Cable Connection
Cable Connection When connecting, use the power adapter that came as a set with the product. When finished, press the power button to turn on the device. The connection cable illustration is for reference only. When the device is in use, you can alter its position or orientation to improve signal reception. -
Page 9: If Connection Jumps
Connect device cables. Configure the computer's IP address so that the IP addresses of the computer and the device are in the same network segment. Note: The device's default IP address is 192.168.1.1, the subnet mask is 255.255.255.0. It is recommended that you use the automatically obtained IP addresses for the computer and domain name system (DNS) server. -
Page 10: Data Transfer Speed
The maximum data transfer speed of this WiFi Router are listed as follows Downlink FDD LTE packet data service of up to 150 Mbit/s Uplink FDD LTE packet data service of up to 50 Mbit/s Downlink TDD LTE packet data service of up to 80 Mbit/s Uplink TDD LTE packet data service of up to 20 Mbit/s Downlink DC-HSPA+ packet data service of up to 42 Mbit/s Uplink DC-HSPA+ packet data service of up to 5.76 Mbit/s...