Table of Contents
Advertisement
Advertisement
Table of Contents

Related Manuals for Sherwood RX-4209


Summary of Contents for Sherwood RX-4209
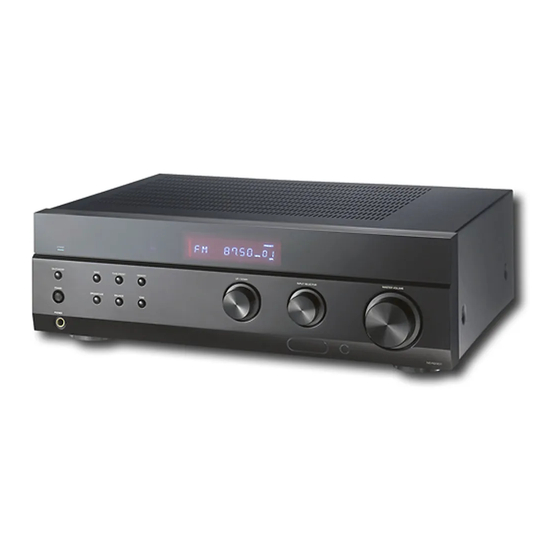
- Page 1 RX-4209 AM/FM STEREO RECEIVER OPERATING INSTRUCTIONS...
-
Page 2: Introduction
Introduction READ THIS BEFORE OPERATING YOUR UNIT This symbol is intended to alert the user to the CAUTION presence of uninsulated "dangerous voltage" RISK OF ELECTRIC SHOCK within the product's enclosure that may be DO NOT OPEN of sufficient magnitude to constitute a risk of CAUTION TO REDUCE THE RISK OF ELECTRIC electric shock to persons. -
Page 3: Table Of Contents
Information for Users on Collection and Disposal of Old Equipment and used Batteries These symbols on the products, packaging, and/or accompanying documents mean that used electrical and electronic products and batteries should not be mixed with general household waste. For proper treatment, recovery and recycling of old products and used batteries, please take them to applicable collection points, in accordance with your national legislation. -
Page 4: System Connections
System Connections • Do not plug the AC input cord into the wall AC outlet until all connections are completed. • Be sure to connect the white RCA pin cords to the L (left) and the red RCA pin cords to the R (right) jacks when making audio connections. - Page 5 CONNECTING AUDIO COMPONENTS • The AUX1 and AUX2 jacks may also be connected to an additional component such as MD recorder, tape deck, etc. CD player MD recorder, etc. Tape deck REC IN PLAY(LINE) OUT PLAY OUT REC(LINE) IN CONNECTING SPEAKERS •...
-
Page 6: Front Panel Controls
Front Panel Controls 1. POWER switch 9. BLANCE button 2. POWER ON / STANDBY button 10. TONE MODE button 3. STANDBY indicator 11. ADJUST UP/DOWN button 4. HEADPHONE jack 12. INPUT SELECTOR knob 5. SPEAKER A/B button 13. MASTER VOLUME knob 6. -
Page 7: Remote Controls
Remote Controls POWER ON button STANDBY button SPEAKER A/B buttons NUMERIC buttons DIMMER button PRESET SCAN button SLEEP button MONO/STEREO button INPUT SELECTOR buttons MUTE button MEMORY buttons VOLUME UP/DOWN (▲/▼) buttons TUNING UP/DOWN (►/◄) buttons PRESET UP/DOWN (▲/▼) buttons BALANCE L/R buttons BASS UP/DOWN (+/-) buttons TREBLE UP/DOWN (+/-) buttons... -
Page 8: Remote Control Operation Range
REMOTE CONTROL OPERATION RANGE • Use the remote control unit within a range of about 7 meters (23 feet) and angles of up to 30 degrees aiming at the remote sensor. LOADING BATTERIES Remove the cover. Load two batteries (“AAA” size, 2x1.5V) matching the polarity. -
Page 9: Operations
Operations LISTENING TO A PROGRAM SOURCE Before operation • Push the POWER switch. • This unit enters the standby mode and the STANDBY indicator lights up blue. The lighting of STANDBY indicator means that the receiver is not disconnected from the AC mains and a small amount of current is retained to support the memorized contents and operation readiness. - Page 10 Operate the selected component for playback. Adjust the volume to a comfortable listening level. To mute the sound. • “MUTE” flickers. • To resume the previous sound level, press this button again. • When adjusting the volume, the muting effect is turned off.
- Page 11 At the desired tone mode, adjust the tone as desired. • If the tone display disappears, start from the step 8 again. • When pressing the TREBLE UP/DOWN (+/-) or BASS UP/DOWN (+/-) buttons, you need not select the desired tone mode on the step 8. •...
-
Page 12: Listening To Radio Broadcasts
LISTENING TO RADIO BROADCASTS Auto tuning Select the tuner and then the desired band. • Each time the BAND button is pressed, the tuner is selected and then the band changes as follows: FM ST FM MONO (Frequency display) BAND FREQUENCY Select the tuning mode. - Page 13 Auto presetting • Auto presetting function automatically searches for FM stations only and store them in the memory. • While listening to radio broadcasts, press and hold down the MEMORY button for more than 2 seconds. • Then “AUTO MEM” flickers and this receiver starts auto presetting.
- Page 14 Tuning to preset stations After selecting the tuner as an input source, select the preset mode. • Then “PRESET” lights up. Select the desired preset number. • When using the NUMERIC buttons on the remote control. Examples) For "3" : For "15"...
-
Page 15: Recording
RECORDING • The volume, tone(bass, treble) and balance settings have no effect on the recording signals. • When you select tuner, CD or PHONO as a recording source, recording may be made on AUX 1 or AUX 2, or both simultaneously. Recording with AUX 1 Recording with AUX 2 Select the desired input as a recording source... -
Page 16: Troubleshooting Guide
Troubleshooting Guide If a fault occurs, run through the table below before taking your receiver for repair. If the fault persists, attempt to solve it by switching the receiver off and on again. If this fails to resolve the situation, consult with your dealer. Under no circumstances should you repair the receiver yourself as this could invalidate the warranty. -
Page 17: Specifications
Specifications ▄ AMPLIFIER SECTION • Power output, stereo mode, 8 Ω, THD 1 %, 40 Hz~20 KHz ..............2X100 W • Total harmonic distortion, 8 Ω, 100 W, 40 Hz~20 kHz ................0.04 % • Intermodulation distortion 60 Hz : 7 KHz= 4 : 1 SMPTE, 8 Ω, 100 W ....................0.02 % •... - Page 18 RX-4209 AM/FM STEREO RECEIVER 5707-00000-870-1S Printed in China...
Need help?
Do you have a question about the RX-4209 and is the answer not in the manual?
Questions and answers