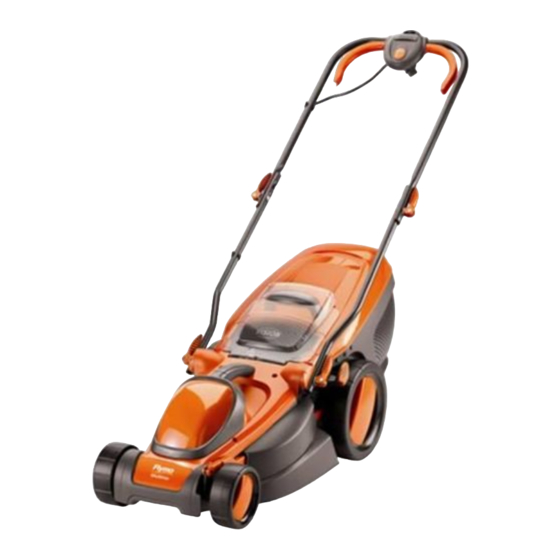
Flymo Multimo 340 Operating Instructions Manual
Hide thumbs
Also See for Multimo 340:
- Original instructions manual (55 pages) ,
- Manual (8 pages) ,
- User manual (10 pages)
Summary of Contents for Flymo Multimo 340
- Page 1 Multimo 340 Original Instructions For all customer enquiries or for replacement parts, contact:- ¤ 01325 300303 www.flymo.com customer.services@husqvarna.co.uk...
-
Page 2: Carton Contents
IMPORTANT ! Please check the contents of the carton are correct BEFORE assembling your new Flymo product. The Loose Parts Pack is packaged underneath the deck of the product. IF ANY PARTS ARE MISSING CONTACT:- Husqvarna UK Ltd. Customer Service Department direct... - Page 3 Use only Flymo replacement cable. 10. Always wind cable carefully, avoiding kinking. concerning the use of the product by a person responsible for their safety.
- Page 4 The wire which is coloured BROWN must be CONNECTORS - IMPORTANT connected to the Terminal which is marked with • Flymo connectors are suitable for use with 2 core the letter 'L' or coloured RED. cable only. Under no circumstances should 4.
-
Page 5: Roller Assembly
Roller Assembly 1. Turn product over. position.(B2) 2. Place both halves of the roller over the • Do not clip the roller together before location pegs as illustrated in fig.B1 placing over the location pegs 3. Clip the roller together to secure it into Assembly of Lower Handles to Lawnmower 1. -
Page 6: Grassbox Assembly
Assembly of Lower Handles to Lawnmower (cont’) 7. Ensuring the raised markings on the Cam Lock and the deck are aligned (D5), fold down the Cam Lock towards the Handle as illustrated in fig D6, and continue to turn clockwise (D7) until tightened. - Page 7 Grassbox Assembly (cont’) Grassbox Assembly 1. Locate the the grassbox halves together by aligning the clips Ensure all clips are correctly located before clicking into position. (G1) 2. Locate the grassbox lid onto the assemble grassbox by aligning the clips. Ensure all clips are correctly located before clicking into position (G2) Fitting Fully Assembled Grassbox to Lawnmower.
-
Page 8: Mulching Plug
Grassbox Full Window • As the grassbox fills up, grass will be visible through the window (N). grassbox • When the window/grassbox is full it is time to empty empty the grassbox. grassbox full Mulching Plug Using as a mulcher 1. -
Page 9: Removing And Fitting The Blade
Starting and Stopping (cont’) 6. Continue to squeeze the start/stop lever towards the upper handle and release the lock-off button (W). 7. Lower the lawnmower to its proper operating position and commence mowing. • NOTE - There are two start/stop levers fitted. -
Page 10: Caring For Your Lawnmower
Caring for your Lawnmower Cleaning • USE GLOVES • IMPORTANT:- It is very important that you keep your lawnmower clean. Grass clippings left in any of the air intakes or under the deck could become a potential fire hazard. 1. Remove grass from under the deck with brush. (Z1) 2. -
Page 11: Service Recommendations
Service Recommendations 1. We strongly recommend that your product is A network of specialist dealers can be found in serviced at least every twelve months, more your local Yellow Pages. To obtain service on your product simply telephone or visit your local often in a professional application. -
Page 12: Ec Declaration Of Conformity
EC Declaration of Conformity Husqvarna UK Ltd., Aycliffe Industrial Park Newton Aycliffe, Co. Durham, DL5 6UP, England Declare under our sole responsibility that the product(s); Category......Electric Rotary Lawnmower Type(s) ......MM340 Identification of Series..See Product Rating Label Year of Construction..See Product Rating Label Conforms to the essential requirements &...


Need help?
Do you have a question about the Multimo 340 and is the answer not in the manual?
Questions and answers