Dell 2200MP User Manual
Hide thumbs
Also See for 2200MP:
- Safety instructions (55 pages) ,
- Specifications (2 pages) ,
- User manual (7 pages)
Advertisement
Quick Links
DELL 2200MP PROJECTOR USER GUIDE
http://www.manuallib.com/file/2589655
From ManualLib.com
ManualLib.com collects and classifies the global product
instrunction manuals to help users access anytime and
anywhere, helping users make better use of products.
Home: http://www.manuallib.com/ Chinese: http://www.shuomingshuku.com/
This Manual: http://www.manuallib.com/file/2589655
Advertisement

Related Manuals for Dell 2200MP


Summary of Contents for Dell 2200MP
- Page 1 DELL 2200MP PROJECTOR USER GUIDE http://www.manuallib.com/file/2589655 From ManualLib.com ManualLib.com collects and classifies the global product instrunction manuals to help users access anytime and anywhere, helping users make better use of products. Home: http://www.manuallib.com/ Chinese: http://www.shuomingshuku.com/ This Manual: http://www.manuallib.com/file/2589655...
- Page 2 DELL 2200MP PROJECTOR USER GUIDE SAFETY INSTRUCTIONS FOR DELL 2200MP PROJECTOR 1. Be careful in handling the unit - the surface beneath the projector might be hot with use. 2. Do not touch the bulb or the lamp glass at any time. The bulb may explode due to improper handling, including the touching of the bulb or the lamp glass.
-
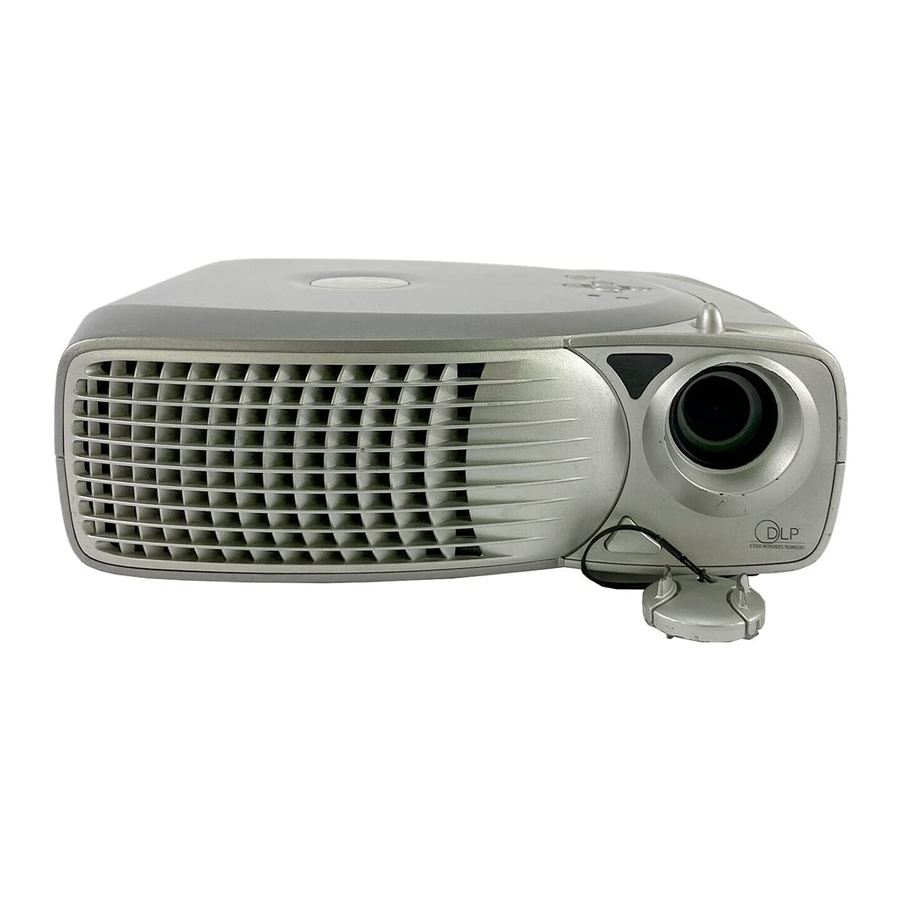
Page 3: Setting Up The Projector
4. Remote Control 1. Light 2. Power button 3. Previous page button (page up) 4. Four Direction buttons 5. Source button 6. Resync button 7. Keystone Correction button 8. Volume button 9. Hide button 10. 4:3/16:19 (aspect ratio) button 11. Menu button 12. -
Page 4: Using The Projector
Hide: Press the Hide button to hide the image, press again to resume display of the image. (Video mute). f. Video Mode: The Dell 2200MP Microprojector has preset configurations that are optimized for displaying data (PC Graphics) or video (movies, games, etc.). Press Video Mode button to toggle between PC mode, Movie mode, sRGB, or User mode (for user to setup and save preferred settings). - Page 5 h. Next Page: Press the Next Page button to page down. (USB must be connected for this feature) i. Menu: Press the Menu button to activate the OSD. Use the directional keys and Menu button to navigate through the OSD. j.
- Page 6 f. Brightness: Adjusts the brightness of the image i. Press to darken the image. ii. Press to lighten the image. g. Contrast: Controls the degree of difference between the lightest and darkest parts of the picture. Adjusting the contrast changes the amount of black and white in the image.
-
Page 7: Troubleshooting
Ensure that the lens cap is removed and the projector is turned on b. Ensure the external graphics port is enabled. If you are using a Dell portable computer, press the F8 key. For other computers, consult your owner’s manual. - Page 8 c. If you experience difficulty in changing the resolutions or your monitor freezes, restart all the equipment and the projector. 3. The screen does not display your presentation a. If you are using a portable computer, press Function-F8 4. Image is unstable or flickering a.