Table of Contents
Advertisement
Advertisement
Table of Contents

Related Manuals for DeWalt DW777-XE


Summary of Contents for DeWalt DW777-XE
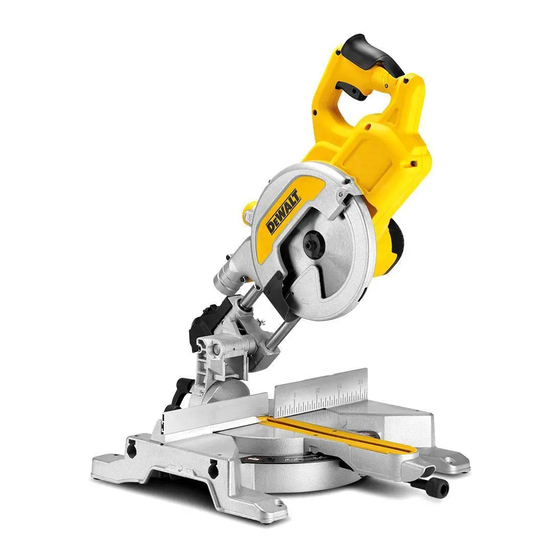
- Page 1 INSTRUCTION MANUAL DW777-XE 216 mm (8.5") CROSS-CUT MITRE SAW...
-
Page 2: Table Of Contents
TABLE OF CONTENTS DOUBLE INSULATION ............................... 1 BASIC SAW CUTS ..............................7 VERTICAL STRAIGHT CROSS CUT ........................7 SAFETY INSTRUCTIONS FOR ALL TOOLS ......................... 1 ADDITIONAL SAFETY RULES FOR MITRE SAWS ....................... 2 VERTICAL MITRE CROSS-CUT ........................8 BEVEL CROSS-CUTS ............................8 ELECTRICAL CONNECTION ............................ -
Page 3: Double Insulation
• MAKE WORKSHOP CHILDPROOF with padlocks, master switches, or by Vibration total values (triax vector sum) determined according to EN 61029: Definitions: Safety Guidelines removing starter keys. The unauthorised start-up of a machine by a child Vibration emission value a or visitor may result in injury. -
Page 4: Additional Safety Rules For Mitre Saws
• KEEP ARMS, HANDS, AND FINGERS away from the blade to prevent that it will operate properly and perform its intended function—check for • DO NOT force cutting action. Stalling or partial stalling of motor can cause severe cuts. Clamp all workpieces that would cause your hand to be within alignment of moving parts, binding of moving parts, breakage of parts, damage. -
Page 5: Electrical Connection
Package Contents For your convenience and safety, the following warning labels are on your mitre saw. ON MOTOR HOUSING: Check the contents of your mitre saw carton to make sure that you have received all parts. In addition to this instruction manual, the carton should contain: WARNING: FOR YOUR OWN SAFETY, READ INSTRUCTION... - Page 6 FIG. 1 FIG. 2 OO. Length stop for short workpieces (to be used with guide rails [II]) U. Bevel scale FIG. 4 PP . Roller table V. Bench mounting holes QQ. Dust extraction tubes W. Lock down button RR. Three-way connector X.
-
Page 7: Assembly
ASSEMBLY The plywood must sit flush on the work support. When clamping the saw to 5. Replace the outer flange (E), making sure that the location lugs (SS) are any work surface, clamp only on the clamping bosses where the mounting engaged correctly, one on each side of the motor shaft. -
Page 8: Adjusting The Fence
Checking and Adjusting the Blade to the Fence Checking and Adjusting the Blade to the Table 3. Turn the saw head traverse lock (R) (Fig. 2). 4. Keeping the saw head fully depressed, pull the head to the end of its travel. (Fig. -
Page 9: Checking And Adjusting The Bevel Angle
Brushes Body and Hand Position Checking and Adjusting the Bevel Angle (Fig. 1, 18, 19) Proper positioning of your body and hands when operating the mitre saw will WARNING: To reduce the risk of serious personal injury, turn off the tool make cutting easier, more accurate and safer. -
Page 10: Compound Mitre
VERTICAL MITRE CROSS-CUT (FIG. 21) Quality of Cut CUTTING LARGE MATERIAL 1. Squeeze the mitre latch (M). Move the arm left or right to the required WARNING: To reduce the risk of injury, always support long workpieces. The smoothness of any cut depends on a number of variables, i.e. the material angle. -
Page 11: Using The Roller Table
2. Periodically clean all dust and wood chips from around AND UNDER the TROUBLESHOOTING GUIDE base and the rotary table. Even though slots are provided to allow debris to pass through, some dust will accumulate. WARNING: TO REDUCE THE RISK OF INJURY, BE SURE TO FOLLOW SAFETY RULES AND INSTRUCTIONS 3. -
Page 12: Table 1: Compound Mitre Cut
TABLE 1: COMPOUND MITRE CUT (POSITION WOOD WITH BROAD FLAT SIDE ON THE TABLE AND THE NARROW EDGE AGAINST THE FENCE) SET THIS MITRE ANGLE ON SAW ANGLE OF SIDE OF BOX (ANGLE A) BEVEL DEGREE SETTING SET THIS BEVEL ANGLE ON SAW... - Page 16 Stanley Black & Decker 82 Taryn Drive, Epping, VIC 3076 Australia • 1800 338 002 (Aust) or 0800 339 258 (NZ) www.dewalt.com.au • www.dewalt.co.nz (OCT13) Part No. N363281 DW777-XE Copyright © 2009, 2013 D WALT The following are trademarks for one or more D WALT power tools: the yellow and black color scheme;...
Need help?
Do you have a question about the DW777-XE and is the answer not in the manual?
Questions and answers