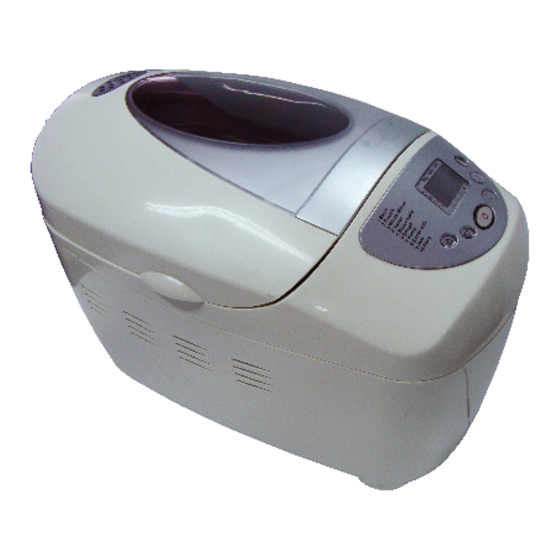
Summary of Contents for Lumina 109914
- Page 1 109914 after sales support tel: 1300 886 649 N13275...
- Page 2 bread maker What your year warranty means Great care has gone into the manufacture of this product and it should therefore provide you with years of good service when used properly. In the event of product failure within its intended use over the course of the first year after the date of purchase, we will remedy the problem as quickly as possible once it has been brought to our attention.
-
Page 3: Important Safety Instructions
Important Safety Instructions Please keep this instruction manual in a safe place, along with the warranty card, purchase receipt and carton for future reference. The safety precautions enclosed herein reduce the risk of fire, electric shock and injury when correctly adhered to. •... -
Page 4: Overview Of Bread Maker Setting
Overview of bread maker setting 1. Display Normal Setting The LCD display will show you when the appliance is ready for use. The appliance will correspond to the normal programming. The display will show “1 3:25”. The “1” specifies which program has been selected, and the “3:25” is the length of the program. After switching the appliance on the other basic settings are “Superior Weight”... - Page 5 3. “DELAY TIMER” keys The Time Delay key allows the user to plan and time the cooking of the bread. For example: It is 8:30 pm and the bread must be ready at 7:00am, i.e. in 10hr and 30mins. Press the time delay key until 10.30 appears .you have now program the appliance to delay the cooking process till the desired time.
-
Page 6: How To Set Temperature
Operating Instructions How To Set The Temperature 1. Making breads to beep, and automatically: Make sure that the kneading blade is securely positioned on the drive shaft. Put the ingredients into the bread pan. Tip: add the yeast in the end, and add the yeast in the middle of other ingredients, which will benefit the performance of the yeast. - Page 7 3. Baking This function can be used to bake the bread. It will last for 1 hour. Please follow the instruction below: Put the bread pan into the baking chamber. Put the food that you want to bake into the bread pan, then close the lid. Press the menu button to select the bake setting.
-
Page 8: Cleaning And Maintenance
Cleaning and Maintenance Cleaning Disconnect the machine from the power and let it cool down prior to cleaning. • Bread pan : Rub inside and outside with a damp cloth. Do not use any sharp or abrasive agents for the consideration of protecting the non-stick coating. The pan must be dried completely prior to installing.


Need help?
Do you have a question about the 109914 and is the answer not in the manual?
Questions and answers