Table of Contents
Advertisement
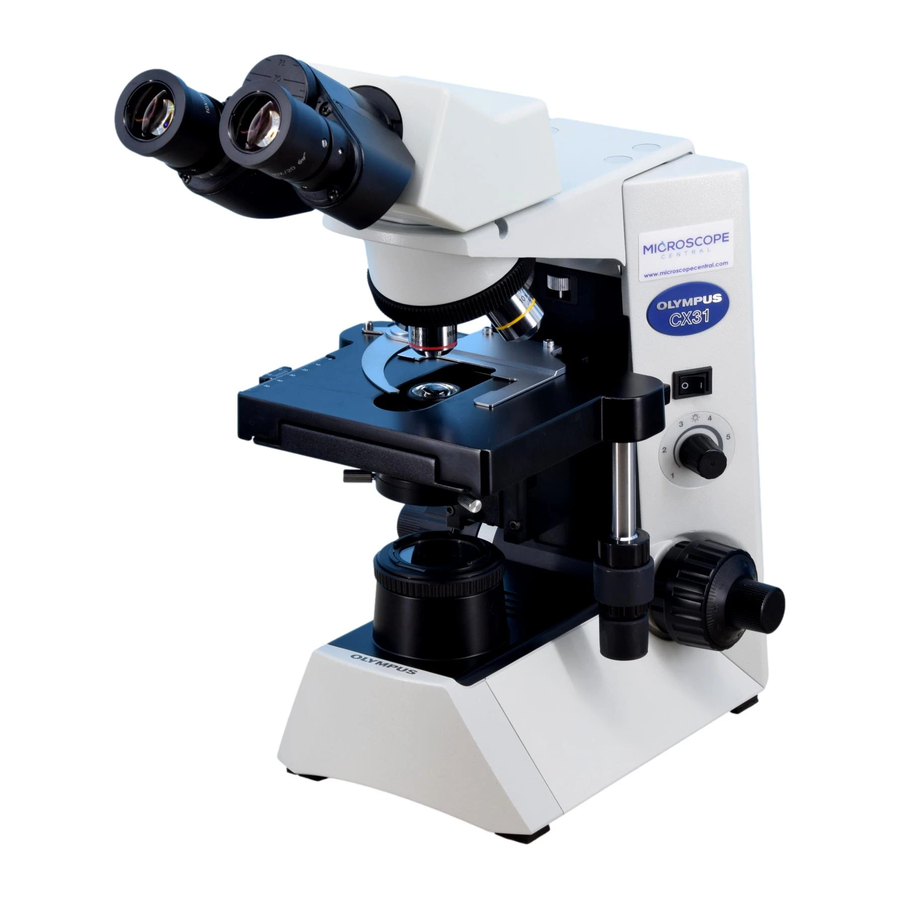
This instruction manual is for the Olympus Biological Microscope Model CX31. To ensure
This instruction manual is for the Olympus Biological Microscope Model CX31. To ensure
the safety, obtain optimum performance and to familiarize yourself fully with the use of this
the safety, obtain optimum performance and to familiarize yourself fully with the use of this
microscope, we recommend that you study this manual thoroughly before operating the
microscope, we recommend that you study this manual thoroughly before operating the
microscope. Retain this instruction manual in an easily accessible place near the work
microscope. Retain this instruction manual in an easily accessible place near the work
desk for future reference.
desk for future reference.
INSTRUCTIONS
INSTRUCTIONS
BIOLOGICAL MICROSCOPE
BIOLOGICAL MICROSCOPE
CX31
CX31
A X 6 6 5 5
Advertisement
Table of Contents

Related Manuals for Olympus CX31


Summary of Contents for Olympus CX31
- Page 1 BIOLOGICAL MICROSCOPE BIOLOGICAL MICROSCOPE This instruction manual is for the Olympus Biological Microscope Model CX31. To ensure This instruction manual is for the Olympus Biological Microscope Model CX31. To ensure the safety, obtain optimum performance and to familiarize yourself fully with the use of this...
-
Page 3: Table Of Contents
CX31 CONTENTS Page IMPORTANT – Be sure to read this section for safe use of the equipment. – 1 NOMENCLATURE SUMMARY OF BRIGHTFIELD OBSERVATION PROCEDURE ASSEMBLY – See this section for the replacement of the light bulb. – USING THE CONTROLS 8-14 4-1 Base......................................8... -
Page 4: Important - Be Sure To Read This Section For Safe Use Of The Equipment
4. Always use the power cord provided by Olympus. If no power cord is provided, please select the proper power cord by referring to the section “PROPER SELECTION OF THE POWER SUPPLY CORD”... - Page 5 Base underside position: (Caution for bulb replacement) If the warning label becomes soiled, peeled off, etc., contact Olympus to have it replaced. Getting Ready 1. A microscope is a precision instrument. Handle it with care and avoid subjecting it to sudden or severe impact.
- Page 6 Maintenance and Storage 1. Clean all glass components by wiping gently with gauze. To remove fingerprints or oil smudges, wipe with gauze slightly moistened with a mixture of ether (70%) and alcohol (30%). Since solvents such as ether and alcohol are highly flammable, they must be handled carefully. Be sure to keep these chemicals away from open flames or potential sources of electrical sparks -- for example, electrical equipment that is being switched on or off.
-
Page 7: Product View
CX31 NOMENCLATURE }The revolving nosepiece is fastened with a band to prevent it from turning during transportation. Remove the band when unpacking the microscope. Be sure to store the band for re-transportation of the microscope. * The stage is shipped with the two transport pins locked. When using the microscope for the first time, remove the transport lock pins before use. -
Page 8: Summary Of Brightfield Observation Procedure
SUMMARY OF BRIGHTFIELD OBSERVATION PROCEDURE · Turn the revolving nosepiece to · Place a specimen on the stage. · Turn the X-axis knob and Y-axis engage the 10X objective. (Page 10) knob to move the specimen into #Make sure that the revolving the light path. -
Page 9: Assembly
” (OFF) before connecting the power cord. (Fig. 4) Always use the power cord provided by Olympus. IF no power cord is provided with the microscope, please select the proper power cord by referring to section “PROPER SELECTION OF THE POWER SUPPLY CORD”... - Page 10 Attaching the Optional Cord Hanger (CH3-CH) (Figs. 7 & 8) }By attaching the optional CH3-CH cord hanger on the rear of the microscope frame, the power cord can be accommodated by winding around the hanger. Insert the hook ² of the cord hanger @ into the air vent groove on the rear of the microscope by aligning the attaching position ³, and clamp by sliding the cord hanger downward while pushing it against the microscope with a strong force.
-
Page 11: Using The Controls
CX31 USING THE CONTROLS 4-1 Base Turning On the Bulb (Fig. 9) 1. Set the main switch @ to “ ” (ON). 2. Turn the light intensity knob ² clockwise in the direction of the arrow to make the illumination brighter or counterclockwise to make it darker. -
Page 12: Focusing Block
4-2 Focusing Block Adjusting the Coarse Adjustment Knob Tension (Fig. 11) 1. The coarse adjustment knob tension is preadjusted for easy use. However, if desired, one can change the tension using the tension adjustment ring @. Applying a large flat-bladed screwdriver to any of the grooves ²... -
Page 13: Stage
CX31 4-3 Stage Placing the Specimen (Fig. 13) #Releasing the curved finger with great force or suddenly releasing your grip on the curved finger knob @ while releasing the curved finger will crack or damage the slide glass. Always place the specimen with great care. -
Page 14: Moving The Specimen
Moving the Specimen (Fig. 14) Turn the upper knob which is the Y-axis knob @ to move the specimen in the vertical direction, and turn the lower knob which is the X-axis knob ² to move it in the horizontal direction. #Do not use the specimen holder or stage to move the specimen, for this will damage the rotating mechanisms of the knobs. -
Page 15: Using The Eye Shades
CX31 Using the Eye Shades (Fig. 17) When Wearing Eyeglasses Use with the eye shades in the normal, folded-down position. This will prevent the eyeglasses from contacting and scratching the eyepieces. When Not Wearing Eyeglasses Extend the folded eye shades in the direction of the arrow for efficient Fig. -
Page 16: Condenser
4-5 Condenser Centering the Field Iris Diaphragm (Figs. 21 & 22) 1. With the 10X objective engaged and the specimen brought into focus, turn the field iris diaphragm ring @ counterclockwise to stop down the diaphragm to near its minimum size. 2. -
Page 17: Immersion Objectives
4-6 Immersion Objectives Using the Immersion Objectives (Fig. 24) #Be sure to use the provided Olympus immersion oil. When the oil of other make is used the surface of the Top lens of Condenser may be damaged. 1. Focus on the specimen by switching the objectives fro the lowest power to highest power. -
Page 18: Troubleshooting Guide
Under certain conditions, performance of the unit may be adversely affected by factors other than defects. If problems occur, please review the following list and take remedial action as needed. If you cannot solve the problem after checking the entire list, please contact your local Olympus representative for assistance. Problem... - Page 19 CX31 Problem Cause Remedy Page 2. Coarse/Fine Focus Adjustment a) Coarse adjustment knob is hard to Tension adjustment ring Loosen it. turn. overtightened. b) Stage drifts down by itself or focus Tension adjustment ring is too loose. Tighten it. is lost during observation.
-
Page 20: Specifications
SPECIFICATIONS Item Specification 1. Optical system UIS (Universal Infinity System) optical system 2. Illumination Illuminator built in. 6V 30W halogen bulb (PHILIPS 5761) (Average service time: Approximately 100 hr. when used as directed) 100-120 V/220-240 V , 0.85/0.45 A, 50/60 Hz 3. -
Page 21: Optical Characteristics
CX31 OPTICAL CHARACTERISTICS The following table shows the optical characteristics of combinations of eyepieces and objectives. The figure on the right shows the performance data engraved on the objectives. Characteristics Eyepieces Cover 10X eyepieces (FN20) W.D. Resolution Magnification N.A. Glass... -
Page 22: Proper Selection Of The Power Supply Cord
If no power supply cord is provided, please select the proper power supply cord for the equipment by referring to “Specifications" and "Certified Cord" below. CAUTION : In case you use a non-approved power supply cord for Olympus products, Olympus can no longer warrant the electrical safety of the equipment. - Page 23 CX31 Table 2 HAR Flexible Cord APPROVAL ORGANIZATIONS AND CORDAGE HARMONIZATION MARKING METHODS Alternative Marking Utilizing Printed or Embossed Harmonization Black-Red-Yellow Thred (Length Marking (May be located on jacket Approval Organization of color section in mm) or insulation of internal wiring)
- Page 24 Shinjuku Monolith, 3-1, Nishi Shinjuku 2-chome, Shinjuku-ku, Tokyo, Japan Postfach 10 49 08, 20034, Hamburg, Germany 2 Corporate Center Drive, Melville, NY 11747-3157, U.S.A. 491B River Valley Road, #12-01/04 Valley Point Office Tower, Singapore 248373 2-8 Honduras Street, London EC1Y OTX, United Kingdom. 31 Gilby Road, Mt.
Need help?
Do you have a question about the CX31 and is the answer not in the manual?
Questions and answers