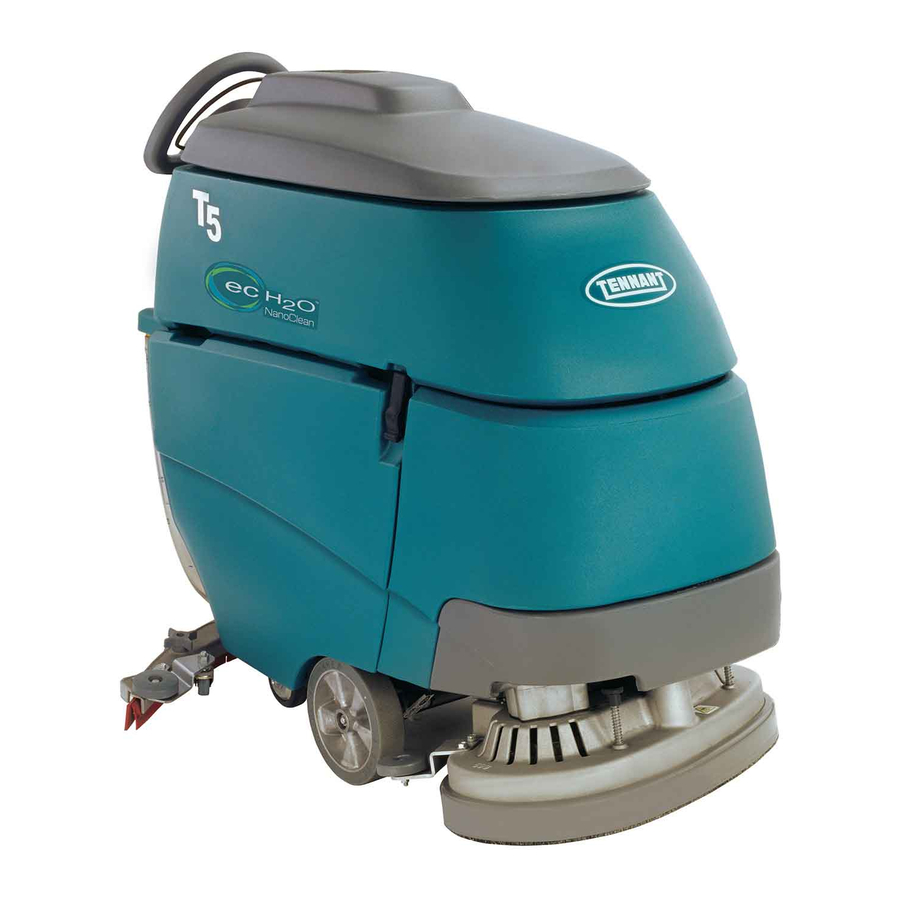
Tennant T5 Operator's Manual
Scrubber-dryer
Hide thumbs
Also See for T5:
- Service information manual (68 pages) ,
- Operator's manual (42 pages) ,
- Installation instructions (4 pages)

Related Manuals for Tennant T5


Summary of Contents for Tennant T5
- Page 1 Scrubber- -Dryer Operator Manual The Safe Scrubbing Alternativer Hygenic Fully Cleanable Tanks QA Controlst Supervisor Settings North America / International 9002326 Rev. 06 (11- -2008) *9002326* www.tennantco.com...
- Page 2 Phone: (800) 553- -8033 or (763) 513- -2850 www.tennantco.com FaSK--PAK and 1--STEP are US registered and unregistered trademarks of Tennant Company. Specifications and parts are subject to change without notice. Copyright E 2006, 2007, 2008 TENNANT COMPANY, Printed in U.S.A. All rights reserved. Tennant T5 (09- -08)
-
Page 3: Table Of Contents
....MACHINE DIMENSIONS ....Tennant T5 (11- -08) -
Page 4: Safety Precautions
Do not modify the machine from its original order to avoid a hazard. design. WARNING: Spinning Brush. Keep Hands Away. Turn Off Power Before Working On Machine. Tennant T5 (11- -08) -
Page 5: Safety Labels
Before Working On Machine. BATTERY CHARGE LABEL - - Located on bottom side of recovery tank. WARNING: Fire Or Explosion Hazard. Batteries Emit Hydrogen Gas. Keep Sparks And Open Flame Away. Keep Battery Compartment Open When Charging. Tennant T5 (06- -06) -
Page 6: Machine Components
11. Squeegee Assembly 25. Pad Driver Window 12. Solution Tank Clean-Out Port 26. Scrub Head Skirt 13. Recovery Tank Support Stand 27. Parking Brake (option) 14. Control Board 28. Cylindrical Brush Scrub Head 15. Bucket Fill Port/Clean--out Port Tennant T5 (09- -08) -
Page 7: Control Panel Components
6. Solution flow decrease button (--) 13. ec- -H2O system indicator light (ec- -H2O model) 7. Fault indicator -- Contact Service 14. Main power on/off key switch 8. Supervisor control indicator -- Lockout feature 15. Hour meter Tennant T5 (09- -08) -
Page 8: Machine Installation
(Figure 1). 13mm wrench required. IMPORTANT: If your machine is equipped with the on- -board battery charger, make sure that the charger is properly set for your battery type before charging (See ON- -BOARD CHARGER SETTINGS). Tennant T5 (06- -06) -
Page 9: How The Machine Works
Nylon fiber impregnated with abrasive grit to remove stains and soilage. Strong action on any surface. FIG. 5 Performs well on buildup, grease, or tire marks. Polishing Pad (White) - - Used to maintain highly polished or burnished floors. Tennant T5 (09- -08) -
Page 10: Installing Brushes
(Figure 8). FIG. 10 4. To remove the pad driver, raise the scrub head and push the pad release plunger downward (Figure 11). 2 mm 1/16” Lock Nut FIG. 8 FIG. 11 Tennant T5 (09- -08) -
Page 11: Installing Fast--Pak
(See ADJUSTING SCRUB HEAD FIG. 15 BRUSHES). 3. When the supply hose is not in use, connect the storage plug to prevent the FaST system from drying out and clogging up the hose (Figure 16). FIG. 16 Tennant T5 (06- -06) -
Page 12: Filling Solution Tank
( I ) position (Figure 19). ec- H2O Model: Press the ec- -H2O system switch to the on ( I ) position (Figure 19). NOTE: The ec- -H2O system indicator light will not turn on until the machine starts scrubbing. Tennant T5 (03- -08) - Page 13 (Figure 22). To reverse the machine, simply push the control handle bail forward. Raise squeegee when reversing machine. FIG. 24 9. To stop scrubbing, release the control handle bail, press the 1- -STEP scrub button and raise the squeegee. Tennant T5 (09- -08)
-
Page 14: Emergency Stopping
PROCEDURE) (Figure 26). NOTE: When the alarm sounds and the light blinks red, FIG. 27 the machine will bypass the ec- -H2O system. To continue scrubbing, turn the ec- -H2O switch off and change over to conventional scrubbing. Tennant T5 (09- -08) -
Page 15: Hour Meter
1. Turn the key and wand switch to the on ( I ) 2. Connect the solution hose to the coupler at the position (Figure 32). The FaST/ec- -H2O system lower right side of machine (Figure 29). switch is disabled when operating the wand. FIG. 29 FIG. 32 Tennant T5 (09- -08) -
Page 16: Draining And Cleaning Tanks
WARNING: Fire or Explosion Hazard. Do Not Pick Up Flammable Materials Or Reactive Metals. FIG. 36 4. Clean the float shut-off screen and debris tray located in the recovery tank (Figure 37). FIG. 37 Tennant T5 (09- -08) -
Page 17: Draining Solution Tank
The charger will display a sequence of codes. One of the codes will either read “GEL” or “Acd” (Figure 41). GEL = Set for sealed/maintenance free batteries Acd = Set for wet/lead acid batteries FIG. 40 FIG. 41 Tennant T5 (06- -06) -
Page 18: Using The On- -Board Battery Charger
If the charger detects a problem, the charger will display an error code (See ON--BOARD BATTERY CHARGER ERROR CODES). FIG. 43 5. Connect the charger’s AC power supply cord into a properly grounded receptacle (Figure 44). Tennant T5 (09- -06) -
Page 19: On--Board Battery Charger Error Codes
E03 reappears check battery or re- sulfated or faulty battery. place it. Safety timer exceeded maximum charging Replace battery. time. Interrupts charging cycle. Possible internal short circuit. Contact Service Center. Tennant T5 (06- -07) -
Page 20: On--Board Charger Fuse Replacement
6. Connect the charger’s DC cord into the machine’s battery receptacle (Figure 50). FIG. 47 3. The fuse holder is located at the bottom of the charger. Use a screwdriver to access the fuse (Figure 48). FIG. 50 Tennant T5 (01- -07) -
Page 21: Adjusting Scrub Head Brushes
(Figure 54). FIG. 51 4. If scrub head is not level, loosen the lock nut and turn the scrub head leveling screw to level. Tighten down the lock nut once head is level (Figure 52). FIG. 54 Tennant T5 (01- -07) - Page 22 Retighten hex screw (Figure 59). FIG. 56 3. Recheck brush pattern. FIG. 59 NOTE: Replace brushes when worn to 5/8” (15mm). 5. Recheck brush pattern. NOTE: Replace brushes when worn to 5/8” (15mm). Tennant T5 (01- -07)
-
Page 23: Machine Maintenance
Clean the solution tank filter (Figure 65). FIG. 61 FIG. 65 3. Remove the recovery tank float shut--off screen and clean (Figure 62). 7. Rotate pad or replace when worn (Figure 66). Disk Model FIG. 62 FIG. 66 Tennant T5 (01- -07) - Page 24 13. Clean the machine with an all purpose cleaner and plates and drive hubs (Figure 69). damp cloth (Figure 72). FOR SAFETY: When cleaning machine, do not power spray or hose off machine. Electrical malfunction may occur. Cylindrical Brush Model FIG. 69 FIG. 72 Tennant T5 (01- -07)
-
Page 25: Monthly Maintenance
3. Lubricate all pivot points and rollers with a water the machine was used for a total of 30 minutes or resistant grease. more. 4. Lubricate the casters with a water resistant grease (Figure 78). FIG. 75 FIG. 78 Tennant T5 (06- -07) -
Page 26: Battery Maintenance
2. Clean the batteries to prevent battery corrosion. Use a scrub brush with a mixture of baking soda and water (Figure 80). FOR SAFETY: When cleaning batteries, wear protective gloves and eye protection. Avoid contact with battery acid. FIG. 82 Tennant T5 (01- -07) -
Page 27: Motor Maintenance
(Figure 87). Vacuum Motor Water Filter Disk Brush Motors (50 Mesh/Brown) Cylindrical Brush Motors 1000 WARNING: Electrical Hazard. Disconnect Battery Cables Before Servicing Machine. Air Filter (50 Mesh/Brown) FIG. 87 Tennant T5 (03- -08) -
Page 28: Ec--H2O Module Flush Procedure
FOR SAFETY: When servicing machine, jack machine up at designated locations only. Use jack FIG. 88 or hoist that will support machine weight. 4. Turn the key to the on ( I ) position. FIG. 90 Tennant T5 (11- -08) -
Page 29: Transporting Machine
2. Fill the solution tank with cool water until full (See FILLING SOLUTION TANK). 4. Open the recovery tank cover to promote air circulation. ATTENTION: Do not expose machine to rain, store indoors. 5. If storing machine in freezing temperatures, follow the FREEZE PROTECTION instructions below. Tennant T5 (09- -08) - Page 30 FIG. 97 detergent from the hose (Figure 95). Reconnect the hose after draining. To access the injector 10. To drain the antifreeze from the FaST supply hose, assembly remove the front cover. repeat steps 1 and 2. Tennant T5 (09- -08)
-
Page 31: Recommended Stock Items
Contact Service Center Faulty transaxle motor or wiring Contact Service Center Worn carbon brushes Contact Service Center Exceeded maximum incline Avoid steep inclines and reset key Vacuum motor will not Squeegee is raised off floor Lower squeegee operate Tennant T5 (11- -08) - Page 32 Batteries need maintenance See BATTERY MAINTENANCE Faulty battery charger Repair or replace battery charger Solution flow and brush Supervisor controls are activated (lock- Contact your Supervisor pressure buttons and out feature) FaST system switch are locked Tennant T5 (06- -06)
- Page 33 H2O Model: Defective light or module Contact Service Center ec- -H2O system indicator light does not turn on ec- H2O Model: Clogged module Contact Service Center No water flow Defective solution pump Replace solution pump Tennant T5 (09- -08)
-
Page 34: Control Panel Fault Indicator Codes
Restart key to reset. All battery lights blink Emergency--Stop button activated Turn button clockwise to reset. All battery lights ripple Key turned on while bail was engaged. Release the control handle start bail. Tennant T5 (06- -06) -
Page 35: Machine Specifications
GRADE LEVEL, MAX. Scrubbing 5% (3°), Transporting 8% (5°) * Run times are based on Continuous Scrubbing Run Times. ** Sound pressure (ISO 11201) as recommended by the American Association of Cleaning Equipment Manufacturers (AACEM) and OSHA. Tennant T5 (06- -07) - Page 36 0.83 L/min 1.14 L/min 1.67 L/min (optional) (optional) (optional) (optional) 0.30 gpm / 0.44 gpm / 1.67 L/min 1.14 L/min (optional) (optional) * If the optional solution flow rates are required, contact an Authorized Service Center. Tennant T5 (09- -08)
-
Page 37: Machine Dimensions
33 in / 838 mm 28 in / 711 mm 34 in / 864 mm 35.7 in / 908 mm 41.3 in / 1,051 mm 46.6 in / 1,185 mm 41.3 in / 1,051 mm 46.6 in / 1,185 mm Tennant T5 (06- -07)
Need help?
Do you have a question about the T5 and is the answer not in the manual?
Questions and answers
Not lowering the pad
The Tennant T5 may not be lowering the pad due to the Recovery Tank Interlock. If the Recovery Tank is raised, the interlock switch remains open, preventing the machine from operating correctly. This would cause Fault LED #1 to flash. Ensure the Recovery Tank is properly seated to allow normal operation.
This answer is automatically generated
Tenant t5 flashing light 1,2,3 . Machine have not FaST
Flashing lights on the Tennant T5 machine without FaST indicate the following:
- Fault LED #1 flashing: Excessive left brush current (>35A for 2 seconds) or disk head motor current (>30A for 1 minute). This turns off all scrub functions.
- Fault LED #2 flashing: Excessive vacuum fan current (>27A for 30 seconds). This turns off all scrub functions.
- Fault LED #3 flashing: Excessive right brush current (>35A for 2 seconds) or disk head motor current (>30A for 1 minute). This turns off all scrub functions.
This answer is automatically generated