Table of Contents
Advertisement
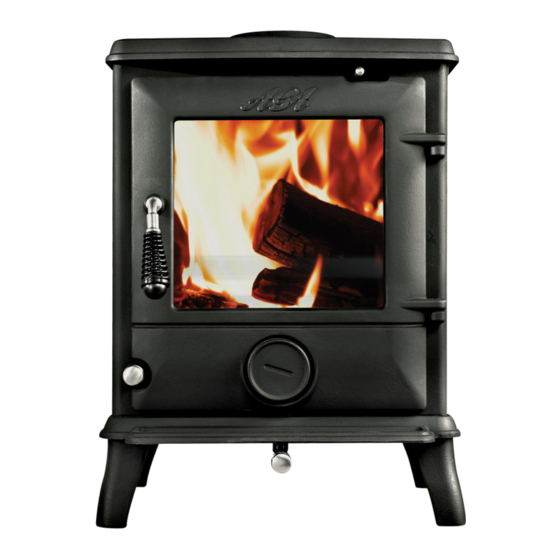
Ludlow Wood Burning
Smoke Exempt Stove
This appliance is hot while in operation and retains its heat for a long period of time after use.
Children, aged or infirm persons should be supervised at all times and should not be allowed
to touch the hot working surfaces while in use or until the appliance has thoroughly cooled.
When using the stove in situations where children, aged and/or infirm persons are
present a fireguard must be used to prevent accidental contact with the stove. The fireguard
should be manufactured in accordance with BS 8423:2002.
WHEN READING THESE INSTRUCTIONS REFER TO THE SECTIONS ON LIGHTING THE FIRE
& REFUELLING
INSTALLATION AND OPERATING INSTRUCTIONS
Advertisement
Table of Contents

Related Manuals for AGA Ludlow Wood Burning


Summary of Contents for AGA Ludlow Wood Burning
- Page 1 Ludlow Wood Burning Smoke Exempt Stove This appliance is hot while in operation and retains its heat for a long period of time after use. Children, aged or infirm persons should be supervised at all times and should not be allowed to touch the hot working surfaces while in use or until the appliance has thoroughly cooled.
-
Page 2: Table Of Contents
TABLE OF CONTENTS PAGE NO. General ............. . Handling . -
Page 3: General
LUdLOW WOOd FUEL NON-BOILER STOVE INSTALLATION & OPERATING INSTRUCTIONS IMPORTANT WARNING: This stove must not be NOTE: Please note that it is a legal requirement installed into a chimney that serves any other under England & Wales Building Regulations that heating appliance. -
Page 4: Chimney
To minimise the wind effects, the flue termination An existing masonry chimney should be inspected point should be located a minimum of 600mm from and if necessary repair by a competent mason or the roof measured vertically and 2300mm measured relined using an approved lining system. -
Page 5: Top Flue Exit
For the top flue outlet configuration, remove the Fig.4 blanking plate from the hob, remove the flue spigot from the back plate and fix it to the hob. Fix the out- let blanking plate to back plate (see Fig.2). Push the flue outlet connector pipe (not supplied) into the flue spigot and cement into place using approved fire cement, ensuring that no fire cement is blocking the... -
Page 6: Permanent Air Vent
tained before installation. The effect of any grills CO ALARMS:- should be allowed for when determining the effective free area of any vent. Building regulations require that when ever a new or replacement fixed solid fuel or wood/bio- mass appliance is installed in a dwelling a car- Air vents direct to the outside of the building should bon monoxide alarm must be fitted in the same be located so that any air current produced will not... -
Page 7: Floor Protection
constructed of combustible materials provided the connector is either listed for wall pass-through or is routed through a device listed for a wall pass- through and is installed in accordance with the con- ditions of the listing. Any unexposed metal that is used as part of a wall pass-through system is exposed to flue gases shall be constructed of stain- less steel or other equivalent material that will resist... -
Page 8: Stove Dimensions
STOVE dIMENSIONS Fig.5 Fig.6 OPERATING Check that all controls and catches are operating correctly and ensure that all flue connections are thoroughly sealed. Set all air controls to fully open. Secondary Air Control – slider (Fig.6) Primary Air Control – spin wheel (Fig.7) Open the secondary air control situated over the door fully by sliding to the right. -
Page 9: Recommended Fuels
RECOMMENdEd FUEL the appliance door left open except as directed in the instructions. This appliance has been tested using seasoned Dampers left open wood logs only. These should be stored under cover and kept as dry as possible prior to use. Do not use Operation with the air controls or dampers open can cause excess smoke. -
Page 10: Disposal Of Ash
dISPOSAL OF ASh WARNING NOTE Properly installed, operated and maintained the Ashes should be placed in a metal container with a stove will not emit fumes into the dwelling. tight fitting lid. The closed container of ashes should Occasional fumes from de-ashing and re-fuelling be on a non-combustible floor or on the ground well may occur. -
Page 11: Lighting
5. When the firebed has fully ignited and is starting by a competent service engineer. Use only to die back add 3 small logs (approx 1kgs). replacement parts recommended by Aga Rangemaster. Using alternatives will 6. Approximately 2 minutes after adding the logs the... -
Page 12: Glass - Cleaning & Replacement
GLASS 1. how to clean: The glass will clean itself when there is sufficient heat generated by burning fuel. If a build-up of cre- osote occurs on the glass it may be due to draft con- ditions, poor quality fuel or very slow burning for along time. -
Page 13: Exploded View
LUdLOW WOOd BURNING SMOkE EXEMPT STOVE EXPLOdEd VIEW 16. FRONT FRAME RATING PLATE BRACKET 17. GLASS CLIP DATA PLAQUE 18. GRATE AIR WASH CONTROL LEVER 19. HOB AIR WASH COVER 20. LEG AIR WASH SHUTTER 21. LHS PANEL ASHPAN 22. LOWER BAFFLE BACK 23.
Need help?
Do you have a question about the Ludlow Wood Burning and is the answer not in the manual?
Questions and answers