Flymo Mow n Vac Original Instructions Manual
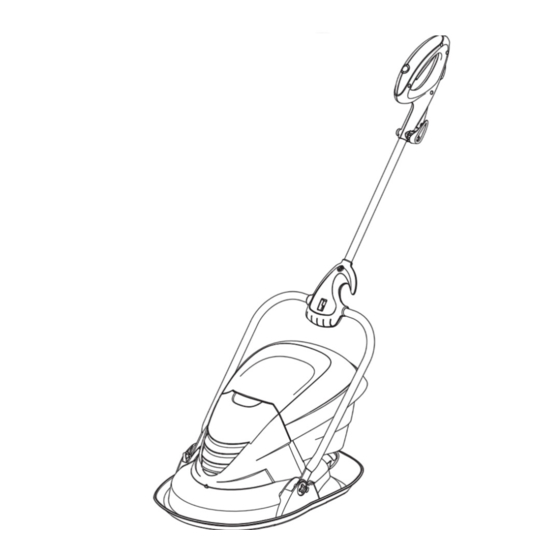
Lawn mower
Hide thumbs
Also See for Mow n Vac:
- Návod na použitie (13 pages) ,
- Important information manual (12 pages) ,
- Operating instructions manual (10 pages)
Advertisement
Table of Contents
Advertisement
Table of Contents

Related Manuals for Flymo Mow n Vac


Summary of Contents for Flymo Mow n Vac
- Page 1 ® Mow n Vac Original Instructions...
-
Page 2: Carton Contents
IMPORTANT ! Please check the contents of the carton are correct BEFORE assembling your new Flymo product. IF ANY PARTS ARE MISSING CONTACT:- Husqvarna UK Ltd. Customer Service Department direct Telephone : 0844 844 4558 UK 1800 882 350 ROI... - Page 3 1.00mm size cable, 10 amps 250 volts AC. EN60335 and under no circumstances should an earth THE MOW N VAC IS SUPPLIED WITH CABLE be connected to any part of the product. WIRED DIRECTLY INTO THE PRODUCT 2. Ensure the mains voltage suits your product 1.
-
Page 4: Starting And Stopping
Assembly Instructions Assembly of lower handle to hood (A) 1. Place the ends of the lower handle into the slots ensuring that the joint is facing the correct way (A1). 2. Secure lower handle to hood by firmly pushing fixing pin through holes in hood and handle (A2). 3. -
Page 5: Adjusting The Cutting Height
Adjusting the Cutting Height HIGHEST This symbol visible • THERE ARE 2 CUTTING HEIGHTS (F & G) • Height of cut is adjusted by turning over the cutting head. LOWEST • Disconnect from the mains electricity supply and This symbol visible wait until the cutting head has stopped rotating. -
Page 6: Cutting System Maintenance
3. Plastic cutters should be straight. Replace if bent or twisted. Replacing Plastic cutters (N) • Use only genuine Flymo replacement plastic cutters specified for this product. These are available from all Husqvarna UK Ltd. Service Centres and major retail outlets. - Page 7 Caring • It is very important that you keep your product clean. Grass clippings left in any of the air intakes or under the hood could become a potential fire hazard. Cleaning (R) • USE GLOVES 1. Remove grass from under the hood with a piece of wood or similar.
-
Page 8: Fault Finding Hints
2. Always use genuine Flymo Spare Parts. A network of specialist dealers can be found in your 3. Prepacked spares are available from most local Yellow Pages. To obtain service on your Flymo Husqvarna UK Ltd. stockists. product simply telephone or visit your local Service 4. -
Page 9: Ec Declaration Of Conformity
Our policy of continuous improvement means that the specification of products may be altered from time to time without prior notice. Copyright © 2008 Flymo S.A. All rights reserved. Flymo® and other product and feature names are registered or unregistered trademarks of Flymo S.A.
Need help?
Do you have a question about the Mow n Vac and is the answer not in the manual?
Questions and answers